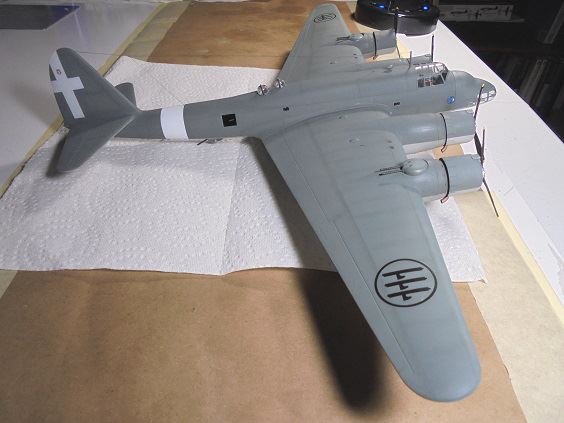
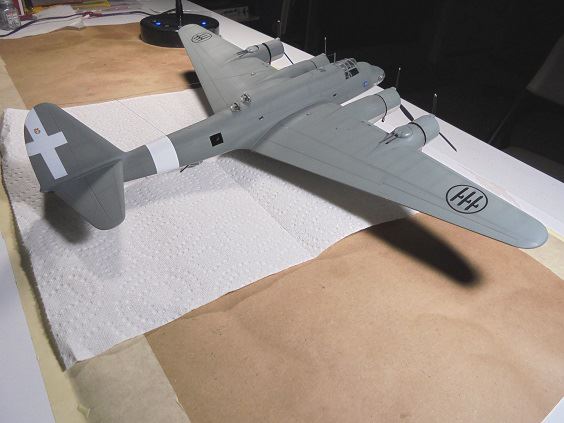
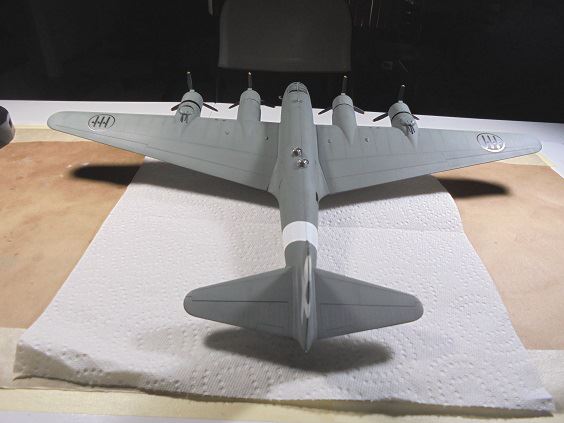
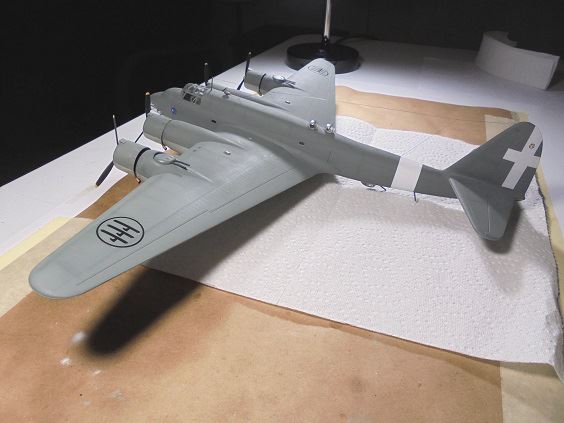
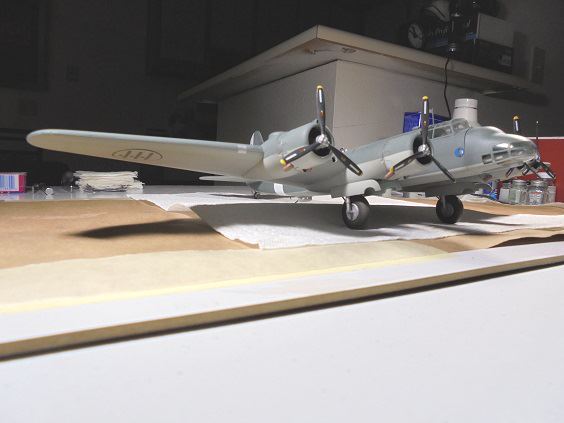
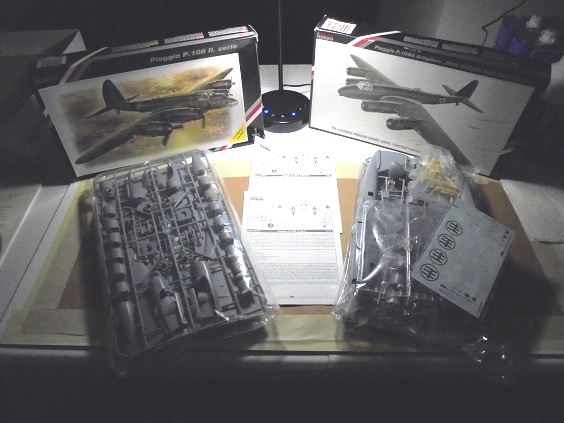
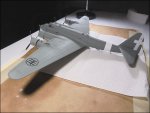
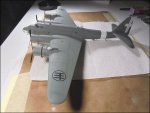
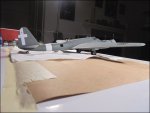
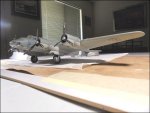
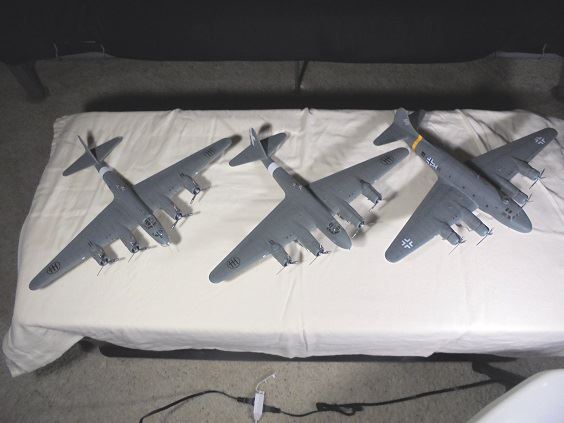
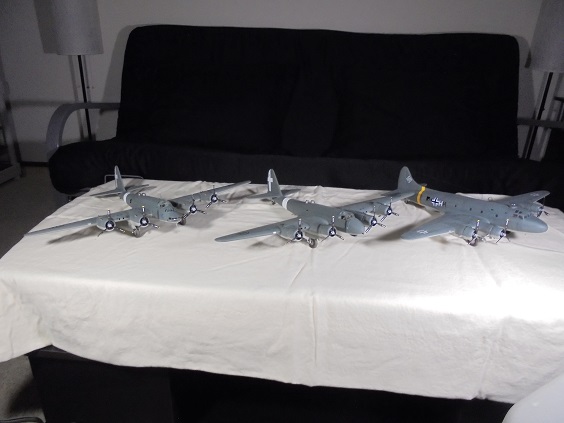
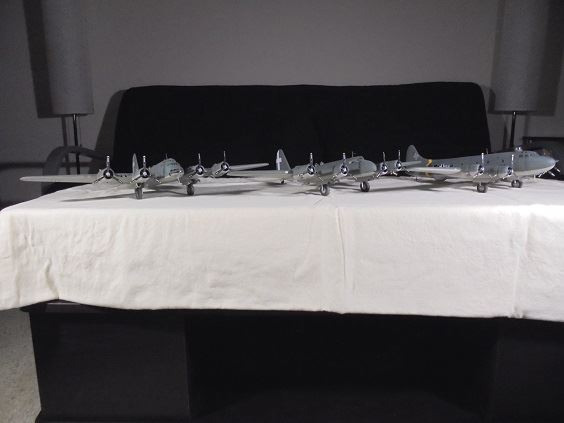
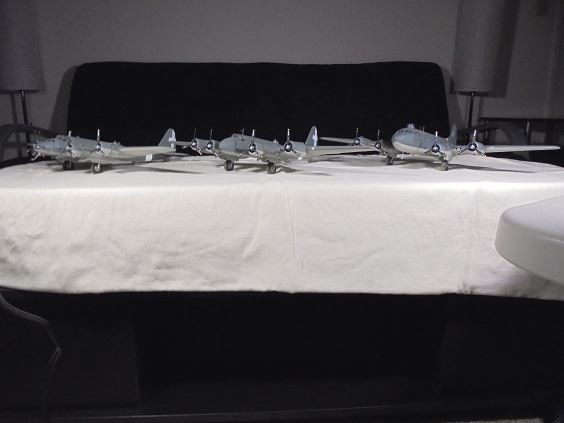
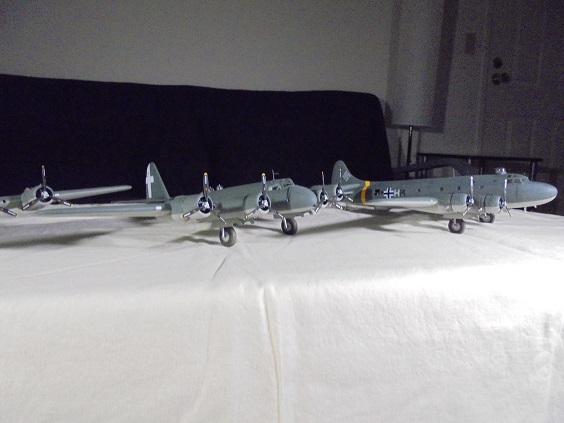
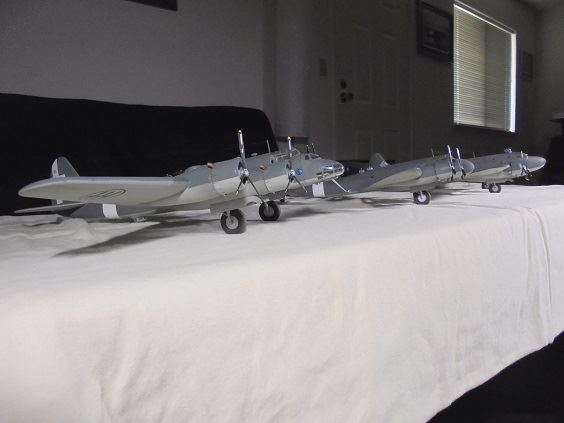
The 1/72nd scale 2005-vintage
Special Hobby SH72035 and 2006
Special Hobby SH72065 are the only injected-molded
kits with supplemental resin parts available in any scale respectively of the Piaggio P.108A and
P.108B Serie II the only others being the 1/72nd 1980s Challenge 7201 vacuform and Airmodel AM-403
vacuform airframe with injected-molded landing gear, gun turrets etc. P.108B kits latter supplemented
with RCR Models 014 engine cowlings, propellers et. al. resin accessories none of which are available today.
The 2005 and 2006-vintage Czech-built P.108 kits are well crafted and molded though lacking in fuselage
interior detail surprising given excellent period interior photos and drawings have been available in
Ali d’Italia #15 since 2000. A number of modelers notably those posting on the STORMO Magazine website
have made excellent models of the P.108B with considerable scratch-built interior and exterior
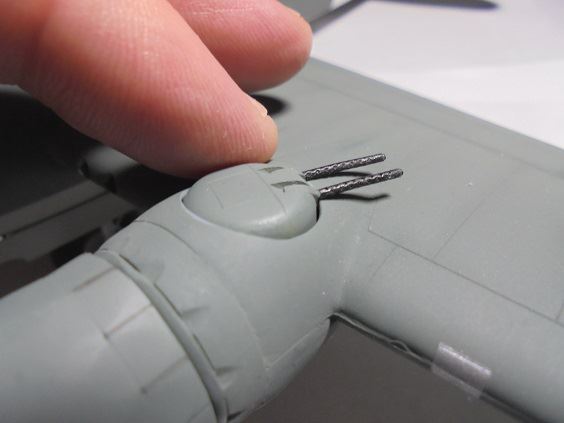
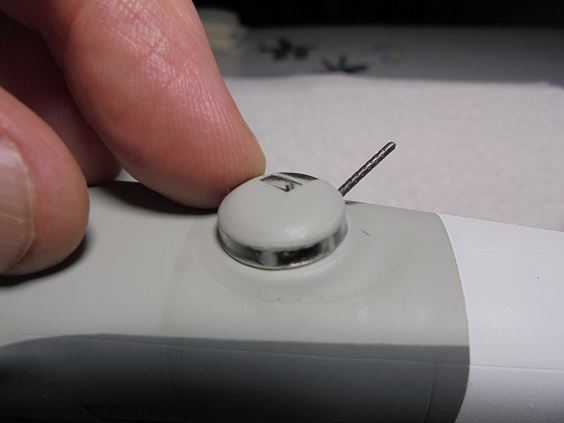
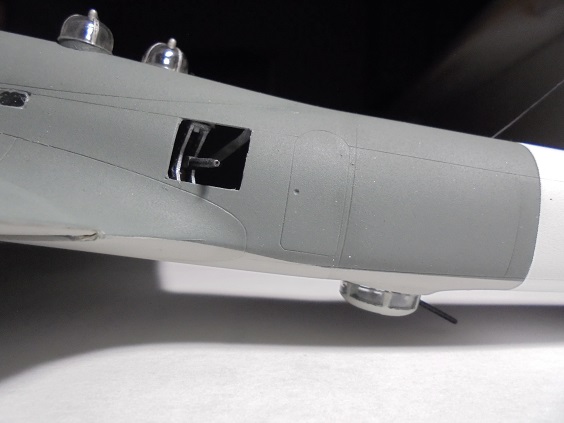
super-detailing, not having time or resources to fully super-detail my P.108 Artigliere and
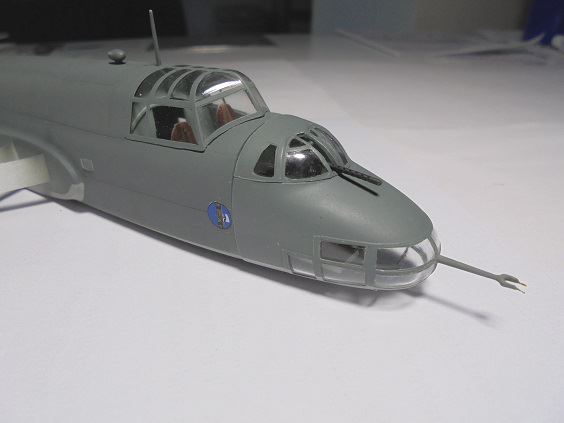
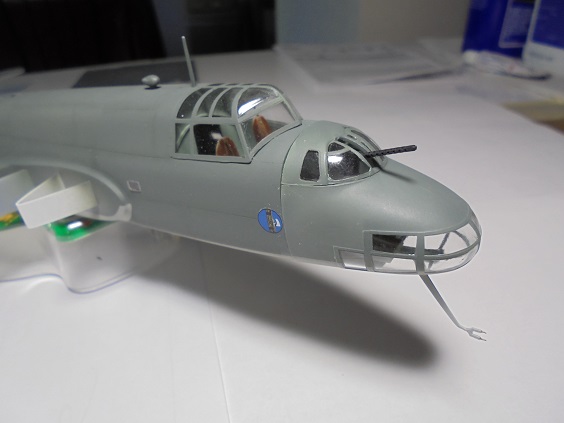
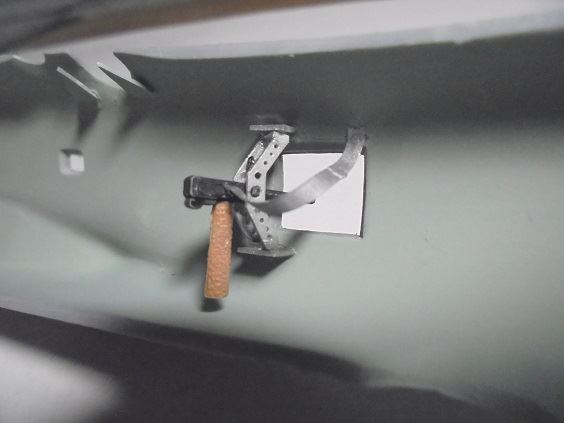
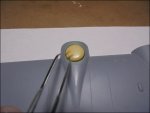
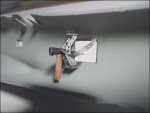
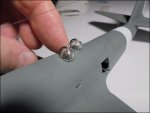
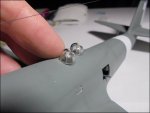
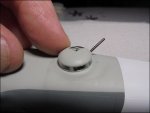
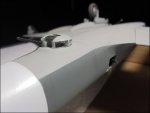
Bombardieri models chose only to "super-detail" the fuselage nose and beam guns making them
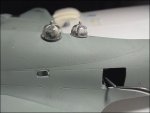
trainable as well as allowing the mainwing gun turrets/fuselage sighting stations and fuselage
ventral gun turret to rotate.
The Special Hobby kits come with injected-molded and resin parts to build not only the P.108A or
P.108B Serie II but the Serie I as well though this isn’t documented in the kit instructions. Not keen
on buying more than the minimum number of kits necessary to model the P.108A, P.108B Serie I and II
variants
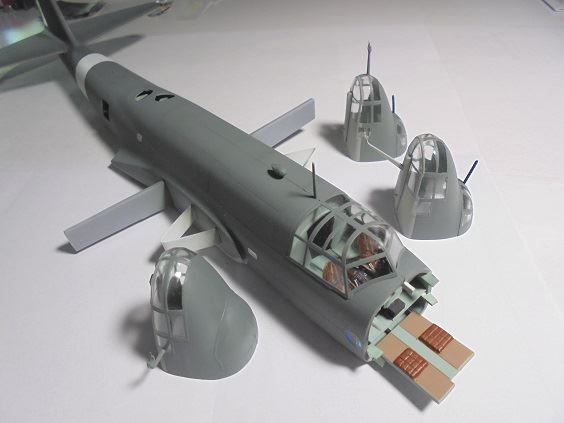
I chose to build one P.108A with the "gun nose" glued on despite it being tapered inwards
towards the top relative to the fuselage, one generic P.108B (i.e., no markings particular to
specific aircraft) with shaped sheet styrene prongs glued on the forward fuselage to act as a
plug.
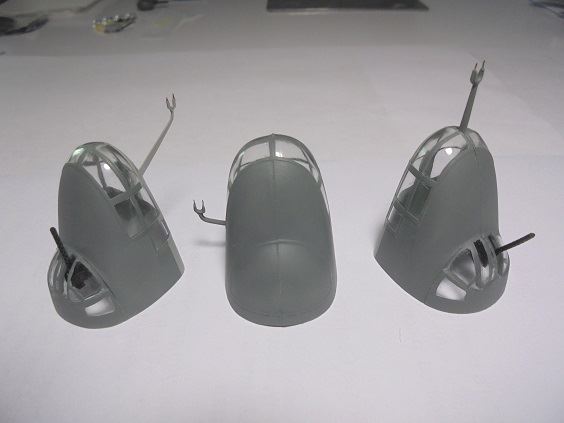
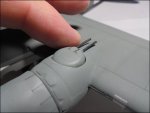
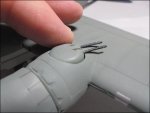
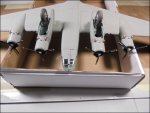
I constructed two P.108B Serie I noses with gun turrets each with "spear" and "plowshare" pitot-tube
masts as well as a P.108B Serie II nose without a turret, plugging-in each nose as desired for the
plane I wanted.
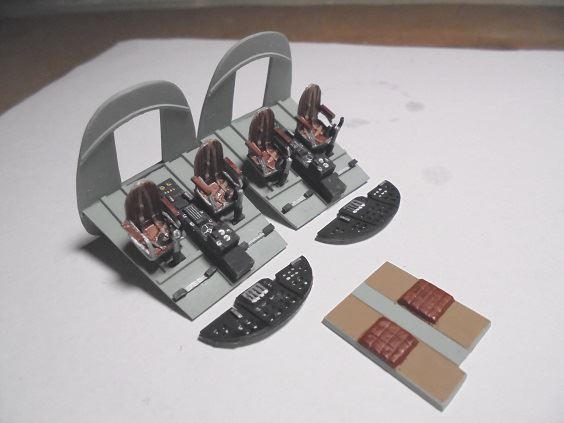
The fuselage halve interiors and associated interior parts, cockpit and ventral turret frames were
base painted Humbrol 78 Matt Cockpit Green + Testors Flat White 50/50 mix + 36% Flat White shading
enamels replicating Verde Anticorrosine, flight deck, beam gun mounts etc. spray and hand painted an
assortment of Testors enamel colors, guns Testors Flat Black and White "special mix".
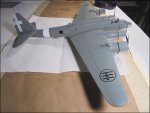
All model exteriors including the mainwing gun turrets were spray painted Humbrol 91 Matt Black
Green + 36% Testors Flat White enamels replicating Verde Oliva Scuro (VOS) 2, Testors Model Master
1726 Light Gull Grey + 36% Testors Flat White enamels replicating Grigio Azzurro Chiaro (GAC) 1
"weathering" with the out-of-bottle 91 and 1726 colors. The ventral turret was over sprayed with
GAC, mainwing turret guns "special mix", sighting stations spray and hand painted VOS, Testors
Steel and "special mix".
Landing gear, propellers et. al. exterior kit parts well as a white fuselage identification band were
spray and hand painted on with an assortment of Testors enamel colors the entire model over sprayed
with Testors Clear Semi-Gloss Lacquer after applying kit fasci markings and Tauro Model House of
Savoy crests on the rudder. Unlike most model builds I chose to apply white Distintivo di Guerra
decal crosses on the rudders to avoid misaligning them if were spray painted on that as well as fear
of breaking off tailplanes or fuselage tail landing gear units whilst doing so.
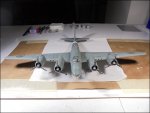
Unfortunately after being plugged in the fuselage each nose is slightly misaligned this despite
considerable effort spent in paint masking them to be aligned, deemed that acceptable given the
objective was being able to display and photograph each of the Serie I variants without having
to buy any more model kits!
|