Page 1 of 3
W.I.P. Fiat G-55 1/32 P.C.M. COMPLETED !
Posted: Mon Dec 06, 2010 11:28 am
by Starflyer
Posted: Mon Dec 06, 2010 4:49 pm
by Vincent Fiore
Your English may be halting but your model building is fantastic! Locking foreword to seeing the final results
Posted: Mon Dec 06, 2010 5:03 pm
by Vincent Biondi
....Your English may be halting but your model building is fantastic! Looking forword to seeing the final results....
I couldn't agree more!
Great work so far.
Vincent.
Posted: Mon Dec 06, 2010 9:47 pm
by GAJouette
Davide,
As always my friend excellent project and I'm looking forward to seeing more.
Highest Regards,
Gregory Jouette
Posted: Wed Dec 08, 2010 8:47 am
by Kagemusha
Fantastico - keep them pictures coming, please!
Posted: Wed Dec 08, 2010 9:00 am
by Editor
Beautiful work Davide.
Posted: Wed Dec 08, 2010 1:40 pm
by D520
Ciao Davide! Good to see you back on Stormo! Excellentissime lavoro maestro! A presto, jean;
Aluminium base
Posted: Thu Dec 09, 2010 3:06 pm
by Starflyer
Thank you very much to all for greetings and comments, I appreciate lot.
Just yesterday I found couple of minutes free time to work back on to the model.
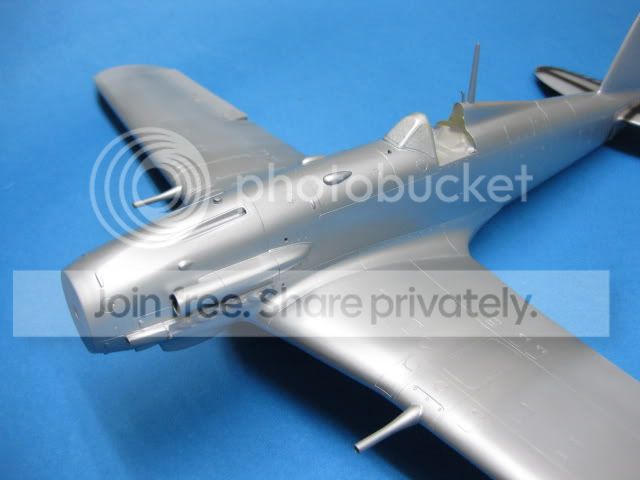
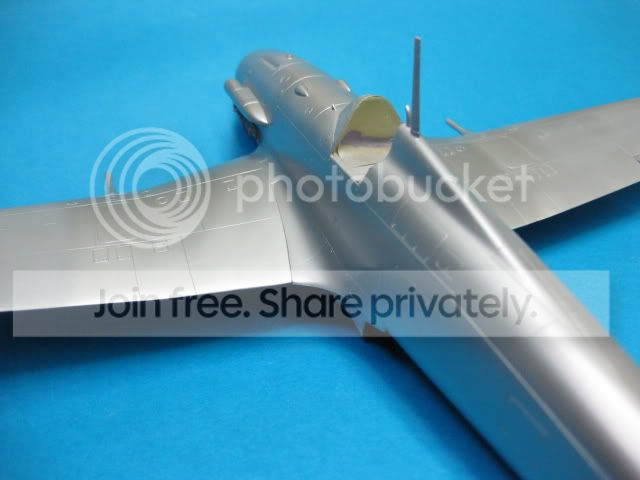
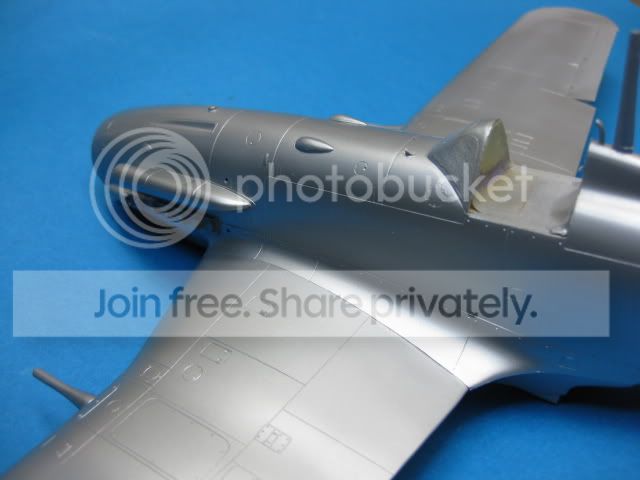
I proceed with the painting and cover whole model by Aluminium (Alclad 50% Aluminimum + 50% white aluminimum mixed together).
This will be the base for an eventual scraping (or peeling) at the end of painting process.....will see.
Take a look...

See you soon
Preshading....
Posted: Sat Dec 11, 2010 7:13 am
by Starflyer
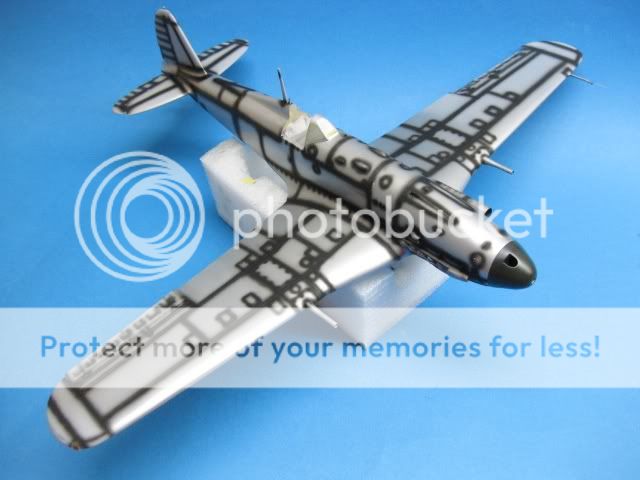
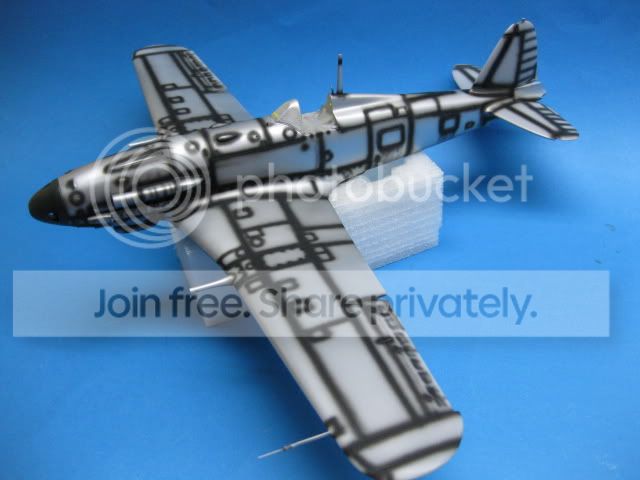
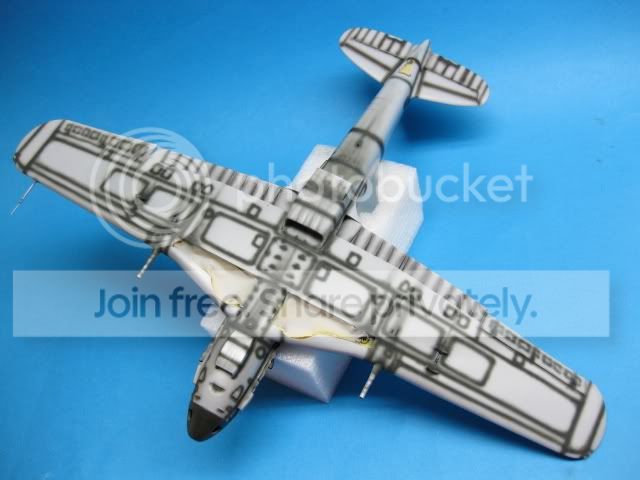
As usual I prefer start with a preshading in order to fade next layer of colors on the model to obtain a "aged" effect of the paint.
This time preshadin is particularly strong because the very dark green that will follow could cover too much a soft preshading.
Here the paint job of today:
GAC1 undersurfaces colouring
Posted: Sun Dec 12, 2010 9:43 am
by Starflyer
Hy boys

I started to apply colour from under surfaces.
The Gunze H324 Gray is what I choose to replicate the Grigio Arruzzo Chiaro 1 for undersurfaces of Italian Fighters in 1941.
I spry several light coat havy diluited, until I get the follow result (sse the pics):
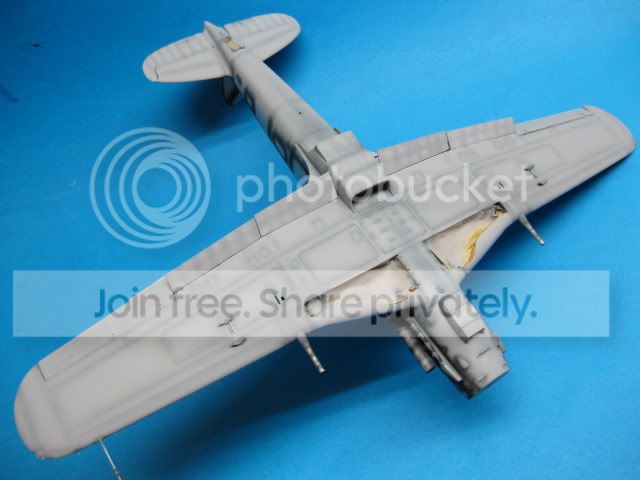
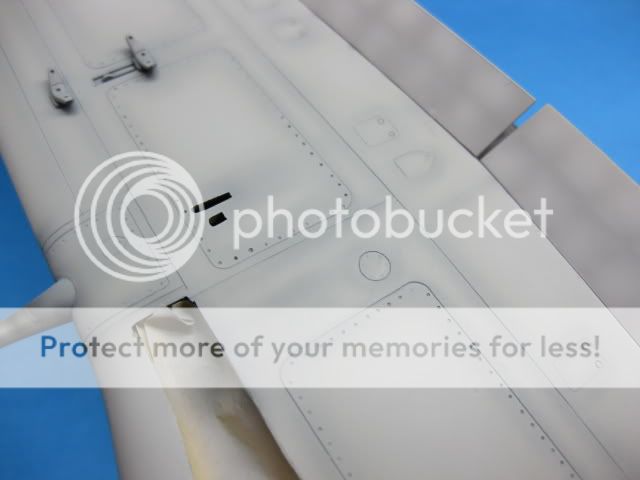
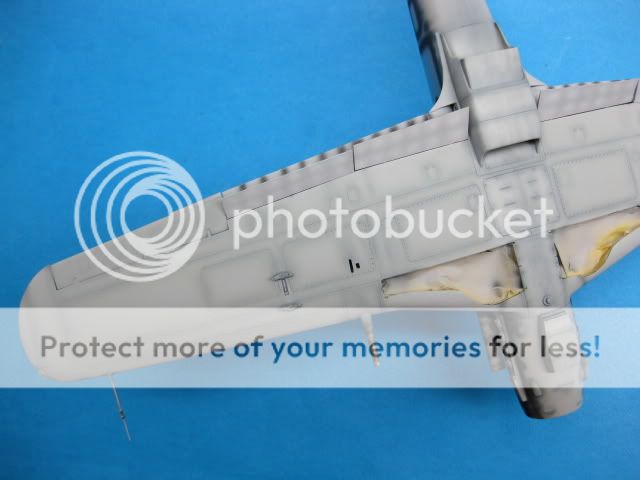
quite good but this is not wath I have in mind in fact I like much aged model so I go on to spry lightned gray to give much effects on to the surfaces....

...Until I got this effects:
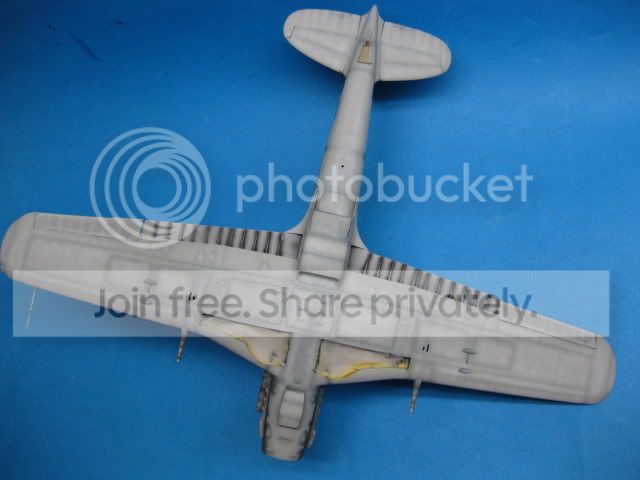
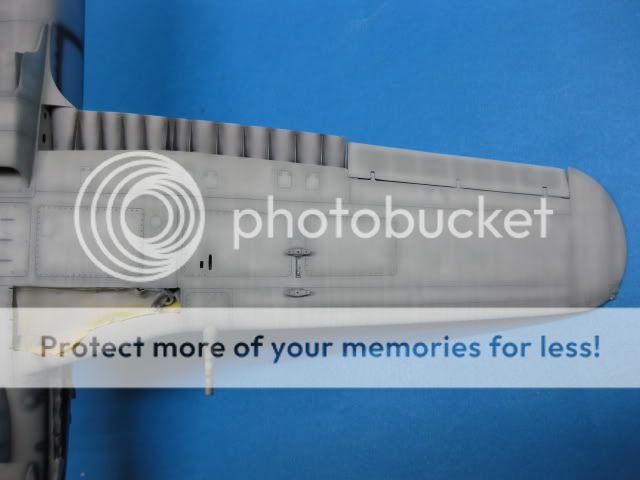
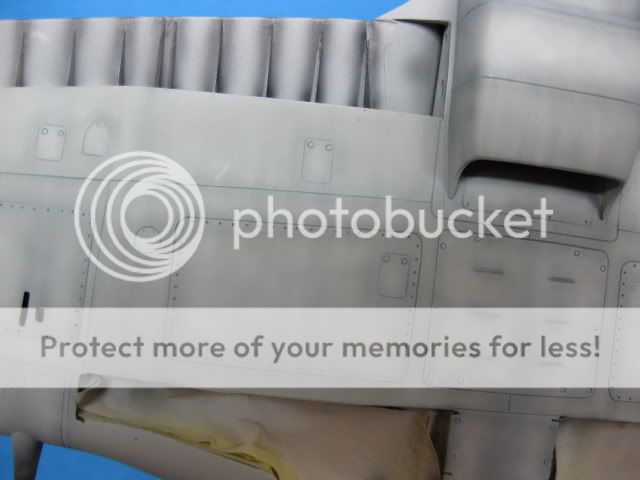
good but is not the end.....stay tuned.

Posted: Sun Dec 12, 2010 11:27 am
by Chris Busbridge
Very smart... even the pre-shading is neat!
Posted: Tue Dec 14, 2010 11:51 am
by Jan Kotas
really nice job

looking forward to see it finished.....
Posted: Fri Dec 17, 2010 2:18 am
by lananda
...uhm....i feel like if i had already seen this job....where?
Happy to see you here Davide!!
Keep attention guys: he is one of the best modelers in Italy!!!
ciao
Painting deal
Posted: Fri Dec 17, 2010 12:05 pm
by Starflyer
Thank you lananda, but I am just a modeller with big passion for airplane.....
So I proceeding with painting job on upper surfaces....
Started by light coat of verde anticorrosione followed by dark green Tamiya XF-27 only on the wings and fuselage....and I decided to use salt technique to get an aged area on the wings, where piolt and mechanics aften walk to make maintenace or perparing for take off.....
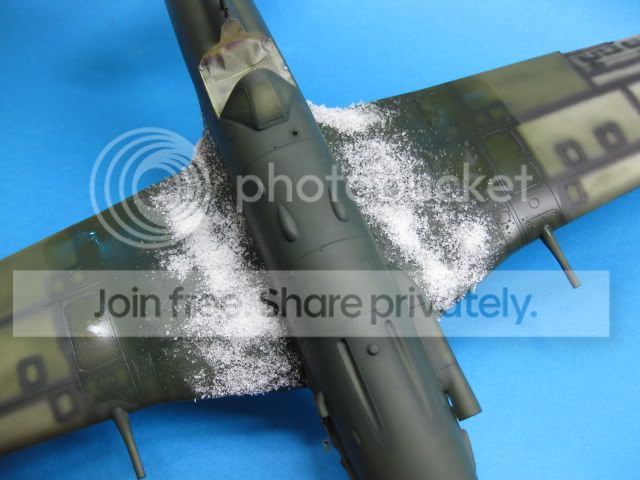
then I go on painting with Gunze very dark green H65....
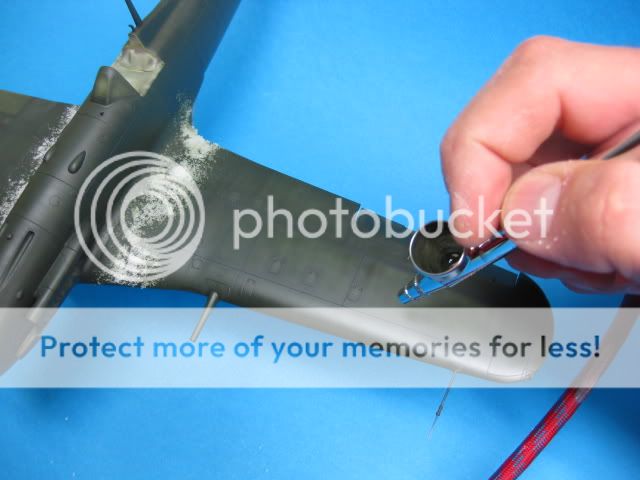
After this long step the salt was removed and you can see the "aged" zone on the wings
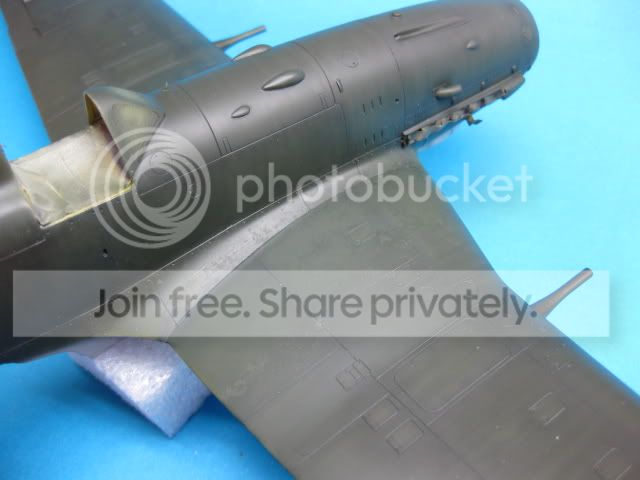
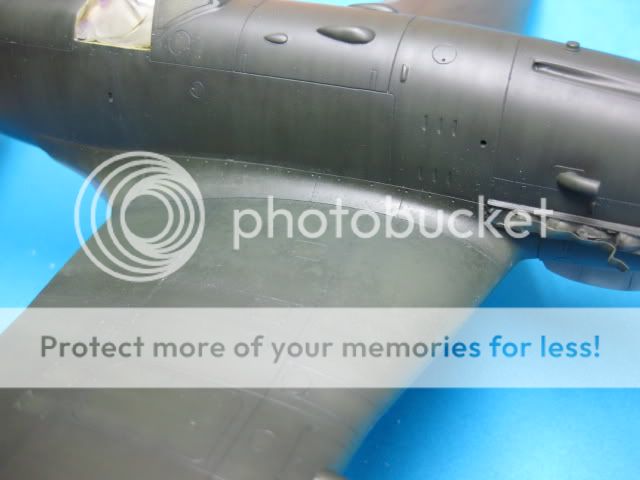
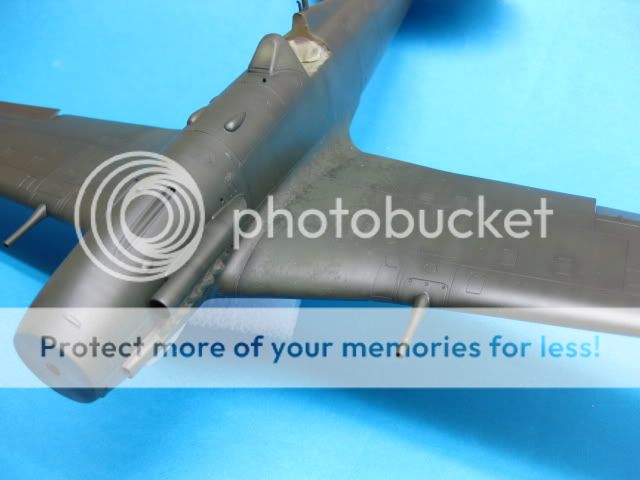
At this point I started with the scraping technique.....and I get the following result
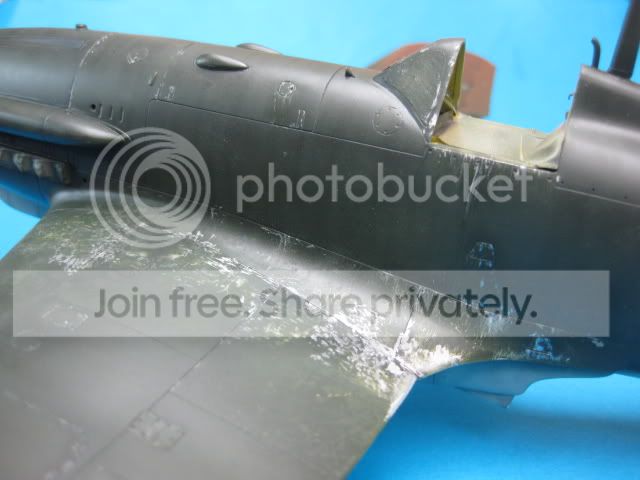
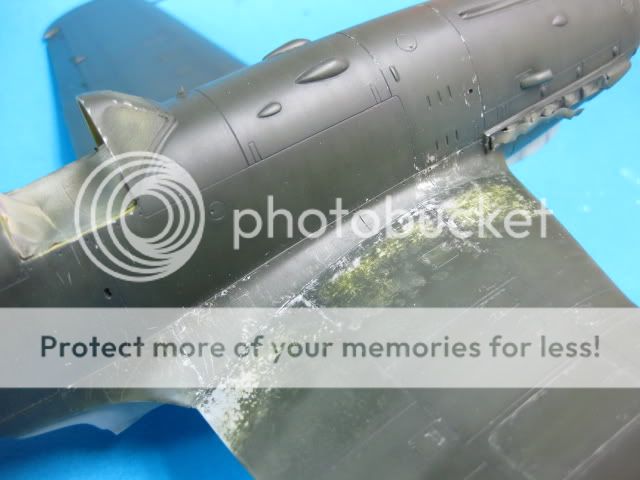
The next step will be "point of no return" so if you have suggestion, recommendations or whatever please tell me.
Ciao for now
Scraping
Posted: Fri Dec 17, 2010 5:38 pm
by Vincent Fiore
Hello Davide,
Please explain what technique you use for scraping and what tools or supplies to achieve your results. Thank you in advance for your answer and your work is fantastic.
Thank You,
Vincent