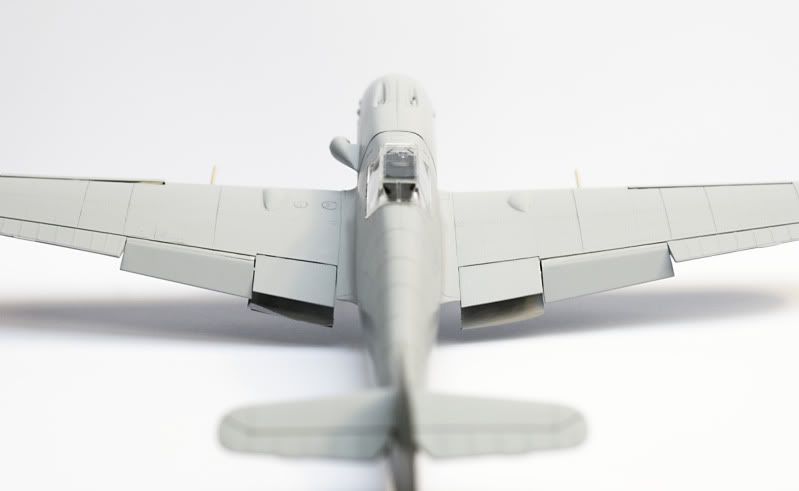
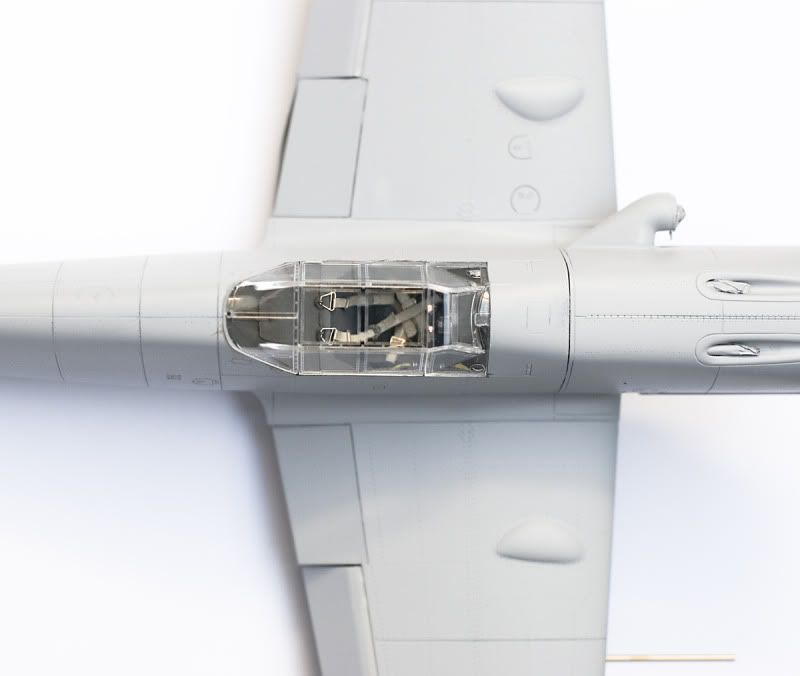
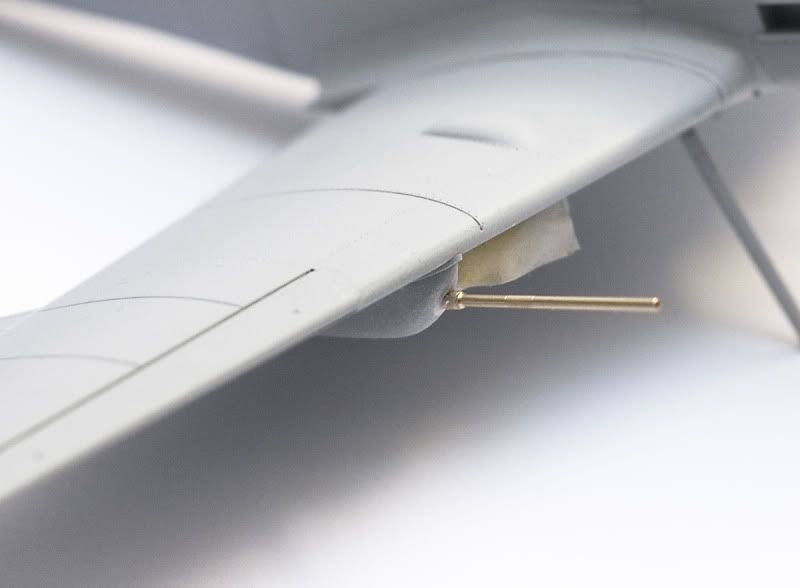
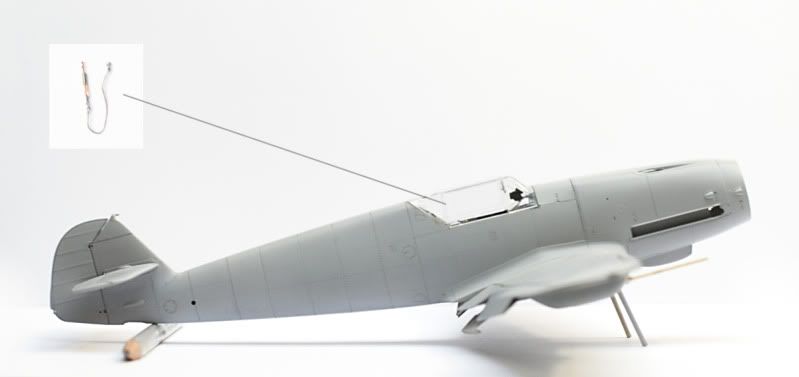
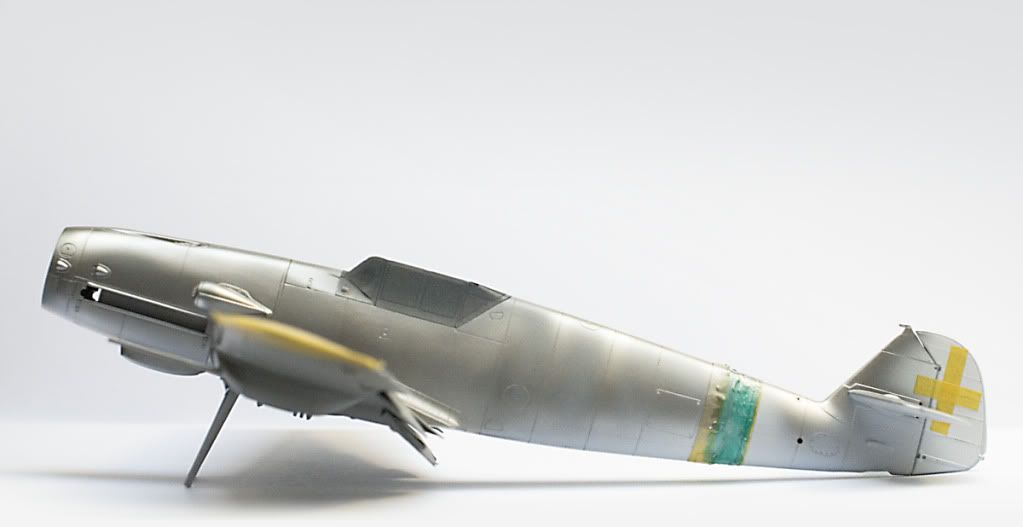
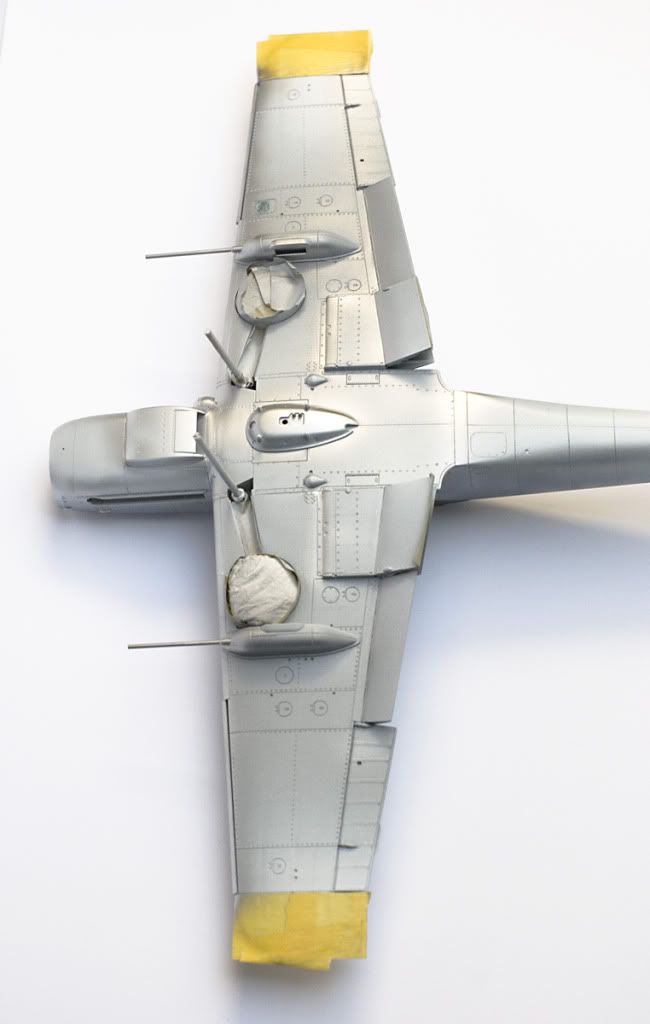
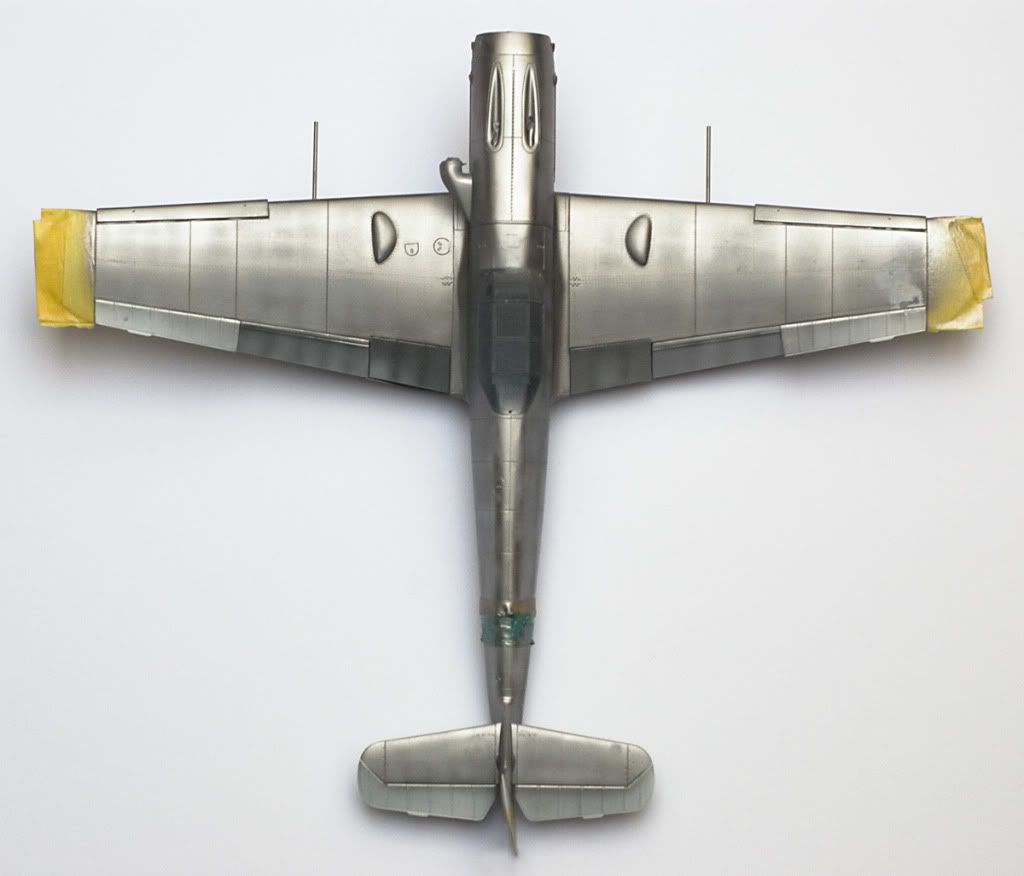
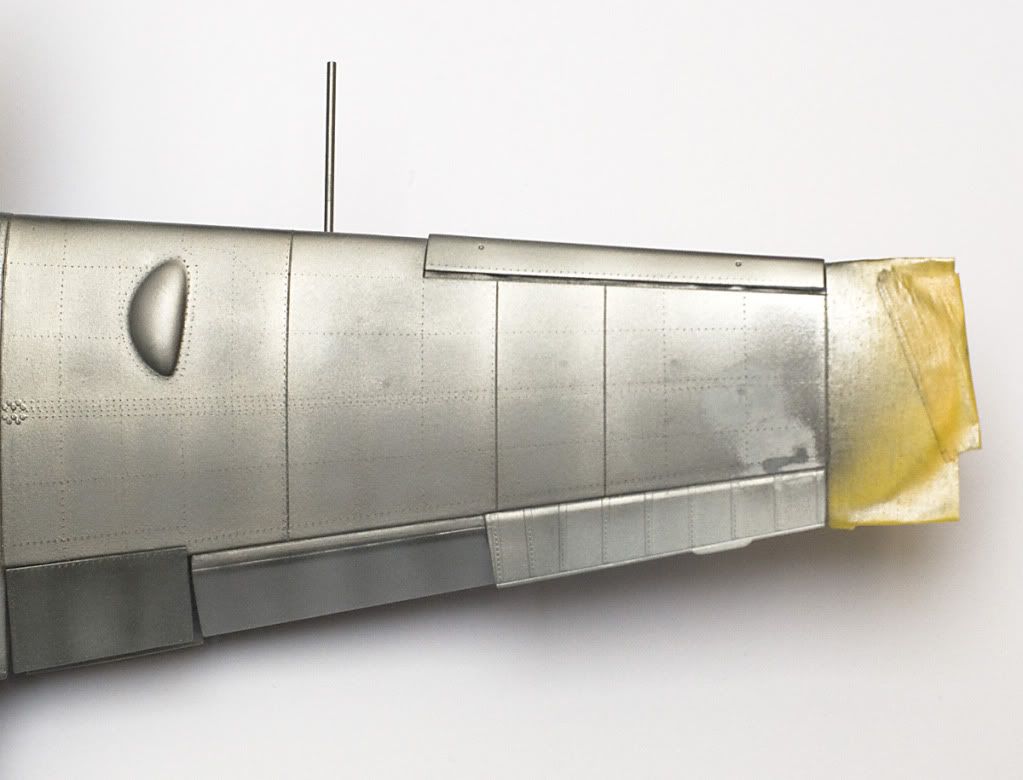
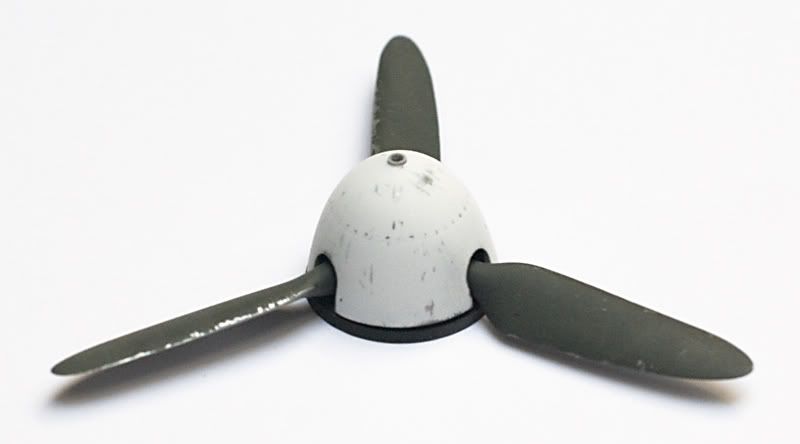
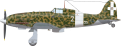
Messerschmitt Bf-109G-4 RA | Hasegawa | 1:32

Post in-progress or completed model pics here
User avatar
Dave Bayliss
Comandante di Stormo
Posts: 121
Joined: Tue Jul 27, 2010 9:16 am
Location: Worcester, United Kingdom

Post by Dave Bayliss » Wed Apr 13, 2011 7:28 am

That's looking really good so far. I wish I had more space to display my models and could work in a larger scale. The level of detail possible is so much more. You have made a very neat job, so far. Look forward to seeing further progress.
Cheers, Dave.
There's so much left to learn and no one left to fight.

User avatar
mistermaquette
Comandante di Squadriglia
Posts: 29
Joined: Sun May 09, 2010 5:05 am
Location: Rome Italy

Post by mistermaquette » Wed Apr 13, 2011 2:16 pm

SUPERBA REALIZZAZIONE! Congratulazioni. :shock:

Enrico

shivadog
Comandante di Gruppo
Posts: 51
Joined: Thu May 01, 2008 1:49 pm
Location: Poland

Post by shivadog » Fri Apr 15, 2011 6:32 am

Thanks!
In the meantime one of my friend remind me there is opened tail weel bay it that 109, so i decided to improve that. Done with wire, metal foil from some package, magicsculpt, and some other not much visible stuff as fishing line, spring from guitar string.

Image

shivadog
Comandante di Gruppo
Posts: 51
Joined: Thu May 01, 2008 1:49 pm
Location: Poland

Post by shivadog » Wed Apr 20, 2011 5:24 am

I decided to fill the gap between flaps and wing with MagicSculpt (MS).
Canopy is dry fited.

Image

Image

I decided also to use MG 151 from Model Master. It was a bit dificult at this step. I had to make hole bigger to fit the barrel, and afterwards to fill it (i use MS).

Image

I added a cord to canopy.

Image

shivadog
Comandante di Gruppo
Posts: 51
Joined: Thu May 01, 2008 1:49 pm
Location: Poland

Post by shivadog » Wed May 04, 2011 4:54 am

Some more progress. Cockpit closed.
White surfecer 1000 done in fast identification places and crosses.
Now i work on metallic colors which in some places where there will be some chafing.

Image

Image

Image

Image

shivadog
Comandante di Gruppo
Posts: 51
Joined: Thu May 01, 2008 1:49 pm
Location: Poland

Post by shivadog » Thu May 05, 2011 11:04 am

Step forward. While washing aerograph i have small disaster - model was to close, so again some putty and sandpaper in use.

Image

Image

Image

Image

Image

User avatar
Editor
Site Admin
Site Admin
Posts: 2177
Joined: Thu Jul 24, 2003 3:53 pm
Location: Canada
Contact:

Post by Editor » Thu May 05, 2011 3:32 pm

Fantastic job so far - please be sure to submit a short article for the Gallery when you're done!

shivadog
Comandante di Gruppo
Posts: 51
Joined: Thu May 01, 2008 1:49 pm
Location: Poland

Post by shivadog » Fri May 06, 2011 6:24 am

Thanks! If there will be no disaster i will submit a short article.

shivadog
Comandante di Gruppo
Posts: 51
Joined: Thu May 01, 2008 1:49 pm
Location: Poland

Post by shivadog » Sat May 07, 2011 4:03 pm

What was broken now is repaired:

Image

Image

I did paint also yellow on the engine hood.

Image

Image

Image

shivadog
Comandante di Gruppo
Posts: 51
Joined: Thu May 01, 2008 1:49 pm
Location: Poland

Post by shivadog » Thu May 12, 2011 6:28 am

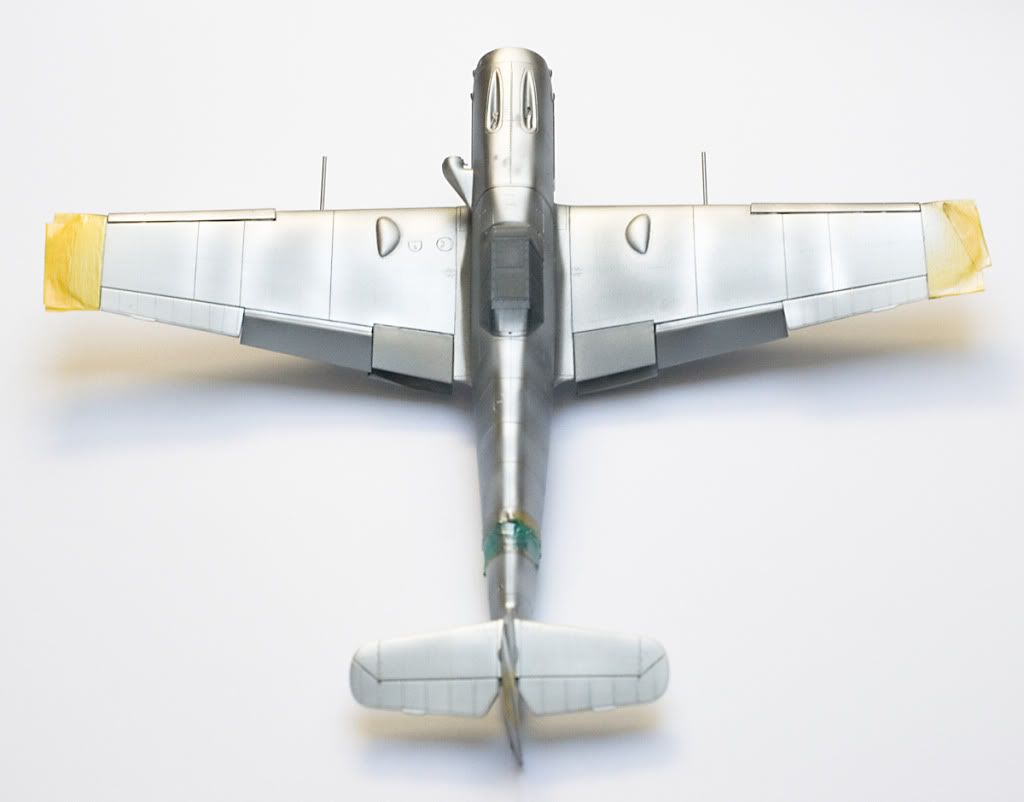
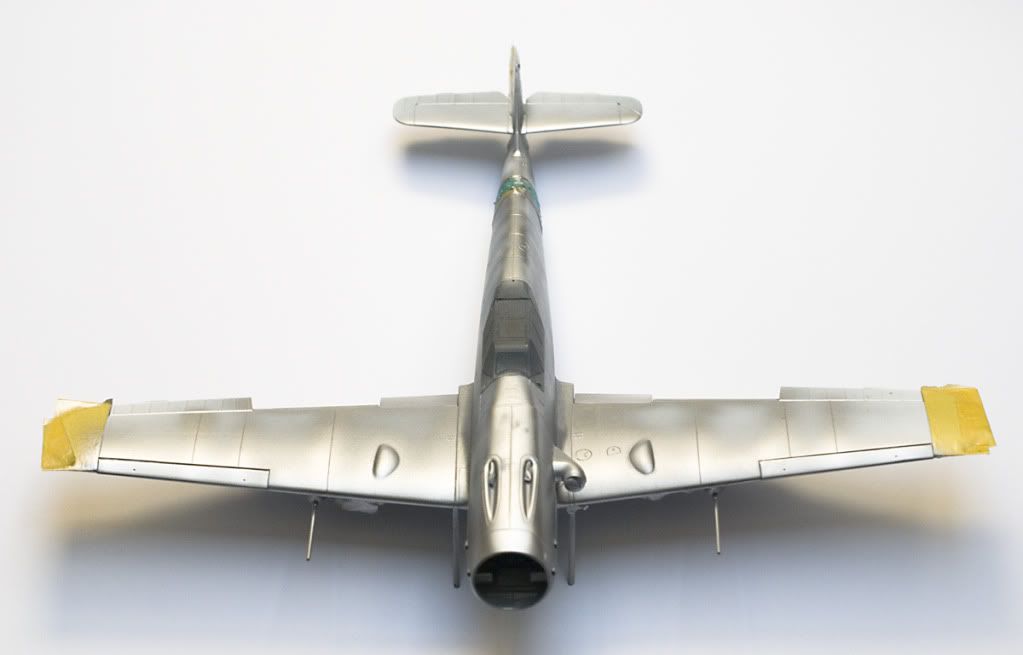
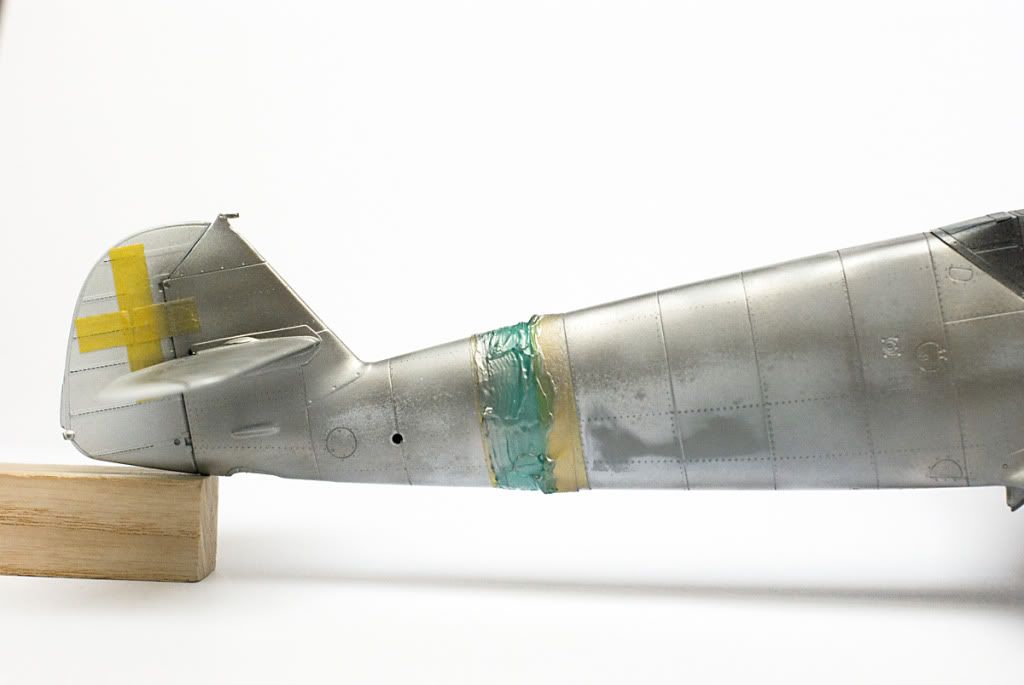
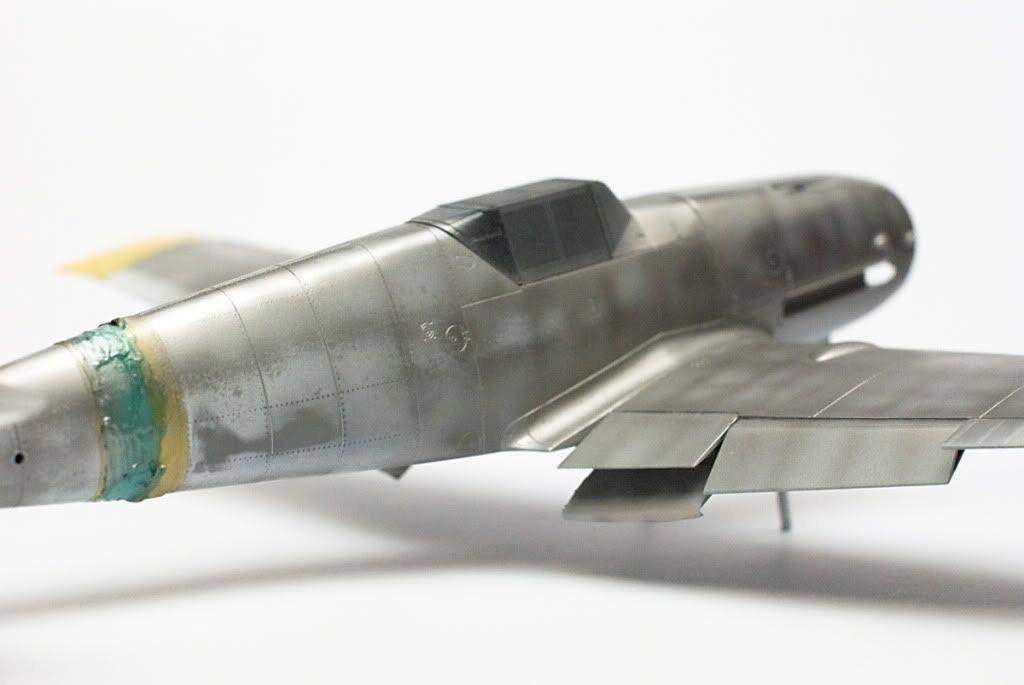
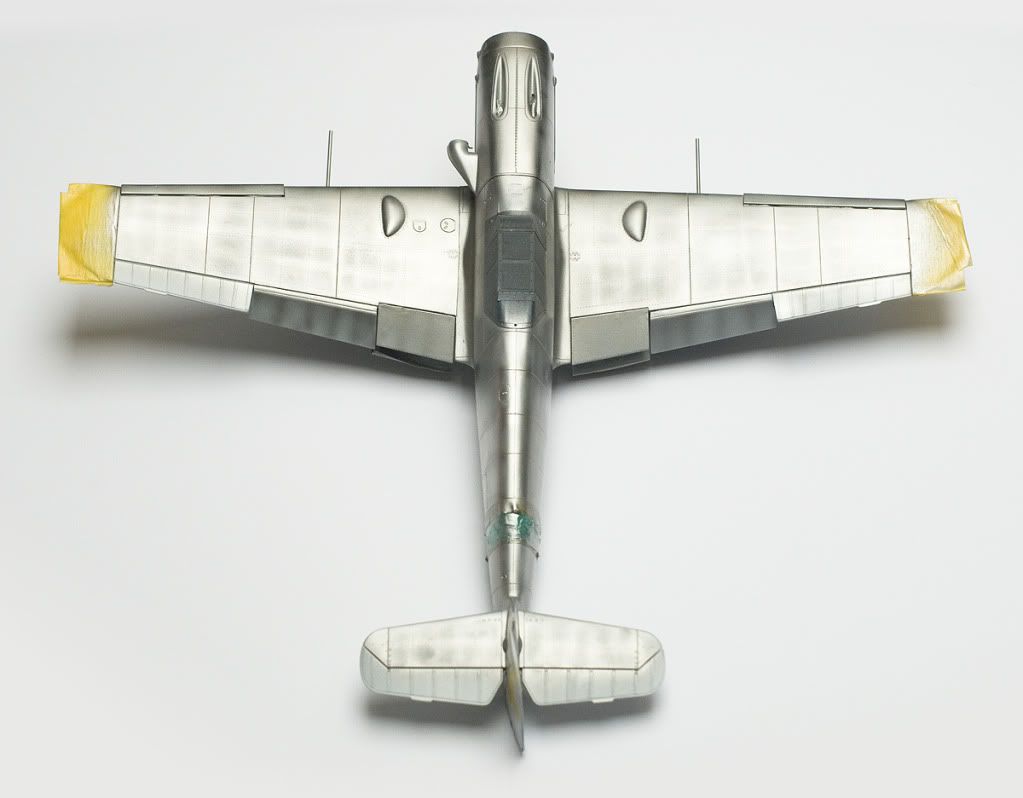
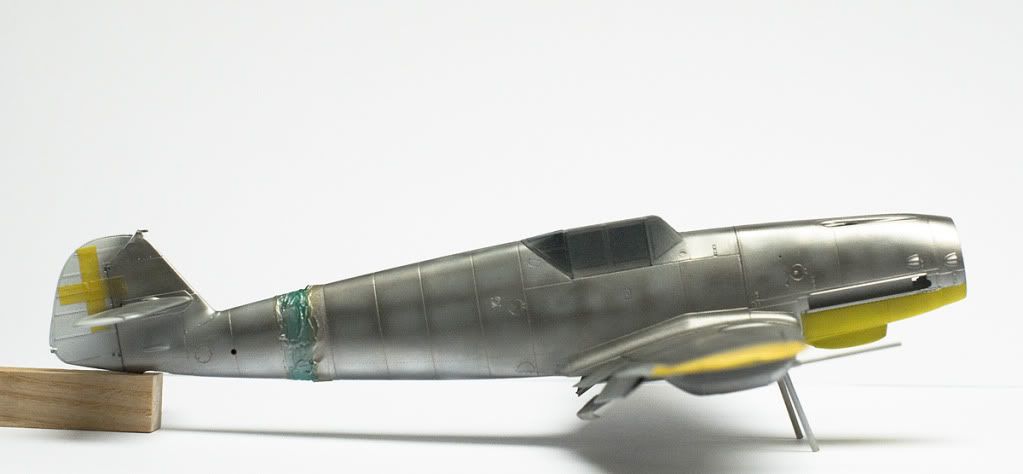
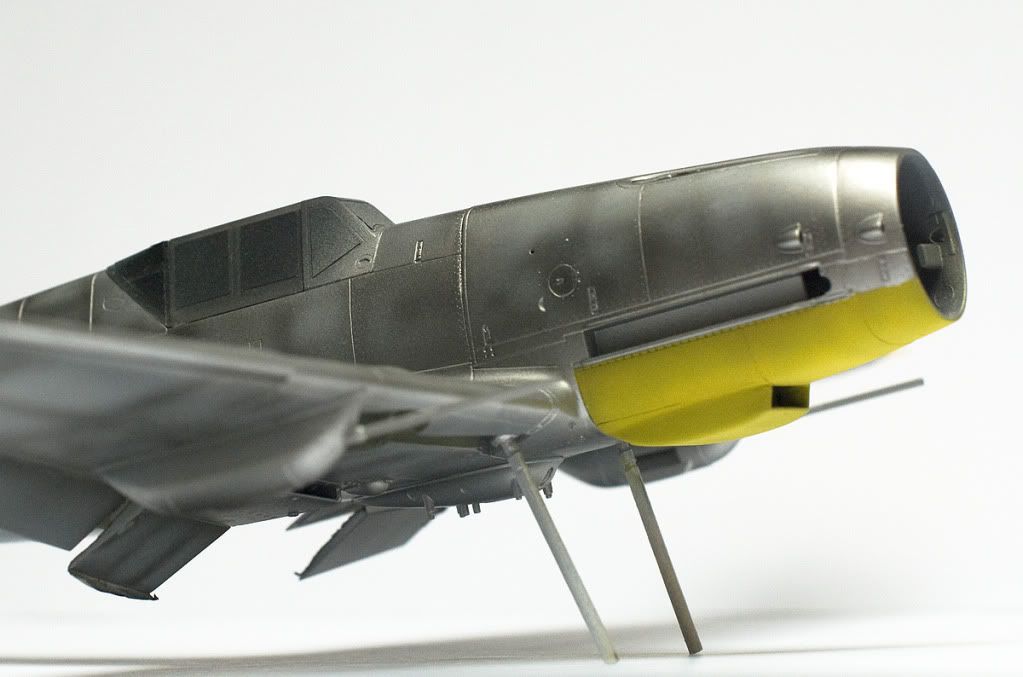
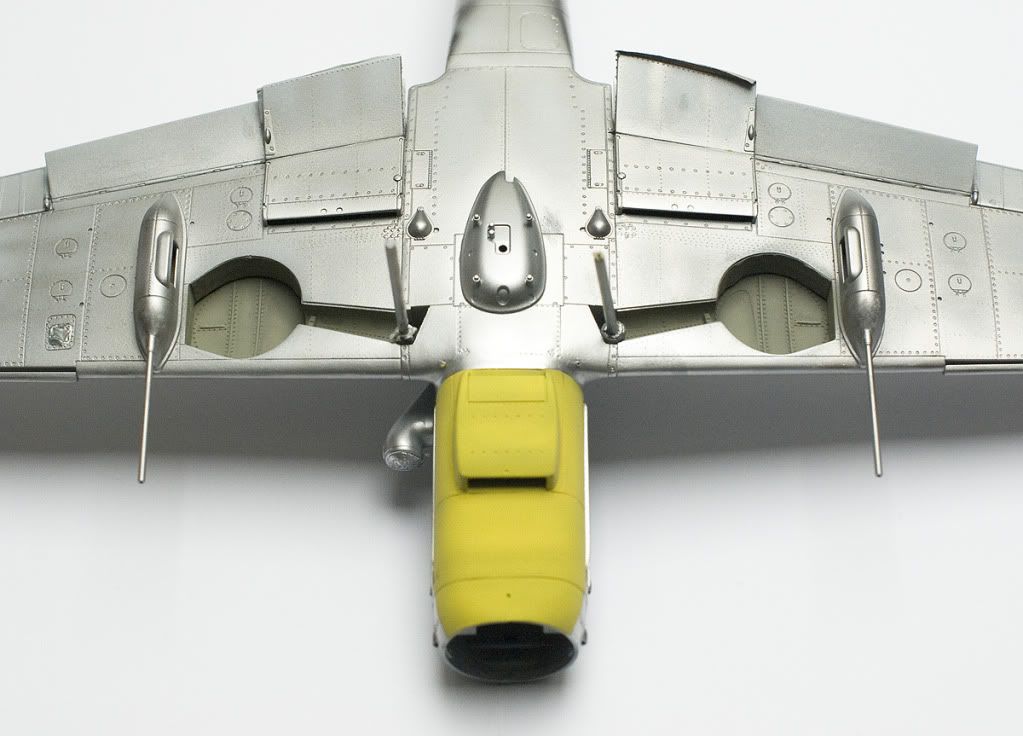
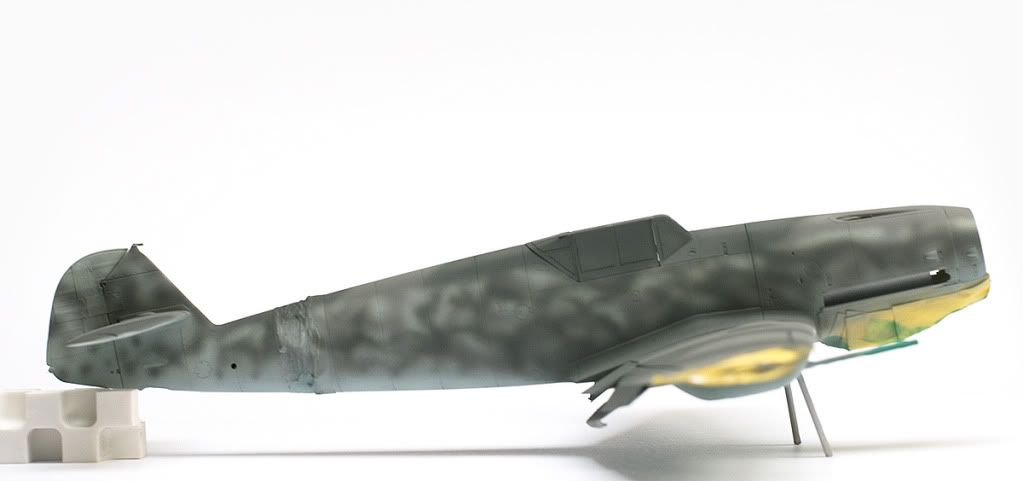
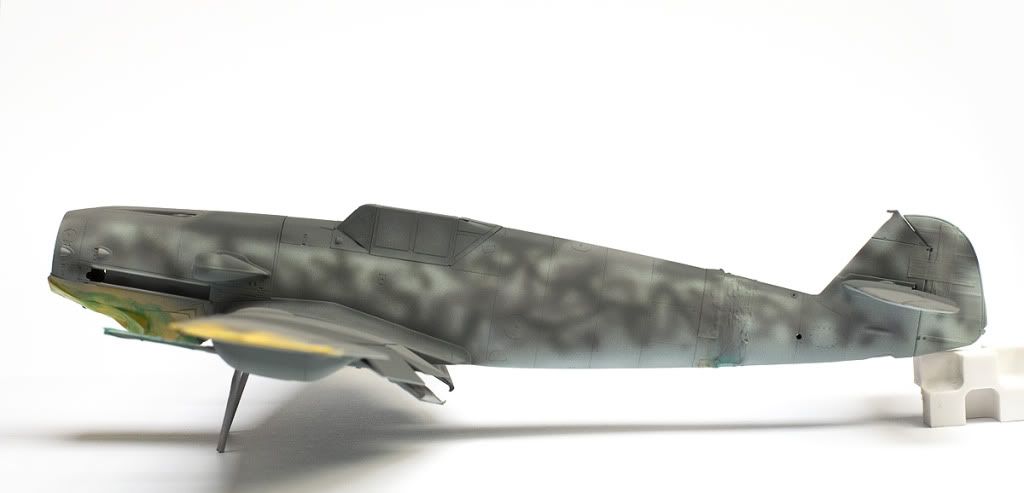
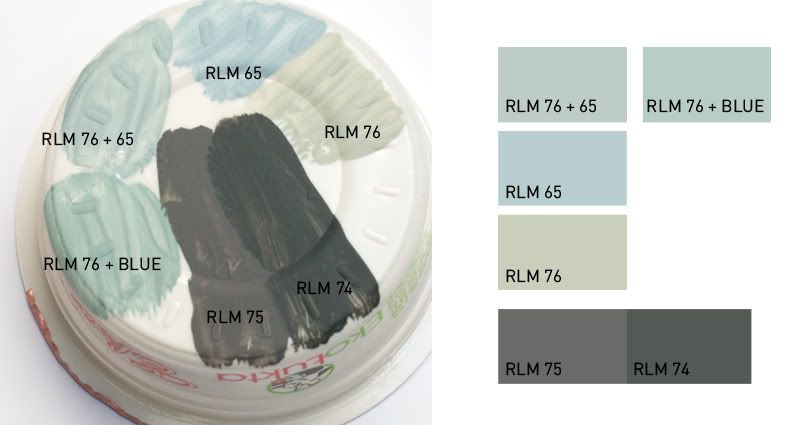
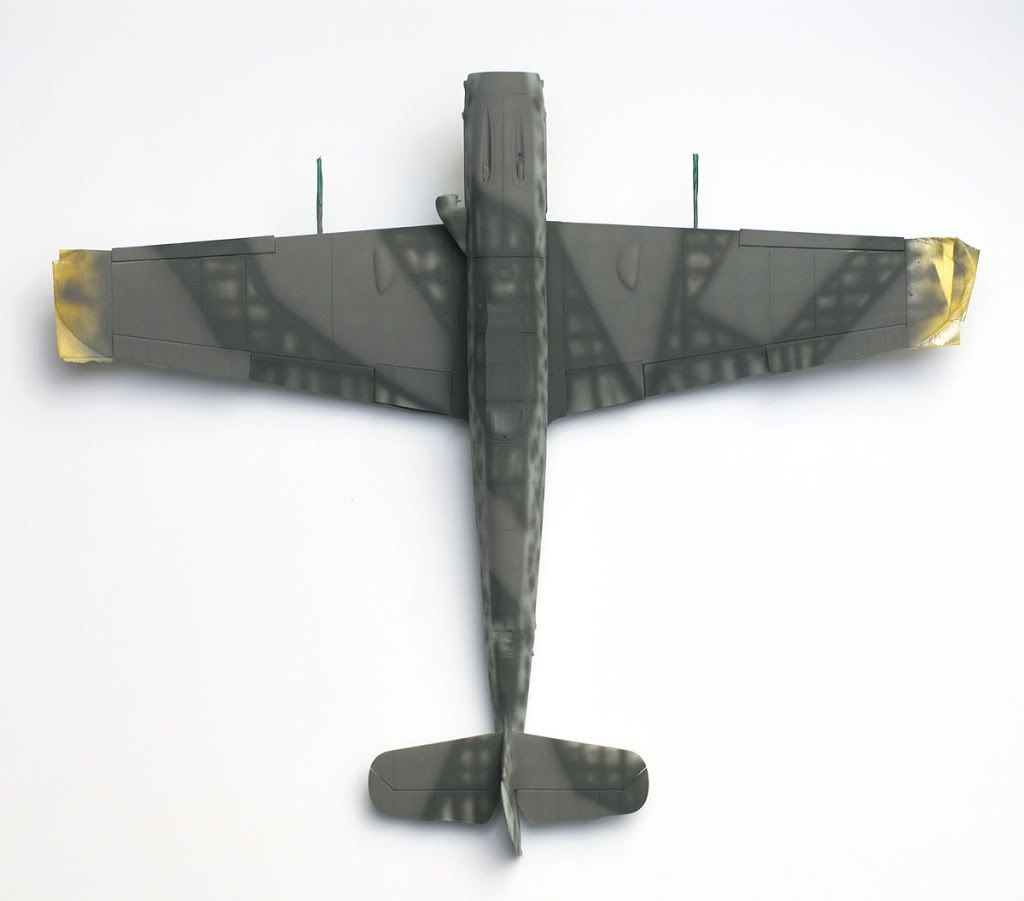
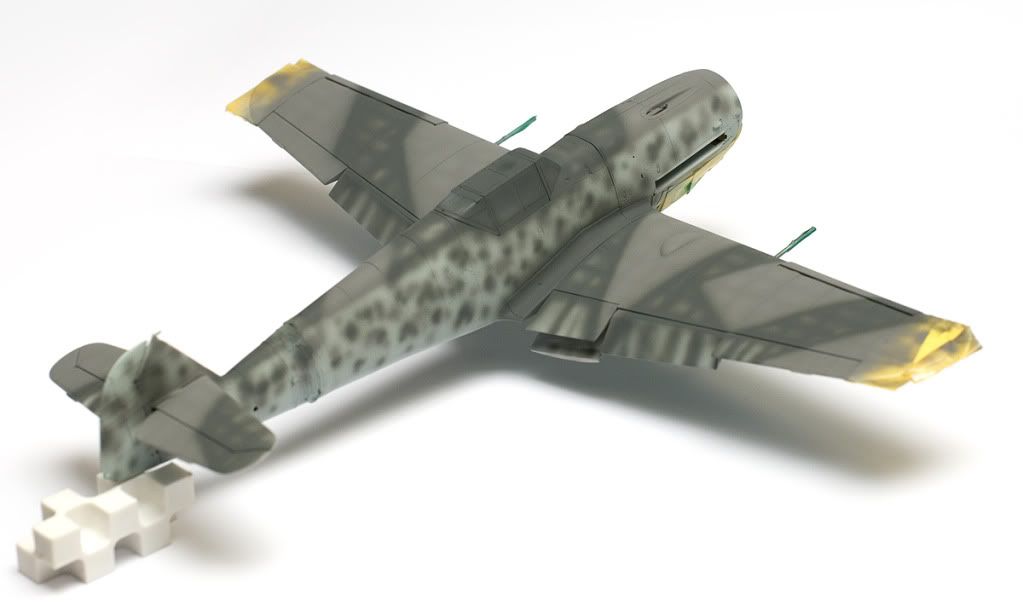
Time for blue RLM 76

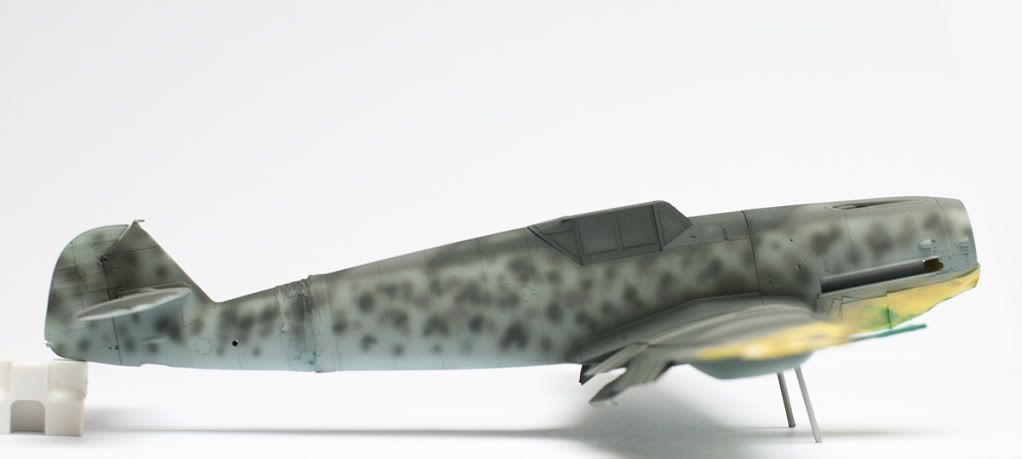
First dark version of my RLM 76 on the lines
(Lifecolor 76 + blue + Agama 76), after main my RLM 76 beetwen lines (Lifecolor 76 + blue), then some improvement with dark one, and finally lightened with white in some places.

Image

Image

Image

Image

Image

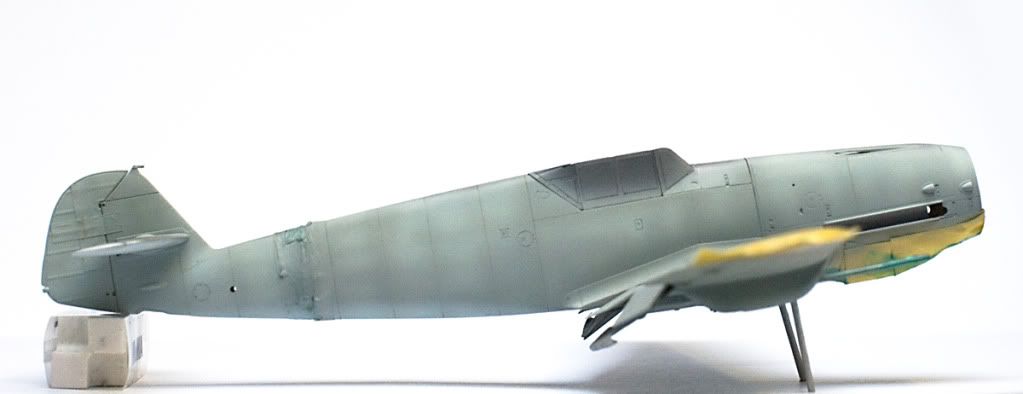
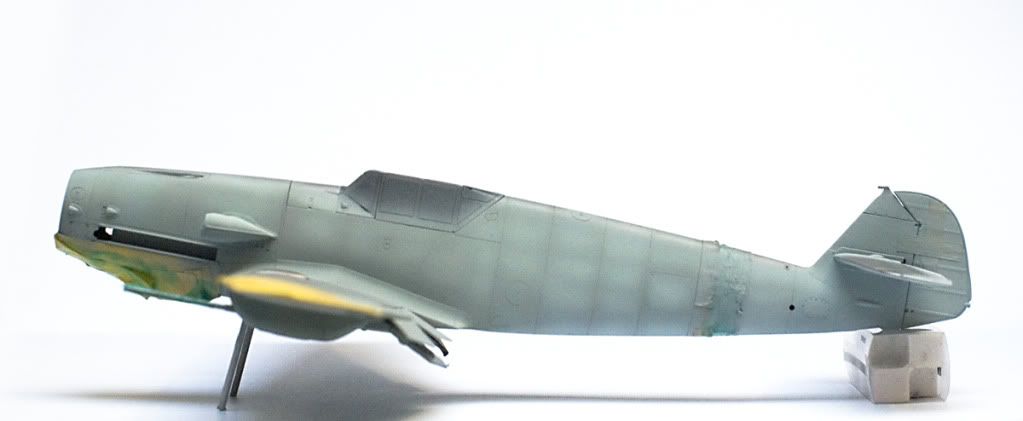
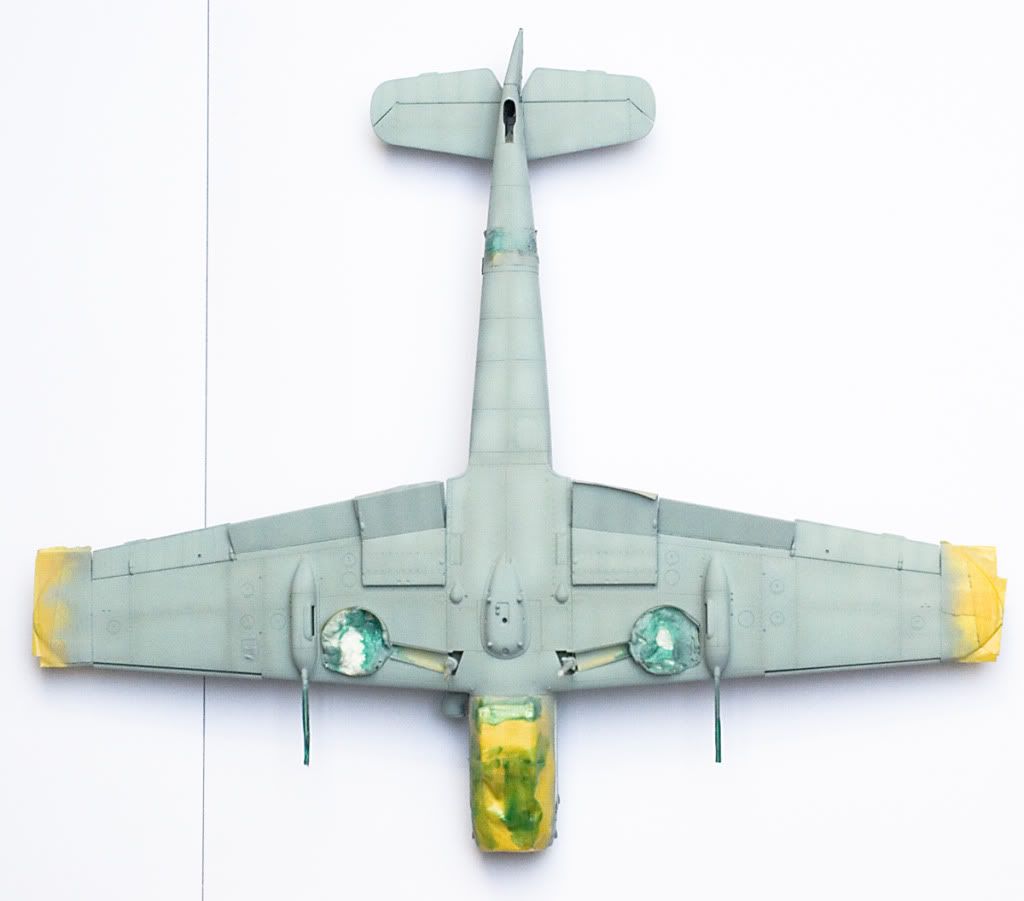
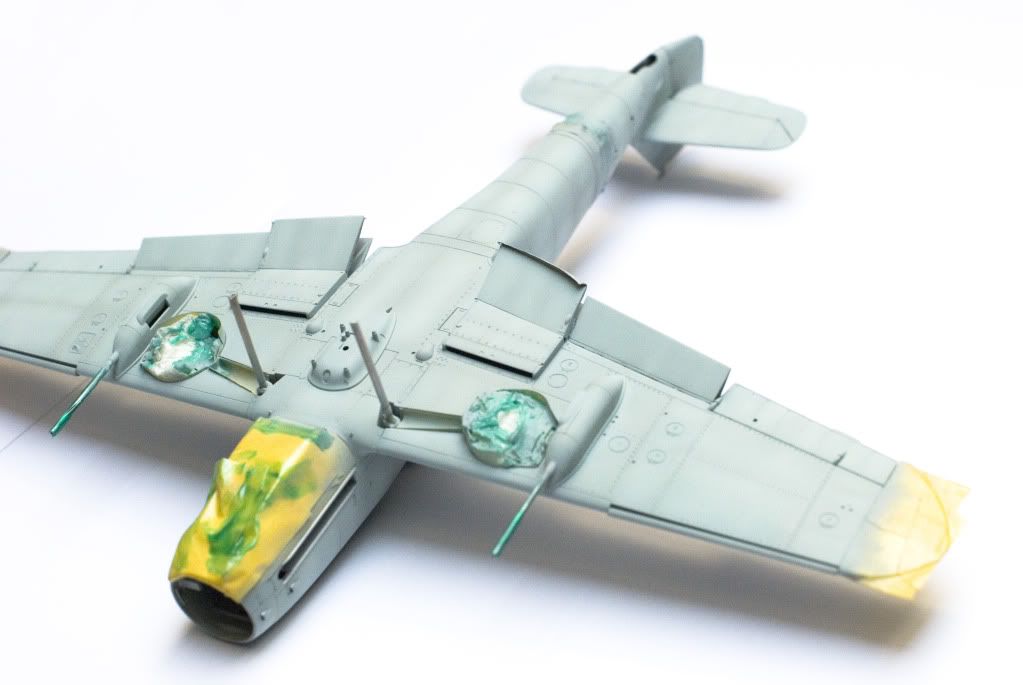
Here are some samples with german blue from Lifecolor with some additions.
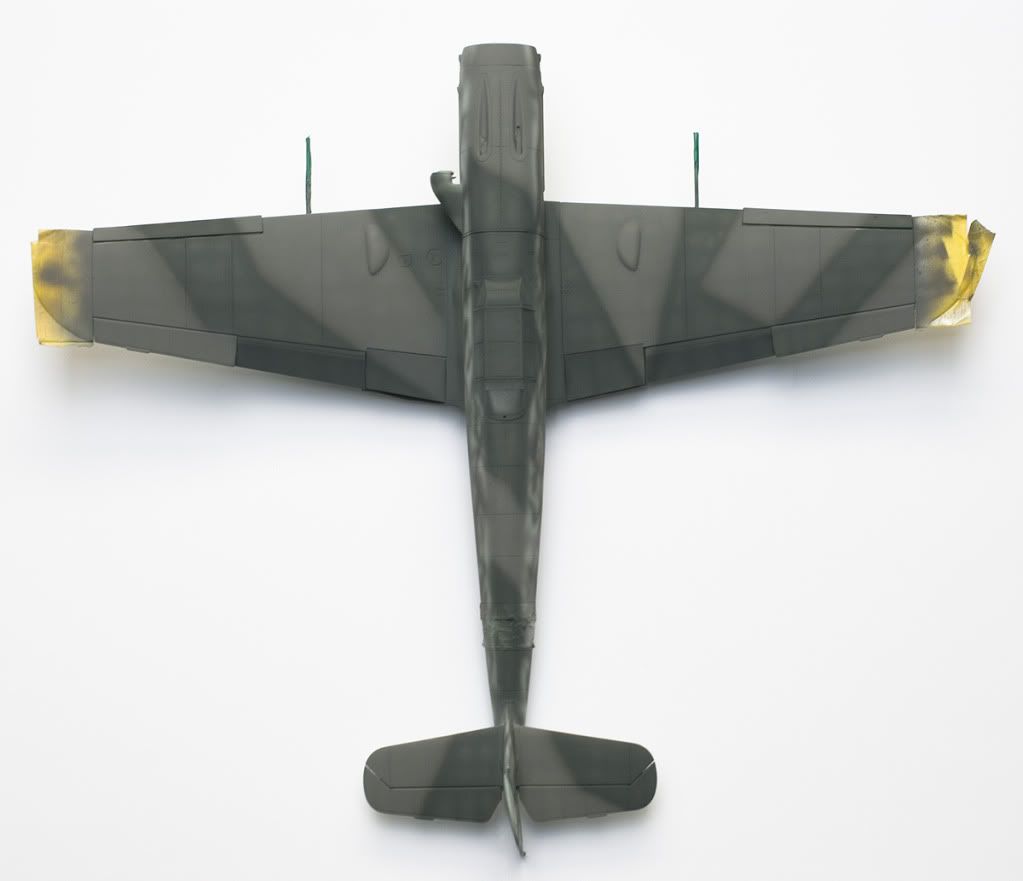
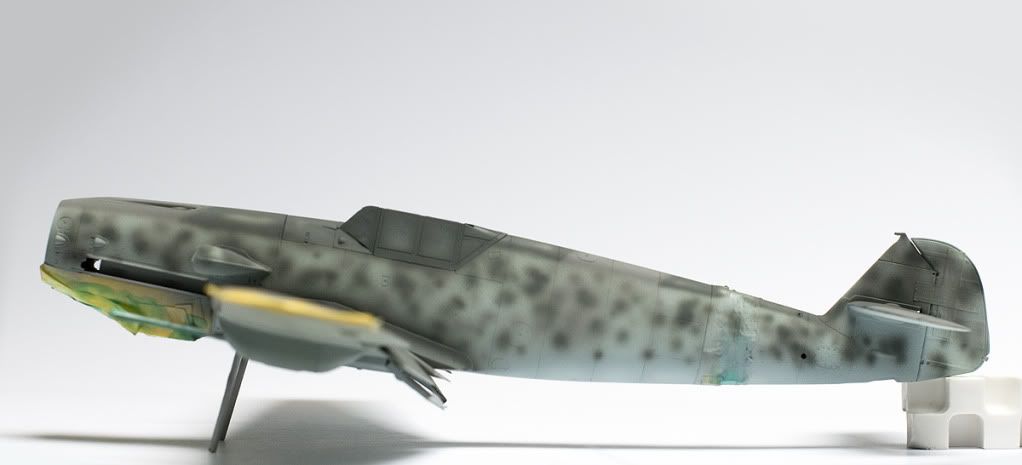
Image

shivadog
Comandante di Gruppo
Posts: 51
Joined: Thu May 01, 2008 1:49 pm
Location: Poland

Post by shivadog » Fri May 13, 2011 2:16 am

Started with upper surfaces.
Lifecolor RLM 75 on the panel lines and lighter between. Lifecolor RLM 74 on the panel lines (similiar it was with RLM 75 at the beginning).
Some spots ready.

Image

Image

Image

Image

User avatar
Editor
Site Admin
Site Admin
Posts: 2177
Joined: Thu Jul 24, 2003 3:53 pm
Location: Canada
Contact:

Post by Editor » Fri May 13, 2011 8:27 am

Very nice job with the mottling!

User avatar
gruson
Comandante di Stormo
Posts: 74
Joined: Fri Jun 12, 2009 5:20 am
Location: France

Post by gruson » Sat May 14, 2011 11:46 am

Hi,

Augur a magnificent final !
michel

User avatar
Dave Bayliss
Comandante di Stormo
Posts: 121
Joined: Tue Jul 27, 2010 9:16 am
Location: Worcester, United Kingdom

Post by Dave Bayliss » Tue May 17, 2011 8:44 am

It's looking very good so far. The mottling is very deft. I am sure the end result will be impressive too. I have enjoyed following this build, your work is excellent. Can't wait to see the finished job.
Dave. :wink:
There's so much left to learn and no one left to fight.

shivadog
Comandante di Gruppo
Posts: 51
Joined: Thu May 01, 2008 1:49 pm
Location: Poland

Post by shivadog » Wed May 18, 2011 5:11 am

Hello,

thanks for all so nice comments.
Mottling was looking nice but was not so similiar to the plane picture, what do You think about it?
Now it is more like, but still need some improvement.

There will be some overpainting of fuselage part where german cross was.

Image

Image

Image

Post Reply