Page 1 of 1
Re 2001 Falco II
Posted: Tue Jun 14, 2022 8:03 am
by davenport49
Re: Re 2001 Falco II
Posted: Tue Jun 14, 2022 7:04 pm
by Editor
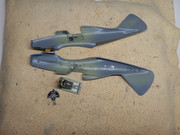
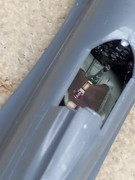
Great job Richard and a great subject! I look forward to following the build. If you follow kit instructions you never know how a cockpit will end up until its finally into place and sometimes its not precisely located as you point out - often its too deep.
Re: Re 2001 Falco II
Posted: Mon Jun 20, 2022 2:21 pm
by davenport49
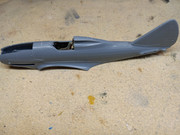
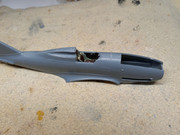
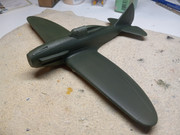
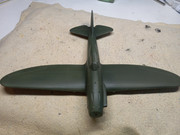
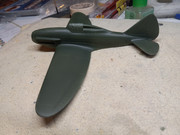
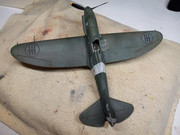
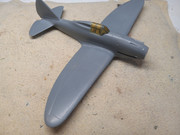
I added a lens to the gunsight then attached windscreen and canopy. Interestingly, the instructions illustrate the open canopy incorrectly. Being a “short run” kit, it lacks things like locator pins, so precise alignment of the fuselage and wings requires careful attention and patience. I installed the underside of the wings first, insuring the correct position, then added the upper wings. To strengthen the horizontal stabilizer join, I inserted a brass rod through the fuselage to connect both parts. The radiators have prominent ejector pin marks which have to be removed to attach the radiator cores.

Re: Re 2001 Falco II
Posted: Sat Jun 25, 2022 9:31 am
by davenport49
Re: Re 2001 Falco II
Posted: Sun Jun 26, 2022 10:19 am
by Editor
davenport49 wrote: ↑Mon Jun 20, 2022 2:21 pm
Being a “short run” kit, it lacks things like locator pins, so precise alignment of the fuselage and wings requires careful attention and patience.
With short-run kits to get good alignment between the fuselage halves (and other parts that require two parts to be cemented together) is use thin pieces of tape around the bottom and top halves, the rudder and nose - don't use clamps unless tape won't hold the parts together. Then using Tamiya Extra Thin liquid cement apply small amounts of cement between the tape using capillary action but not applying too much such that the liquid cement runs underneath the tape. Allow the cement to dry and remove one piece of tape at a time and repeat all around the fuselage. Its a little tedious but you'll get a good fit. Do I prefer pin locator pins? ... absolutely, its much easier to assemble parts with locator pins.
VOS2 sprayed on beautifully.
Re: Re 2001 Falco II
Posted: Wed Jul 06, 2022 8:36 am
by davenport49
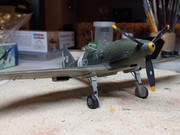
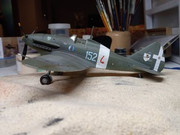
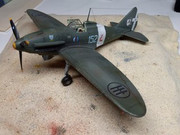
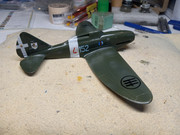
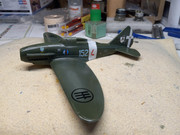
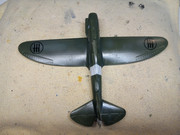
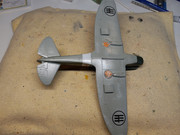
I lightened some of the shading, added the white stripe, and sprayed a light coat of Testors Glosscote to prepare for decals. For this project, I first bought the Stormo decals because they included 152-4, flown by Capitano Salvatore Teja to carry out missions over Malta in 1942. Then I bought the Sword kit, only to discover the kit included decals for the same aircraft! Ah, well. I decided to go with the Stormo decals, which, I believe, are sharper, more detailed and probably have better color register. After I finished the decals, I discovered I had the white stripe in the wrong position! The decals are quite thin; still, it took Micro-Sol and a hairdryer in tandem to get them to settle into contours and panel lines. Another light spray of Testors Glosscote and it’s ready for weathering and detailing.
Re: Re 2001 Falco II
Posted: Thu Jul 14, 2022 12:22 pm
by davenport49
Re: Re 2001 Falco II
Posted: Fri Jul 15, 2022 7:06 pm
by Editor
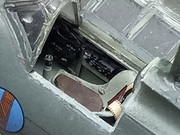
You did a fantastic job Richard, the cockpit looks great! Article please!