Good morning guys!
Today I present another step on the Ro 57.
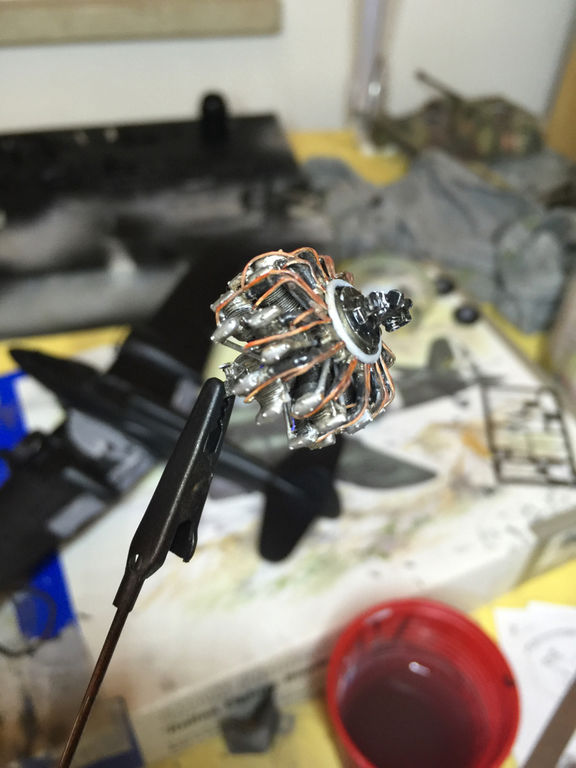
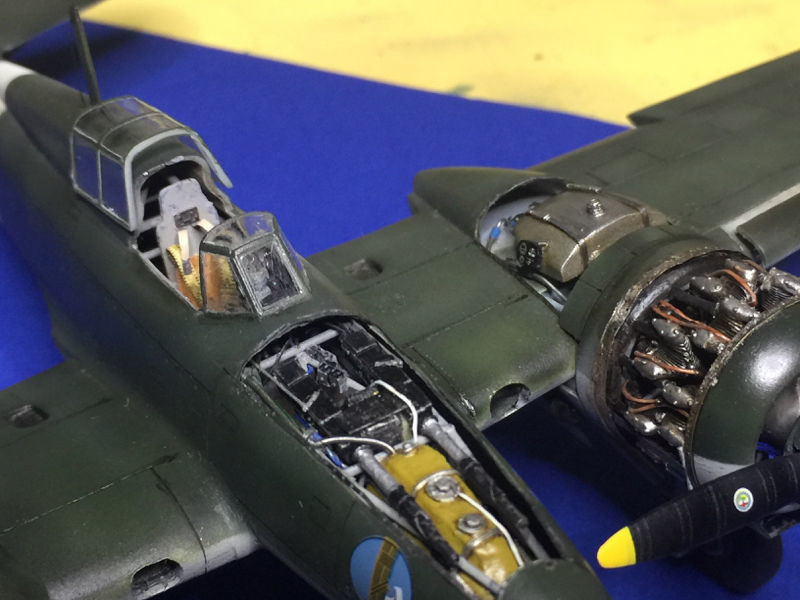
In this session I did a lot of works and I had the unhealthy idea of wanting to expose the radial engine, the Fiat AR 74, to make the subject prettier in my eyes.
I wrote an unhealthy idea because I realized that using the paneling of the kit as reference points for the structures to be built, I didn't end up with the technical drawings of the plane. Basically the reference lines of the kit do not correspond to the underlying structures and consequently all the interior furnishings that I want to recreate are incorrect in the position, I will talk about it shortly to make you understand what I mean ...
The works carried out are many
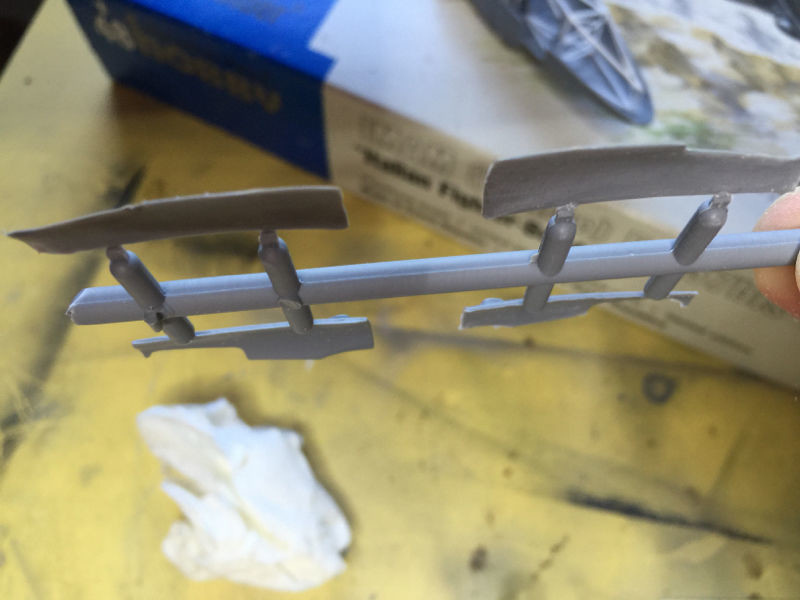
- separation of the various elements of the engine nacelle
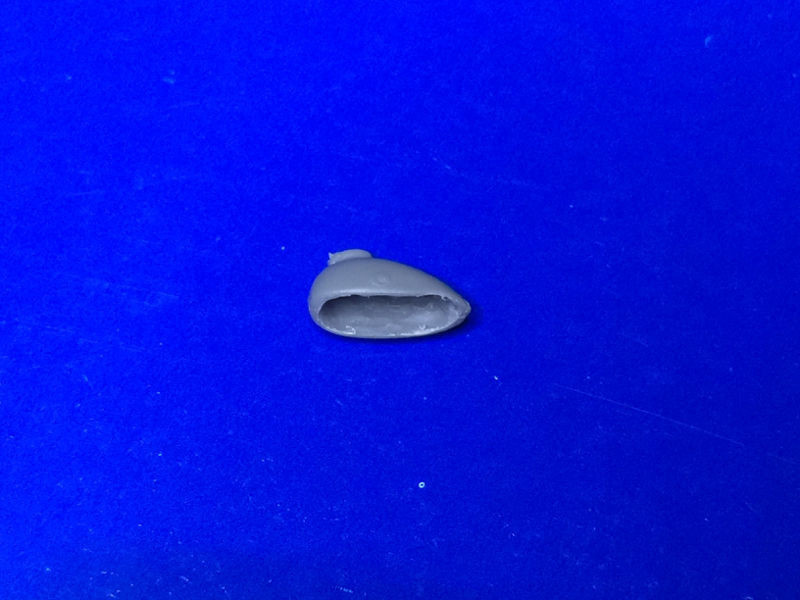
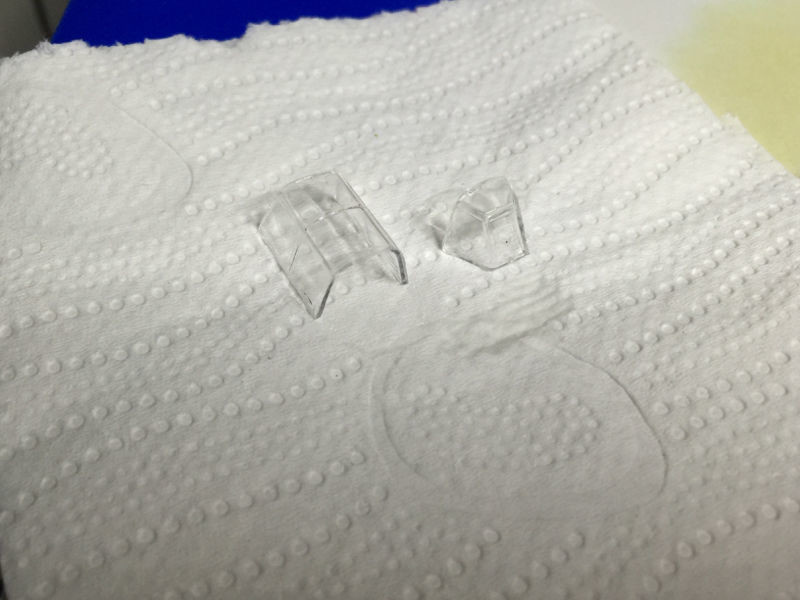
- creation of the oil tank
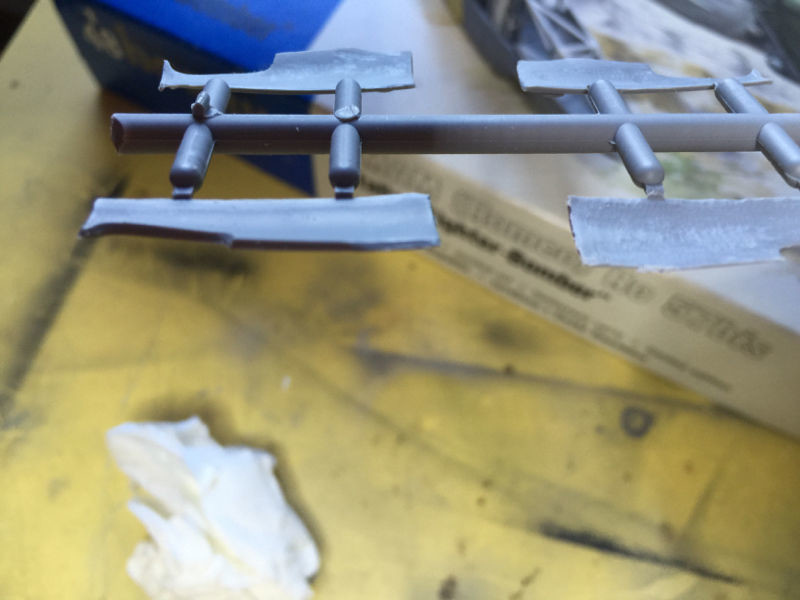
- created and lowered the flaps
- created and placed in open position the slats
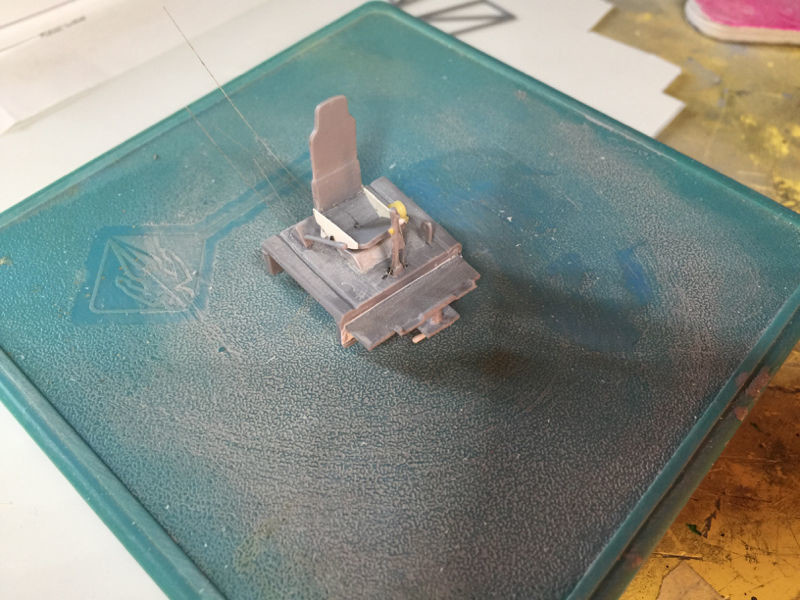
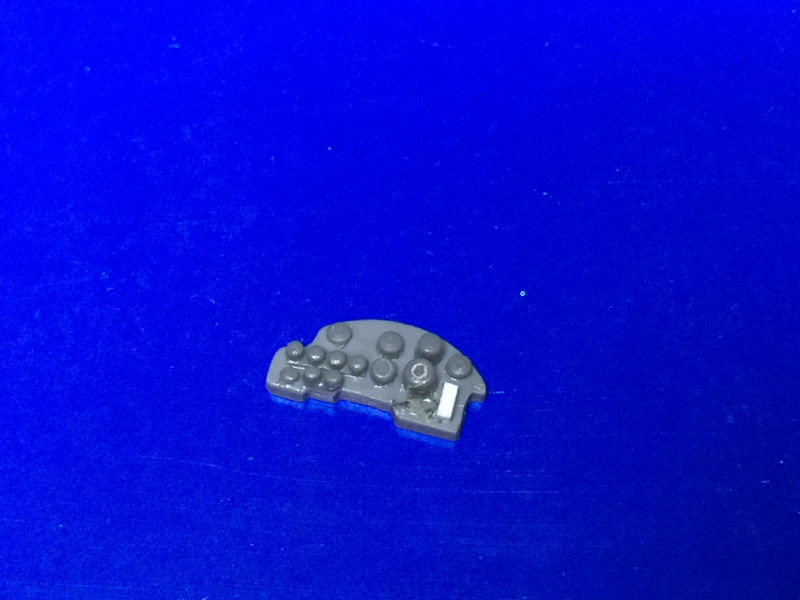
- created the engine instrument panels
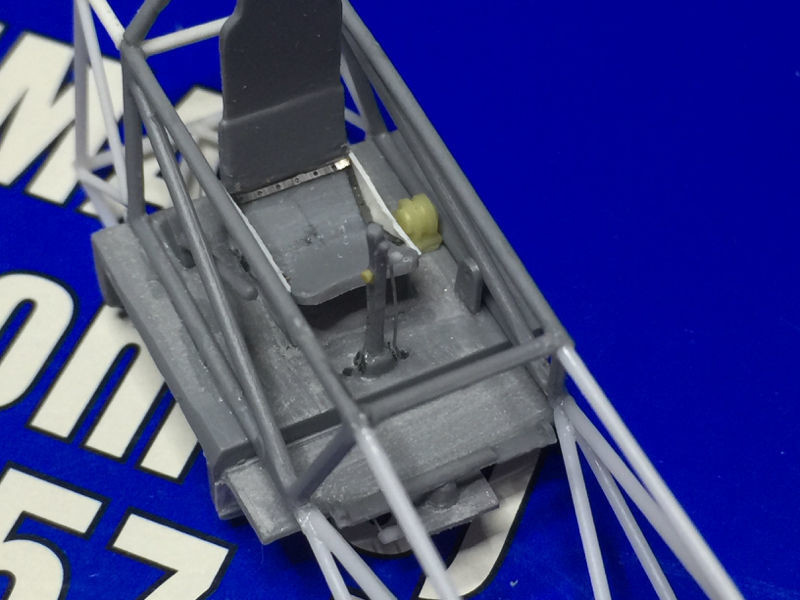
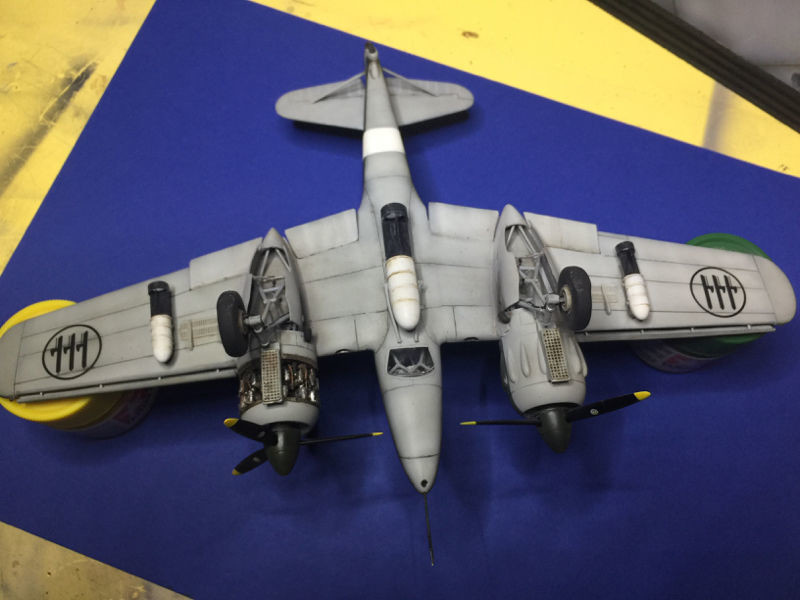
- detailed the compartments of the trolleys
- detailed the inside of the flaps of the naca (I'm considering whether to open them)
- started adding the various pipes
All these things I have to replicate also in the other wing as from under the trolley compartment you can see all these structures, therefore
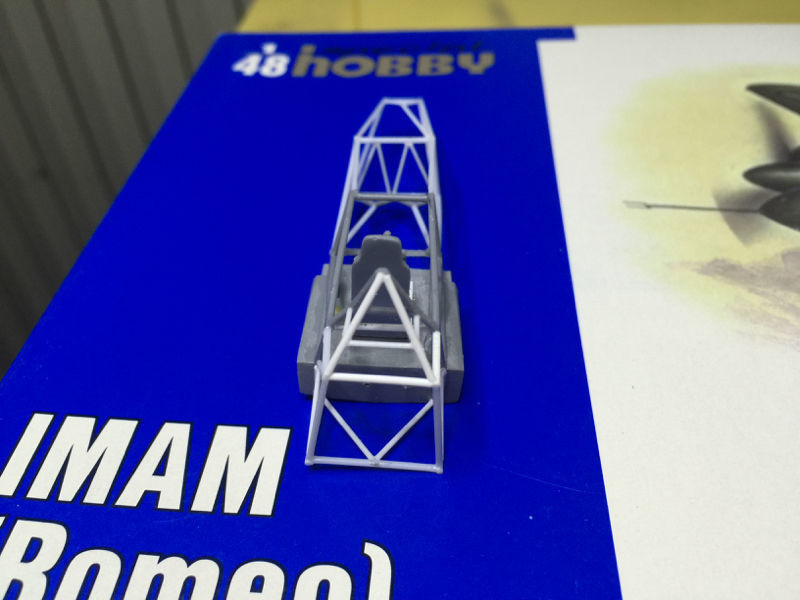
- created the second engine mount
- created the second oil tank (I tried to make it the same as the other)
Of course it won't be as detailed as the other party but it is wasting me a lot of time because these works were not planned.
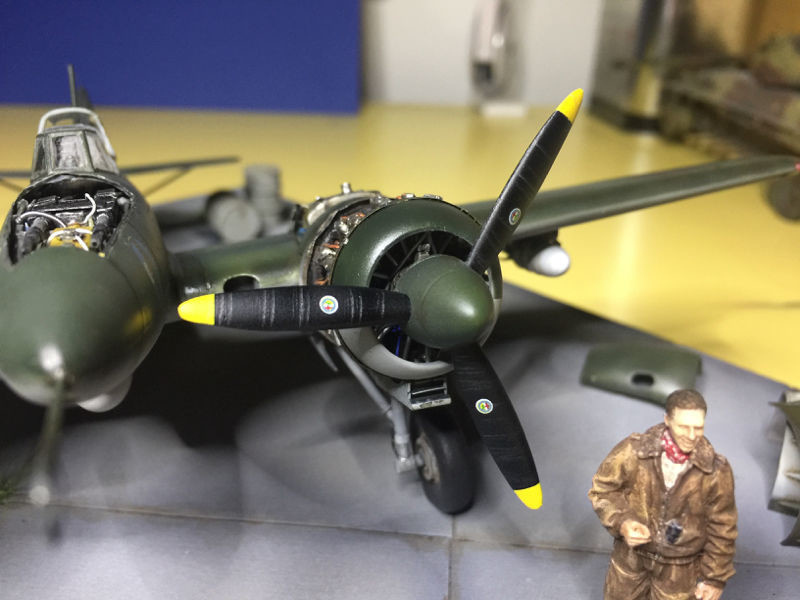
Now the photos

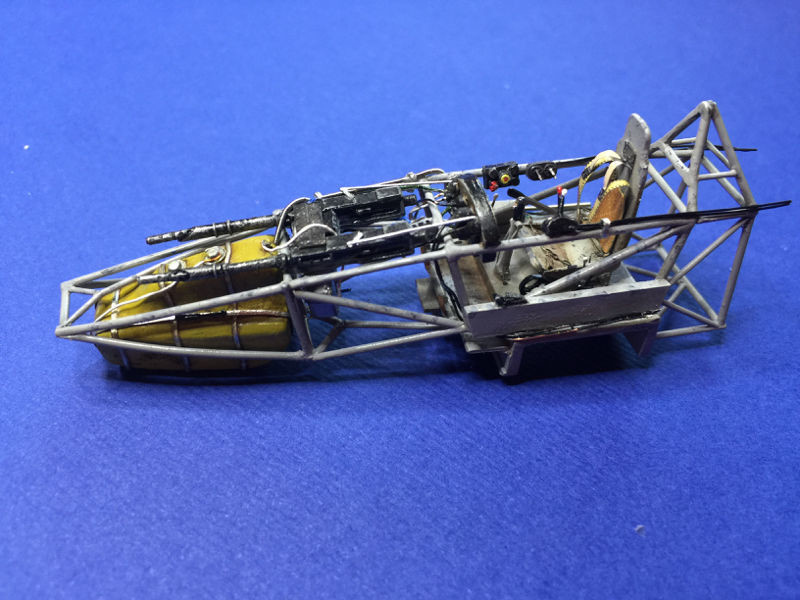
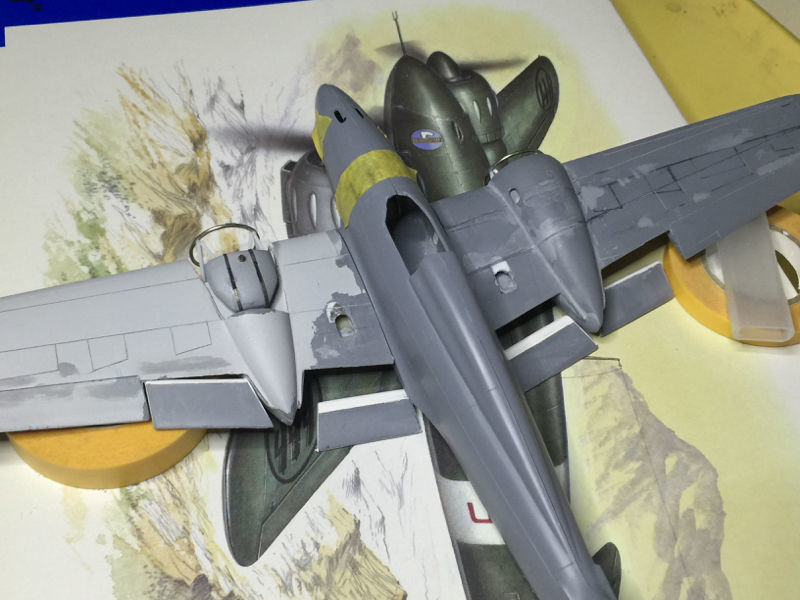
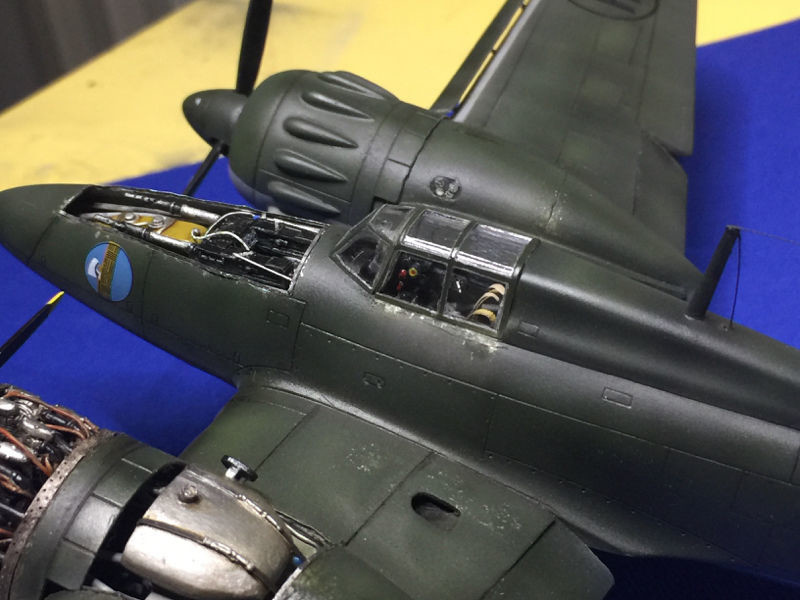
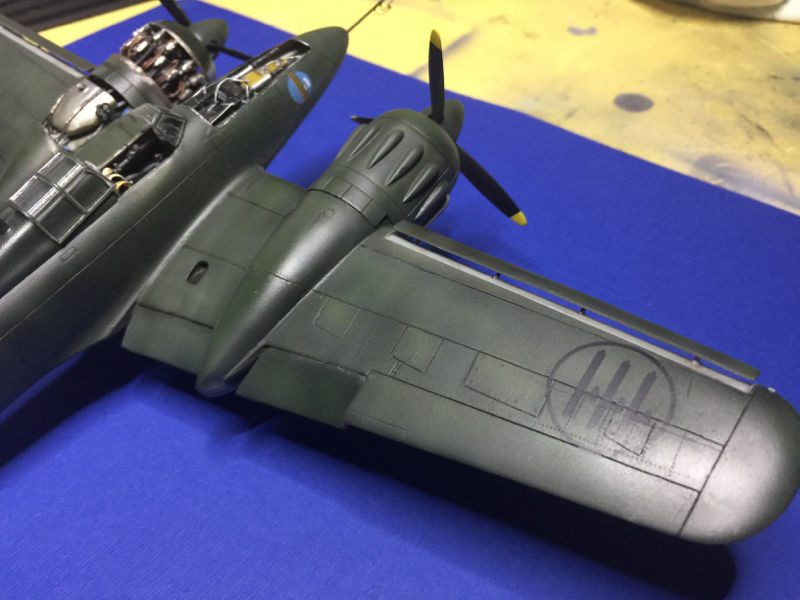
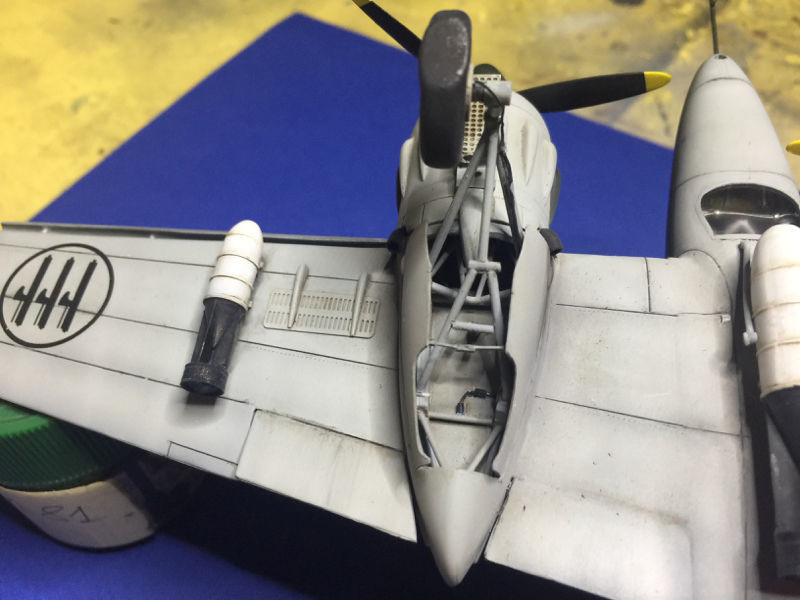
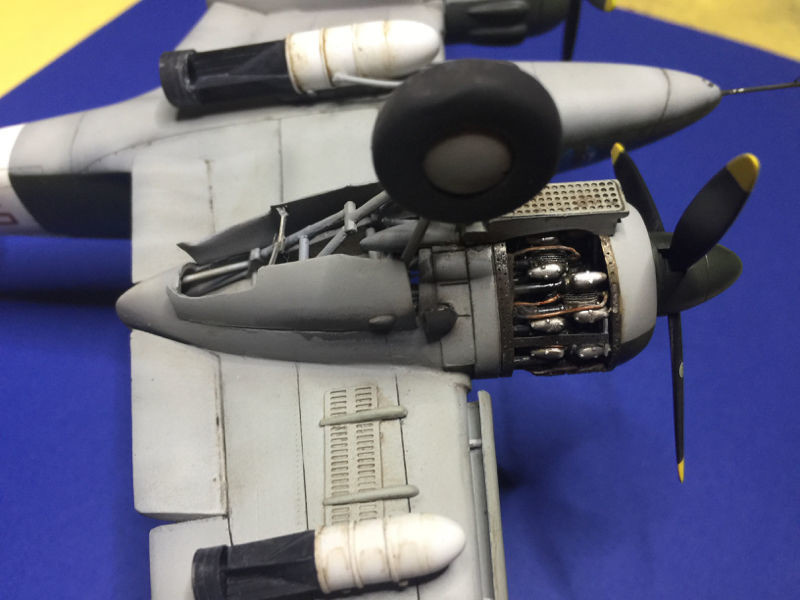
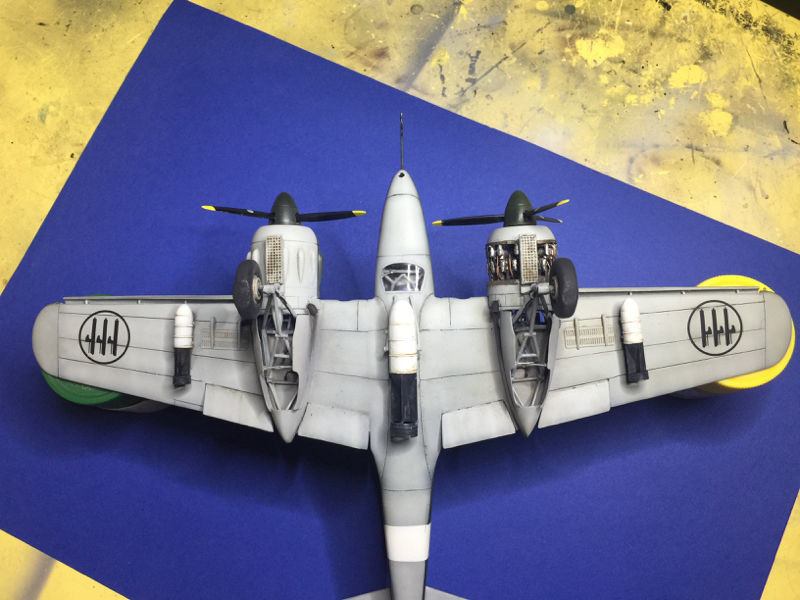
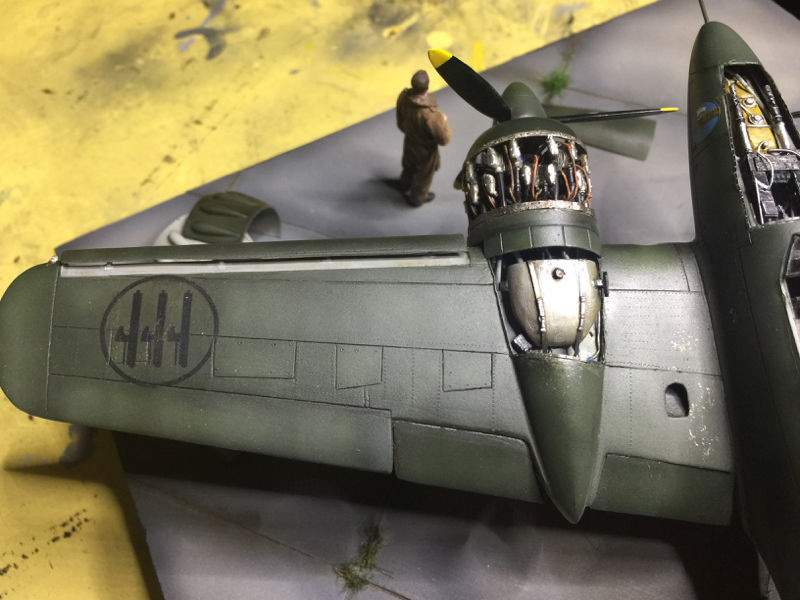
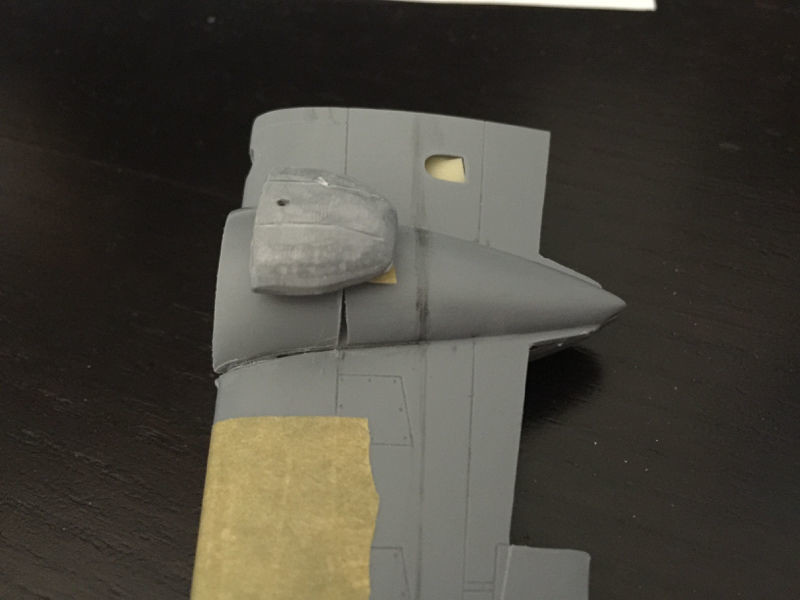
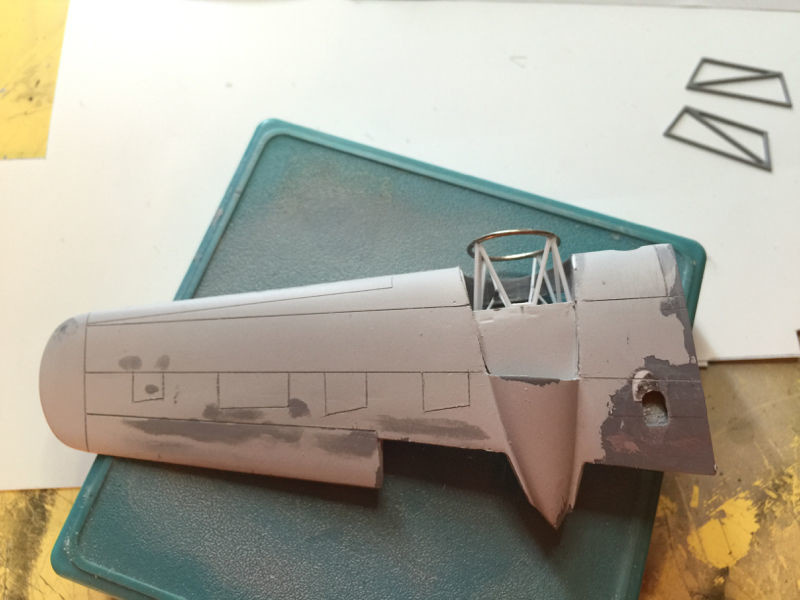
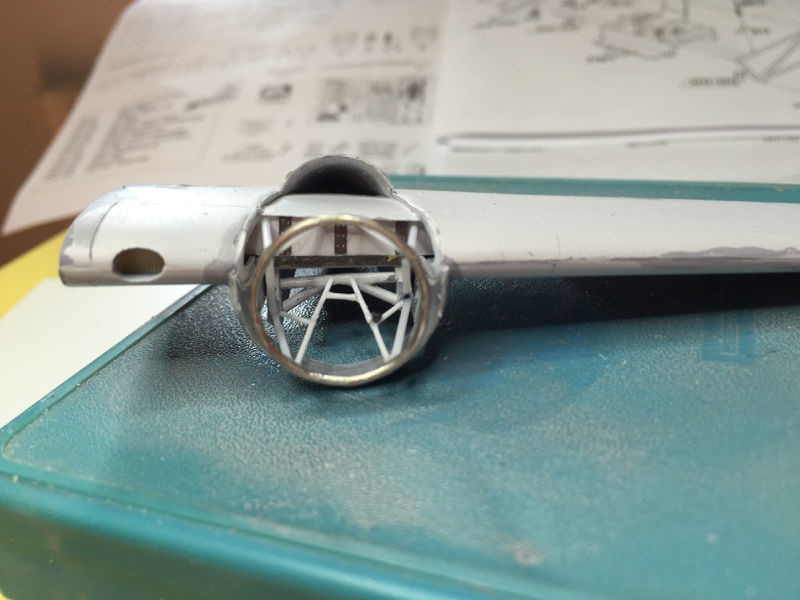
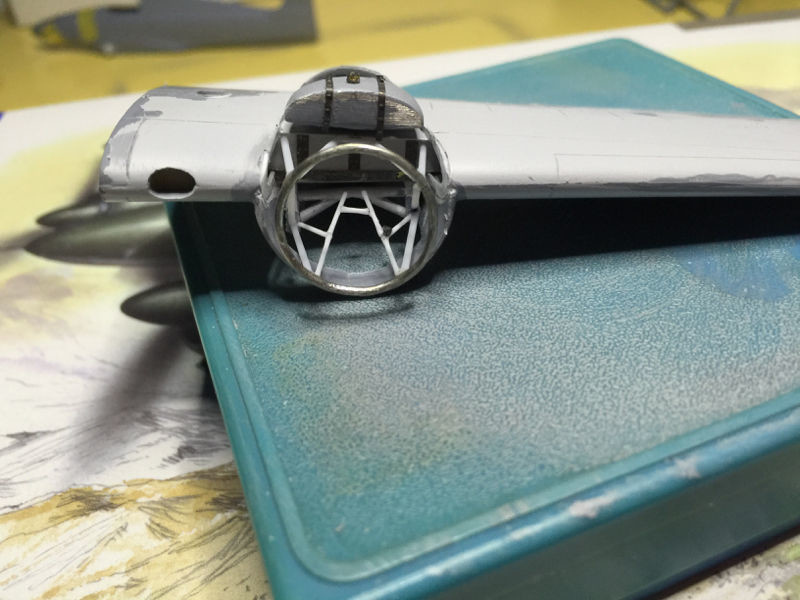
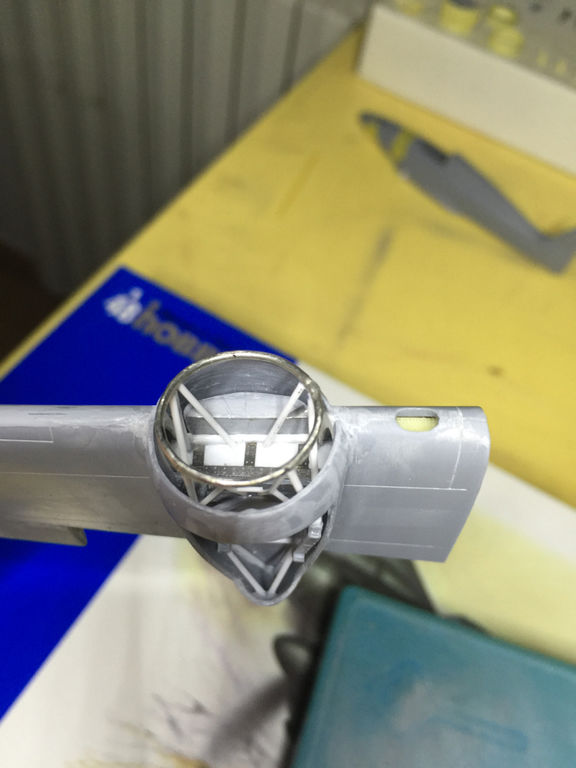
I have tried to detail the various parts that make up the engine hood and thinning the magni ring to transparency
the oil tank is only sketchy

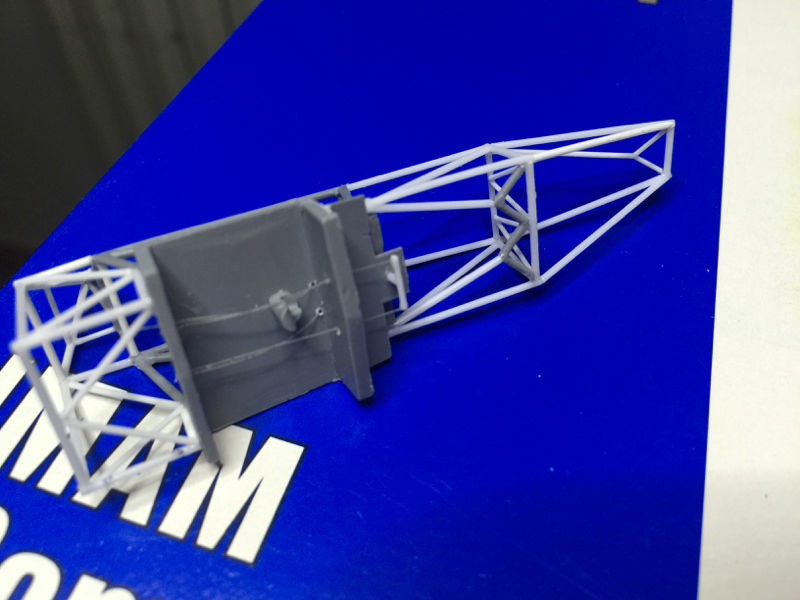
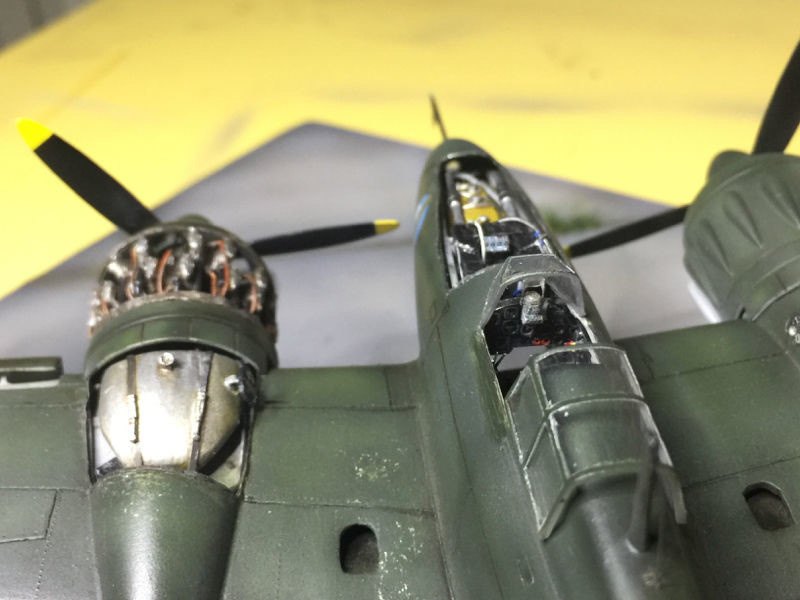
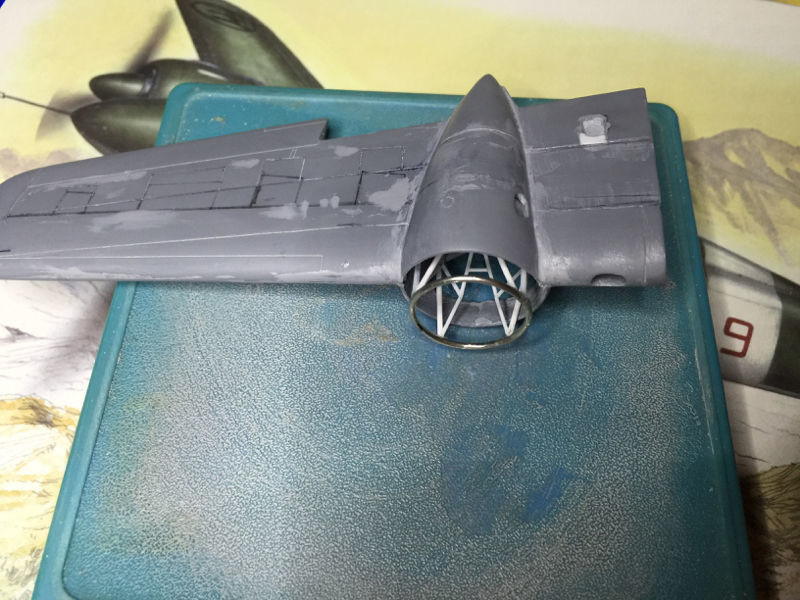
flap separation and gondola cut for tank display

and here the first problems with the paneling of the kit

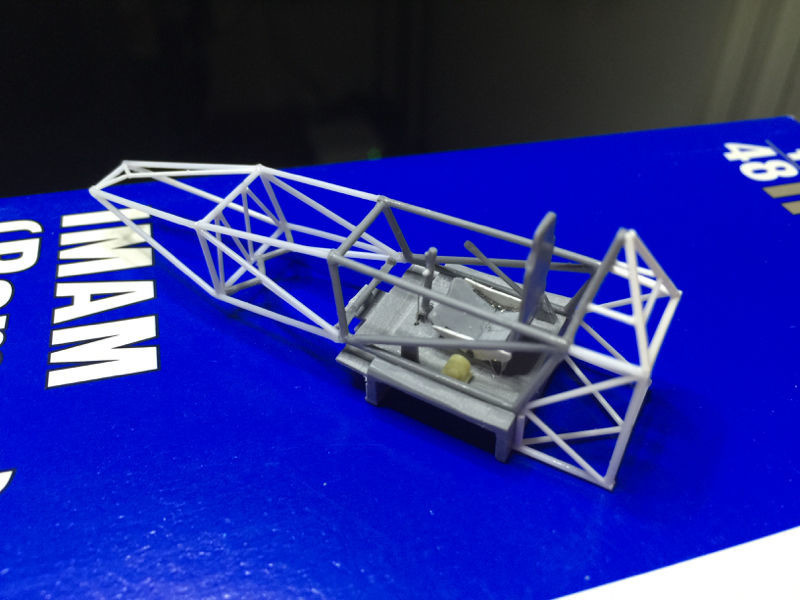
in the highlighted area there should be the wing caisson where in the upper portion a part of the trellis of the engine mount would be constrained while the remaining part should be constrained to the carriage support. Here are some pictures to take a look at.

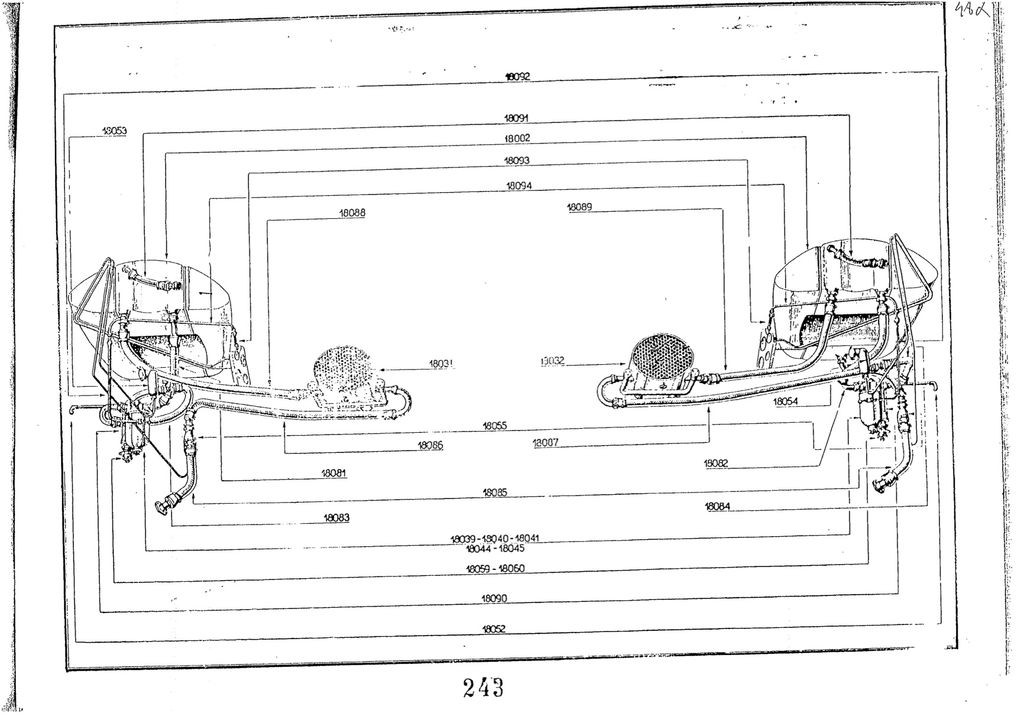
here the plan drawing of the wing where it is possible to appreciate the arrangement of the structures from above

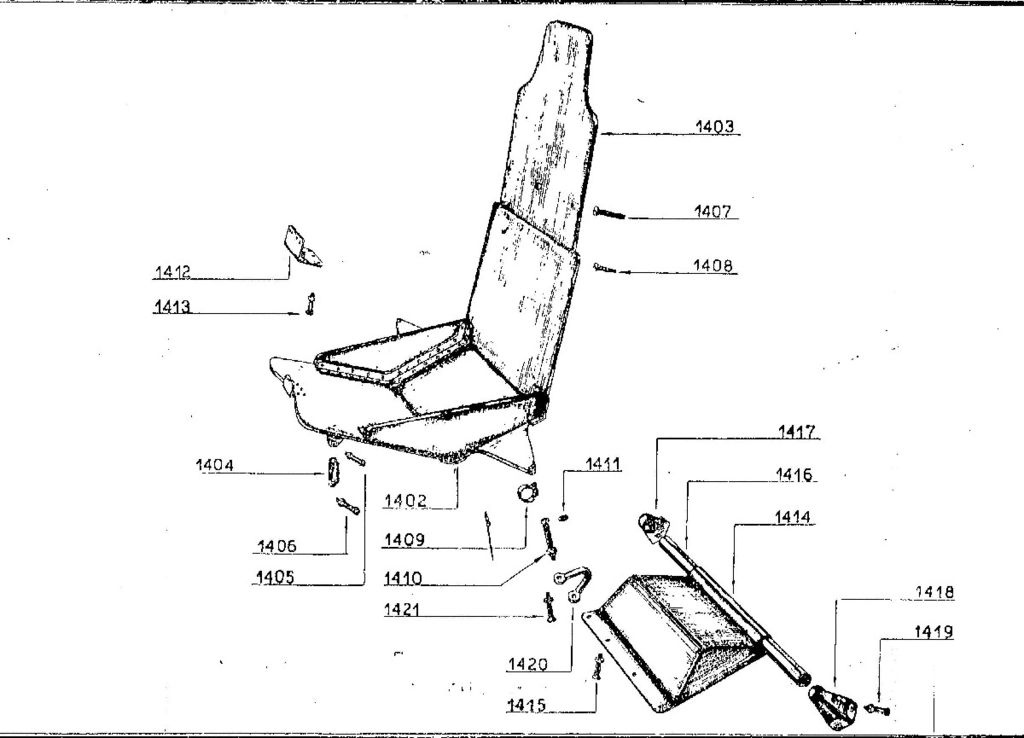
so, here in the drawing (taken from the nomenclator manual) you can see the position of the main oil tank and engine mount structures which is bound to the wing box above and to the trolley structure below
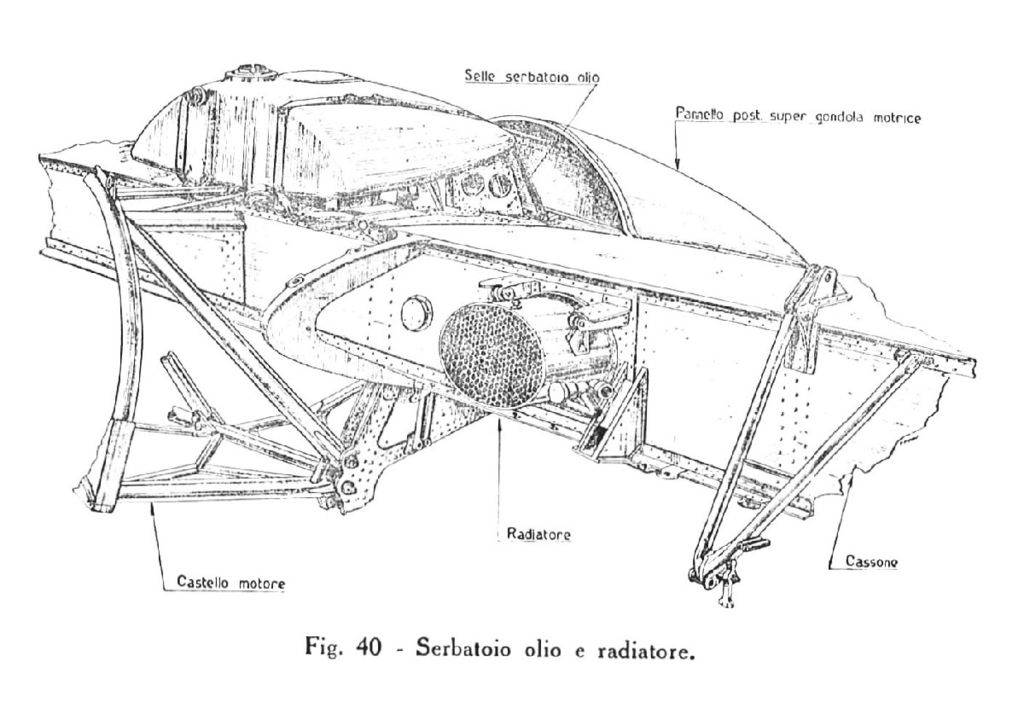
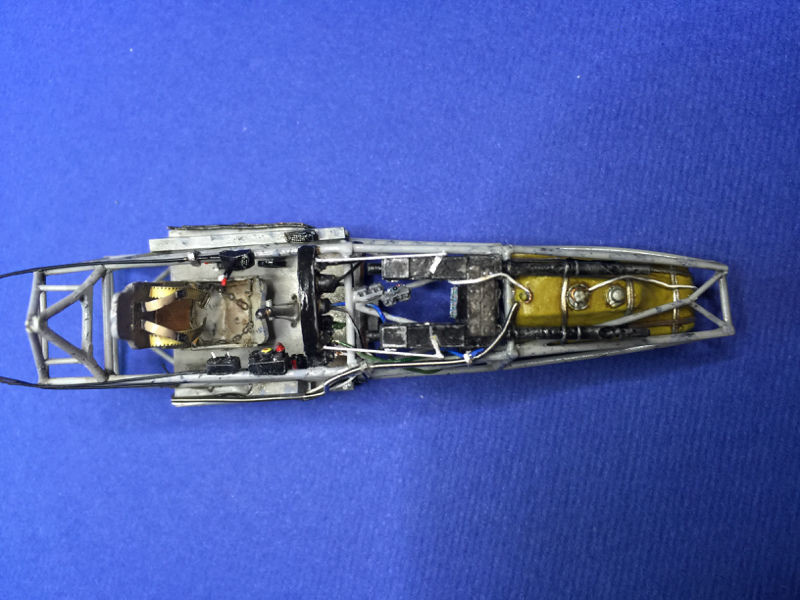
in this other photo (I do not remember the origin) you can see the arrangement from above of the structures in question,
note the space behind the tank and the one in front before reaching the flaps
Here the original
and here how it would be in the kit
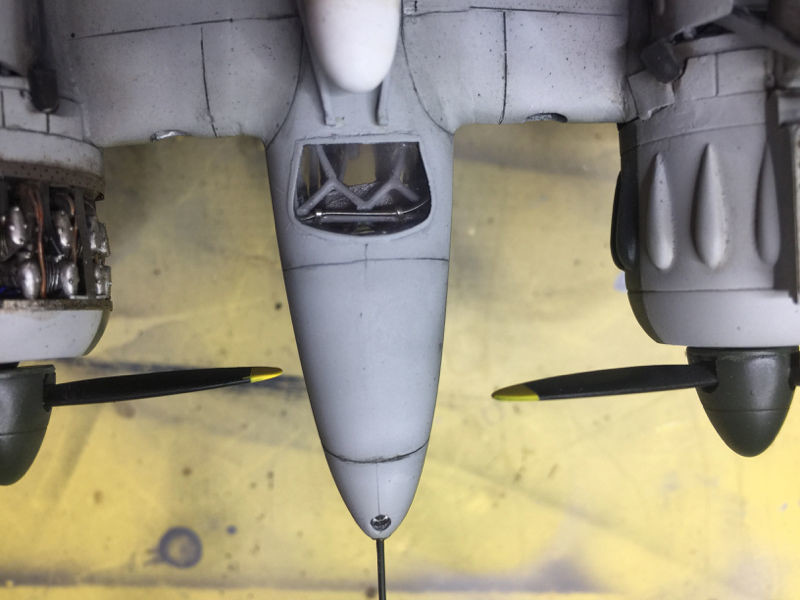
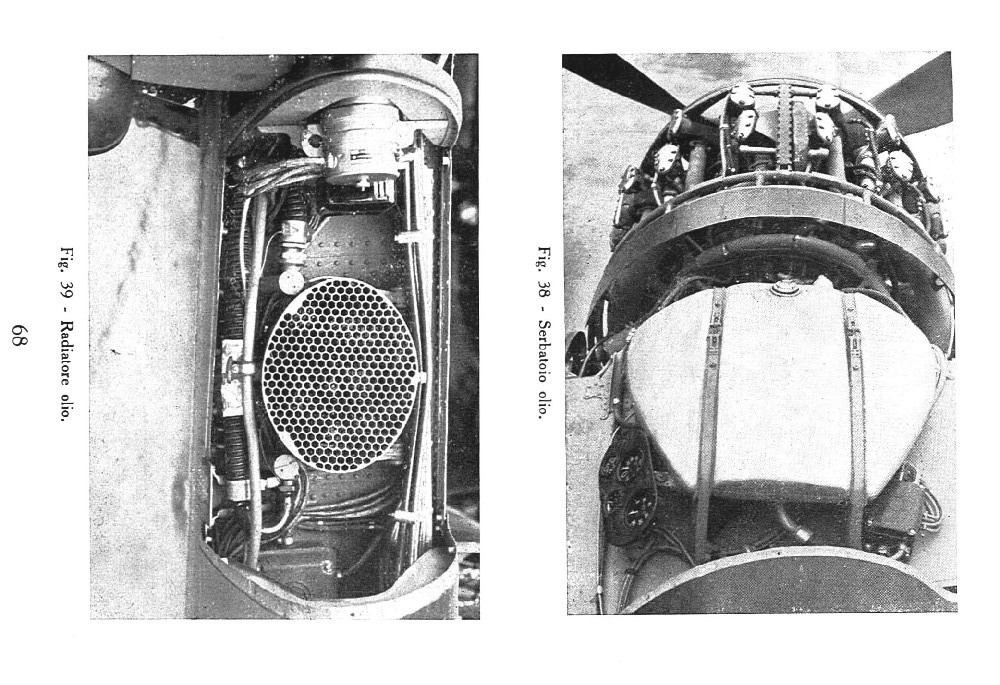
now (again from the manual) seen from the front and a little from below to notice that the tanks are not aligned with the wing body but protrude a little forward
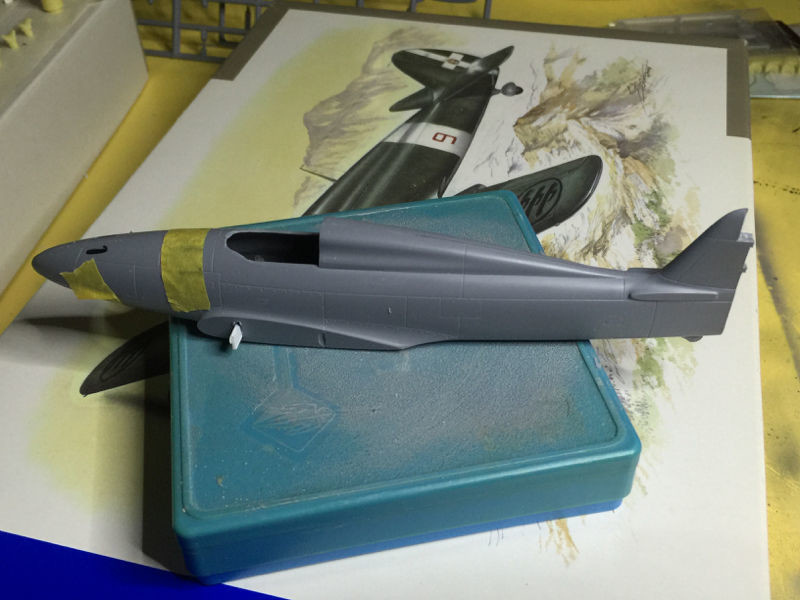
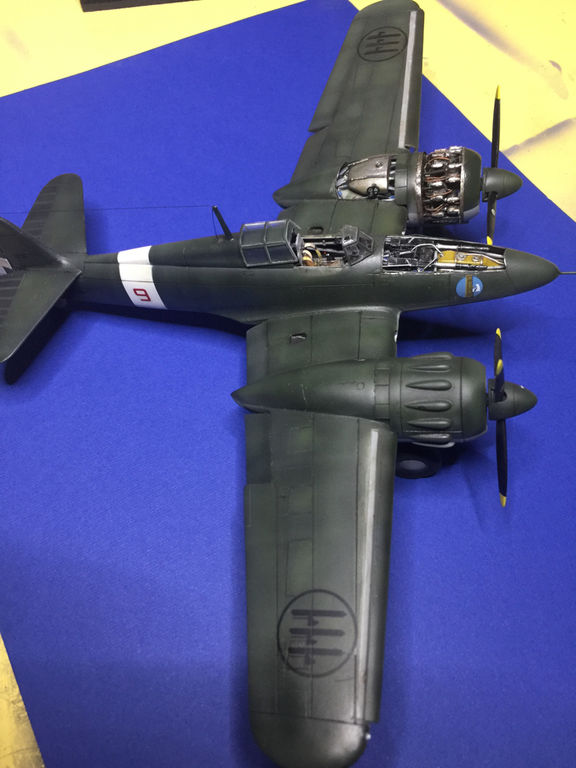
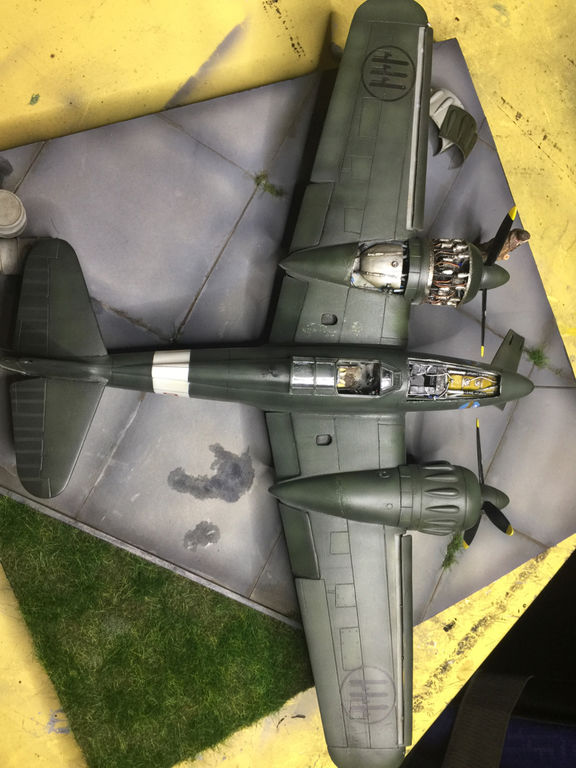
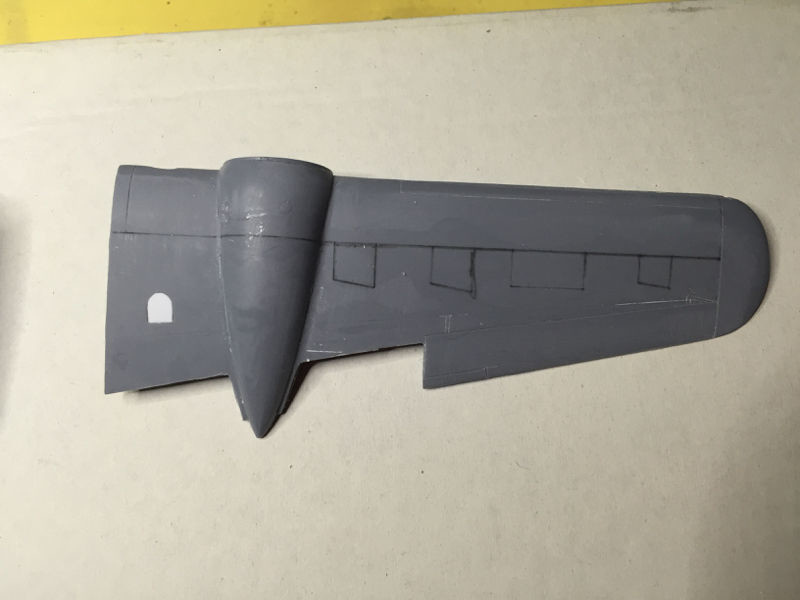
now the wing of my model

in order to position the oil tank correctly as per the original drawings I should put it in this position .....
..... but the dividing line of the gondola and, theoretically, where it passes under the caisson, is half a centimeter ahead
I verified that if I use the technical drawing of the wing plant as a reference, all the problems I have are solved immediately, also comparing with the only real photo on the location of the oil tank I noticed that the rear nacelle is separated from the front one. oblique and not straight as I did ....... moral:
- I delete the panels on the wings to redo them as per the technical drawing
- lower the air outlet holes of the radiators
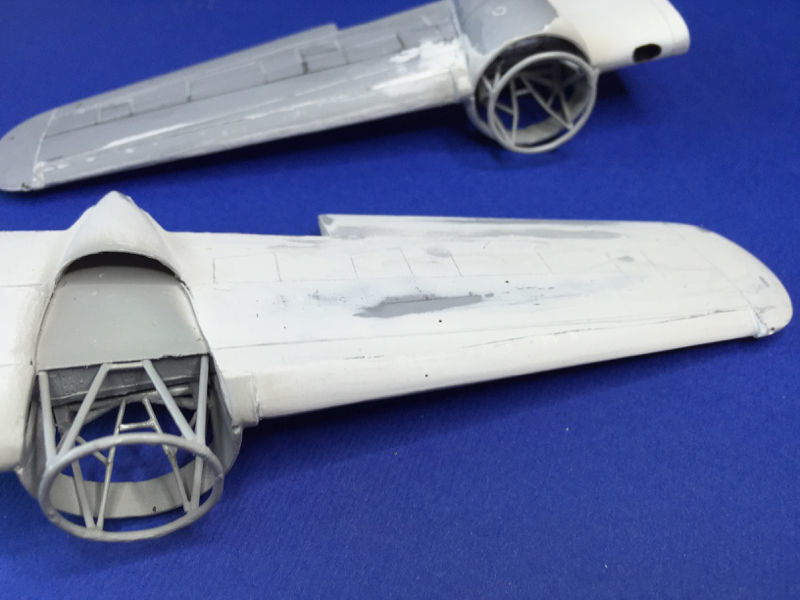
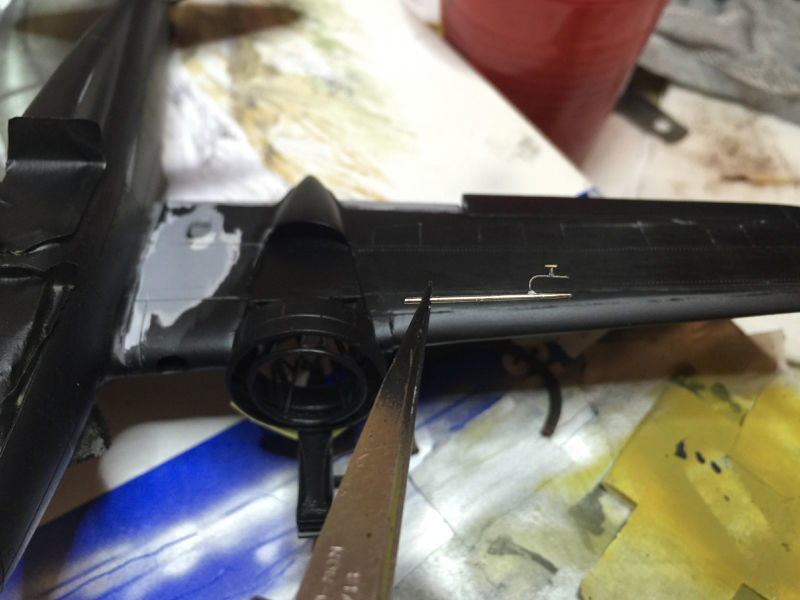
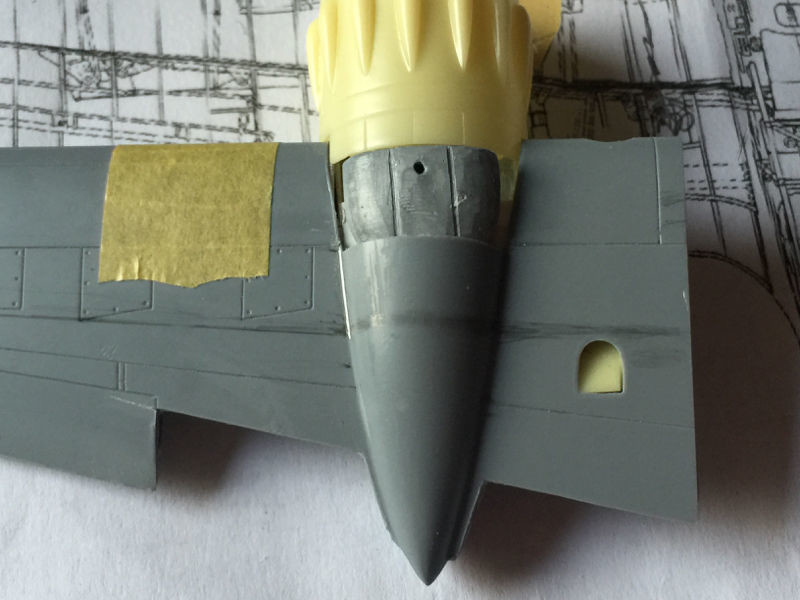
first I plastered the original panels and closed the oil cooler hole
then I re-engraved the panels in the new location, keeping faith with the original technical drawing of the wing

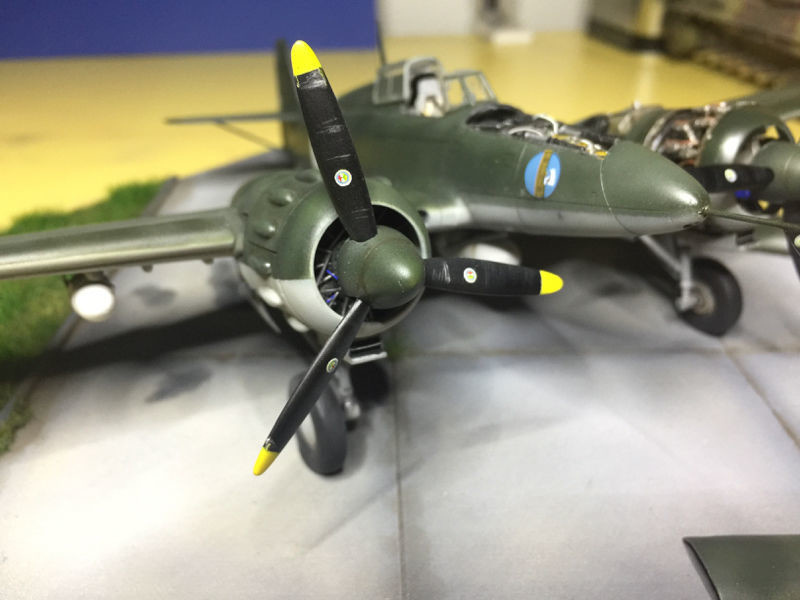
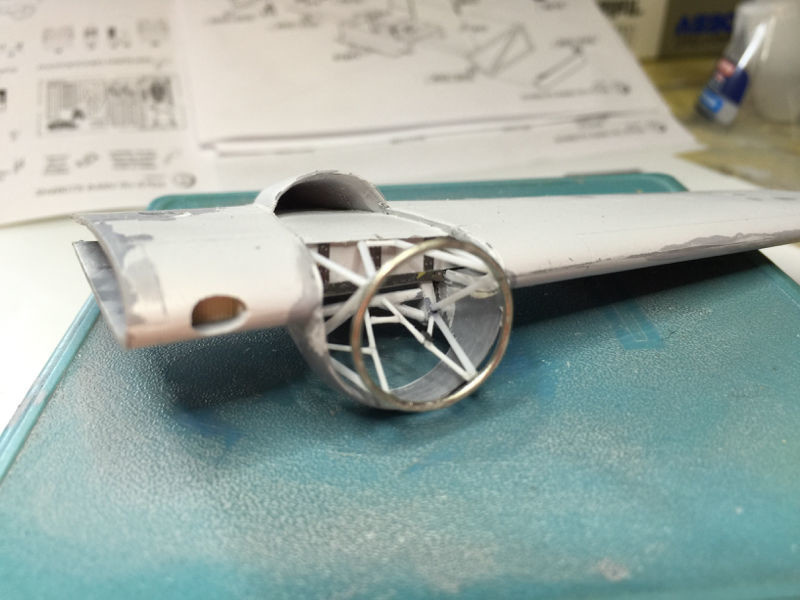
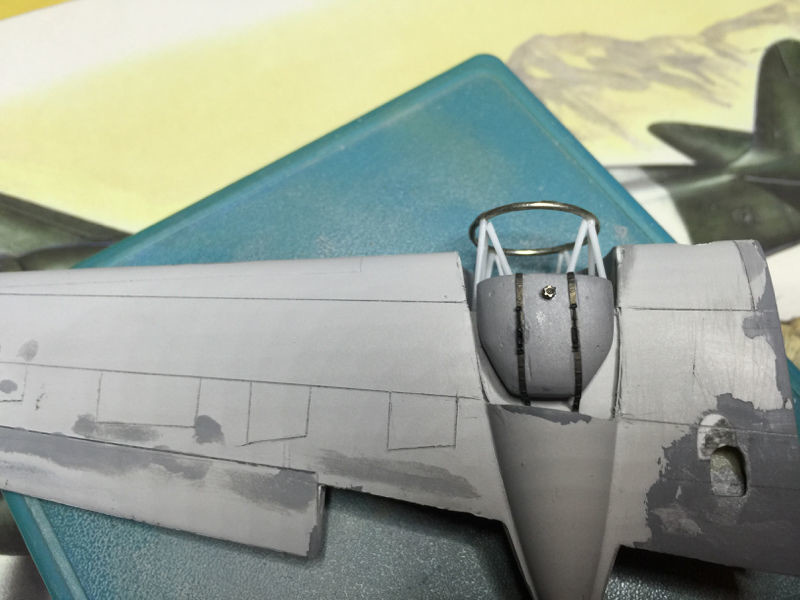
the engine mount ring is too big and I need to do it again
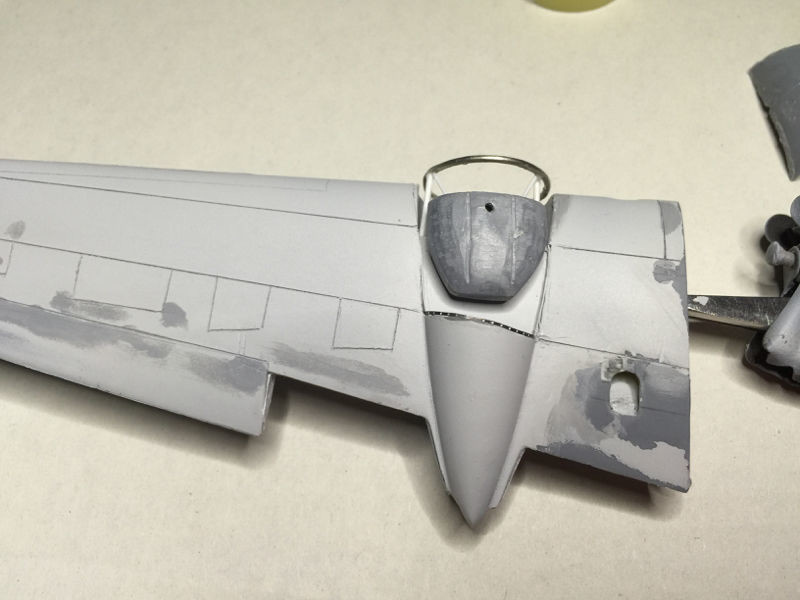
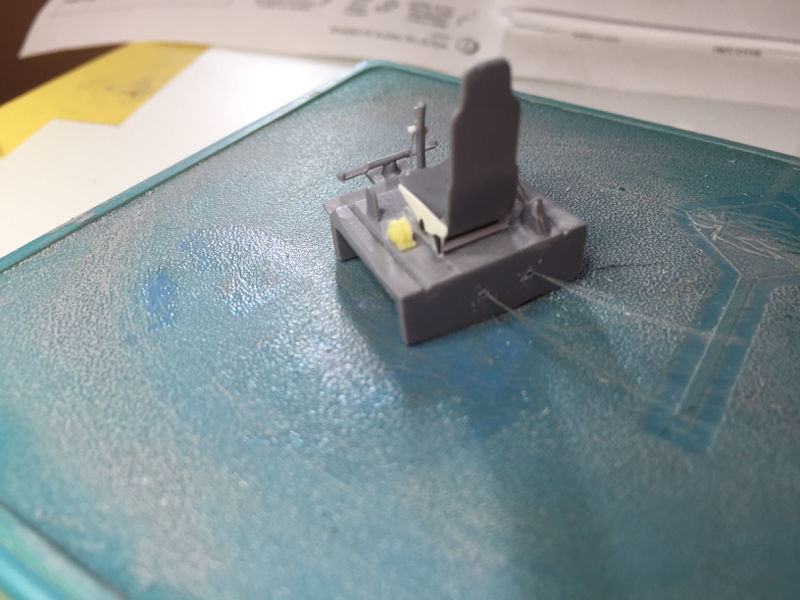
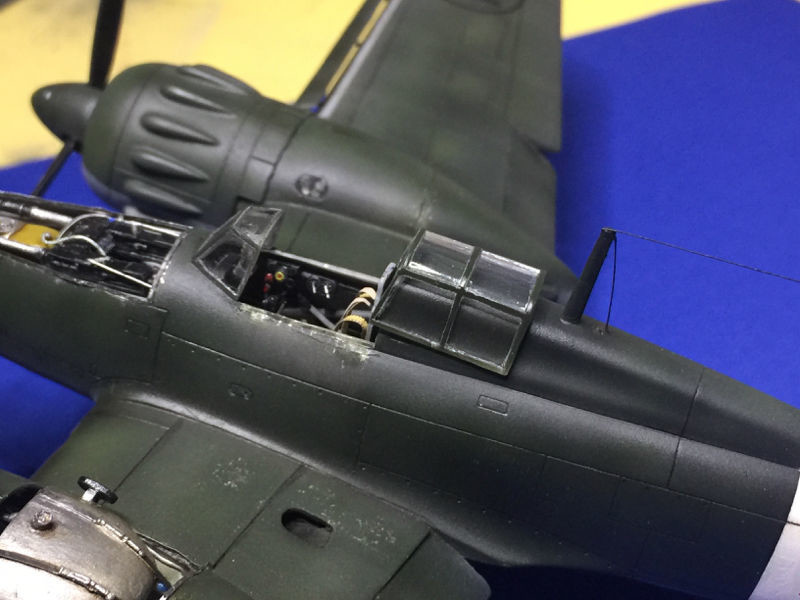
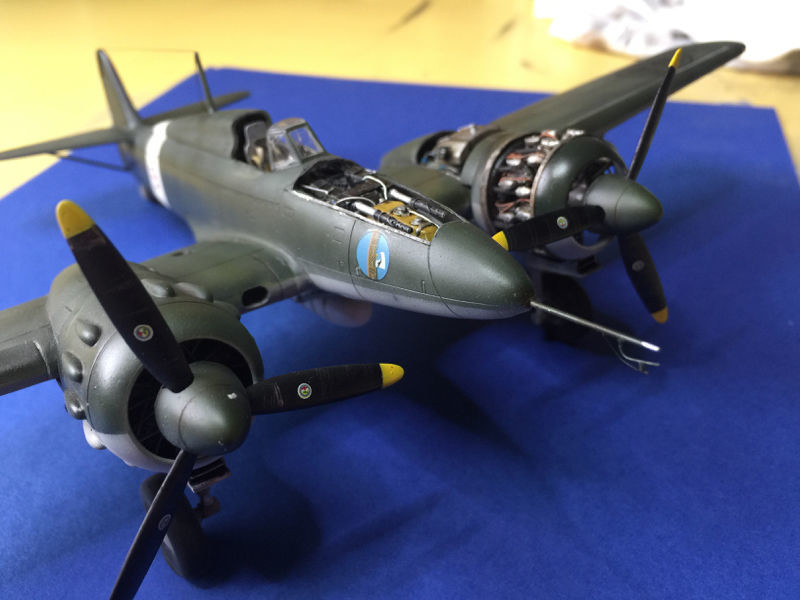
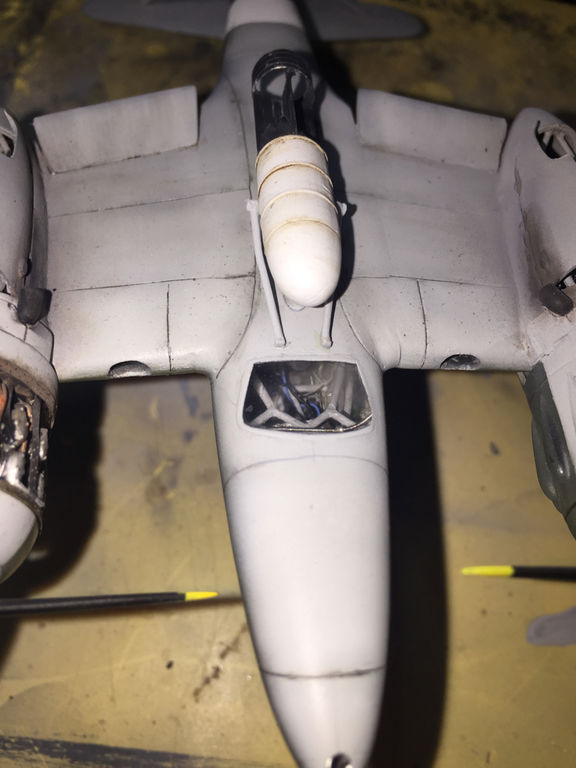
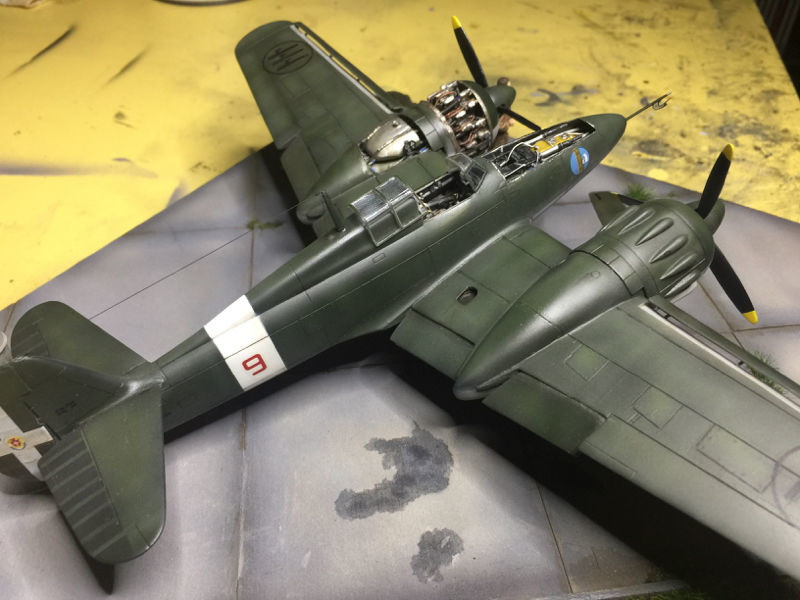
As you can see now the tank is perfectly positioned (it is not finished and it is not glued)
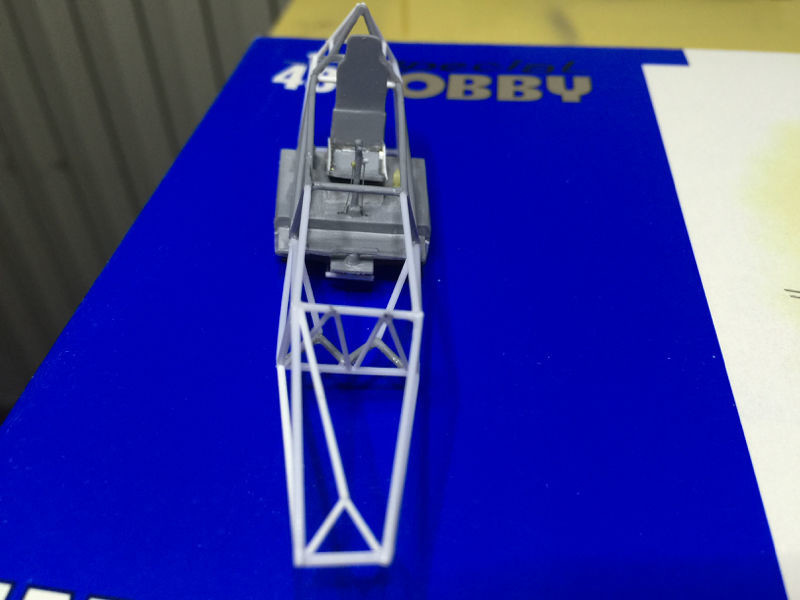
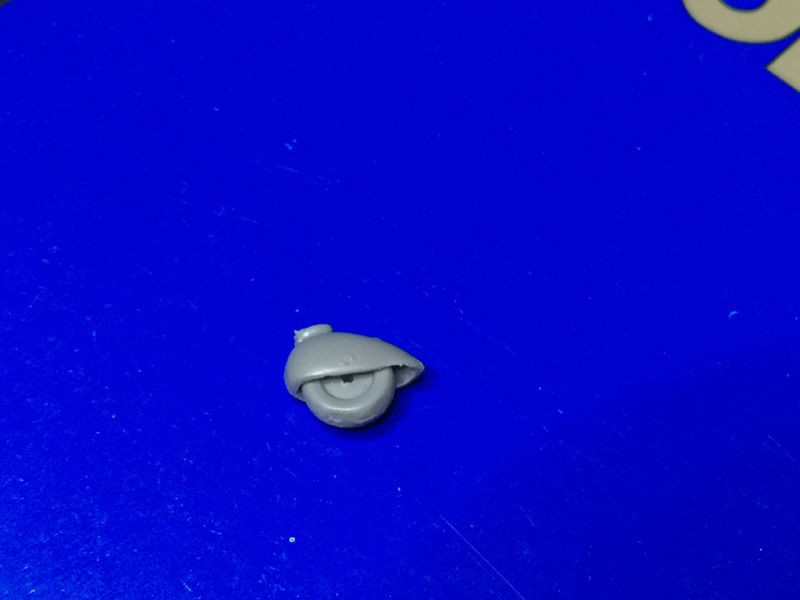
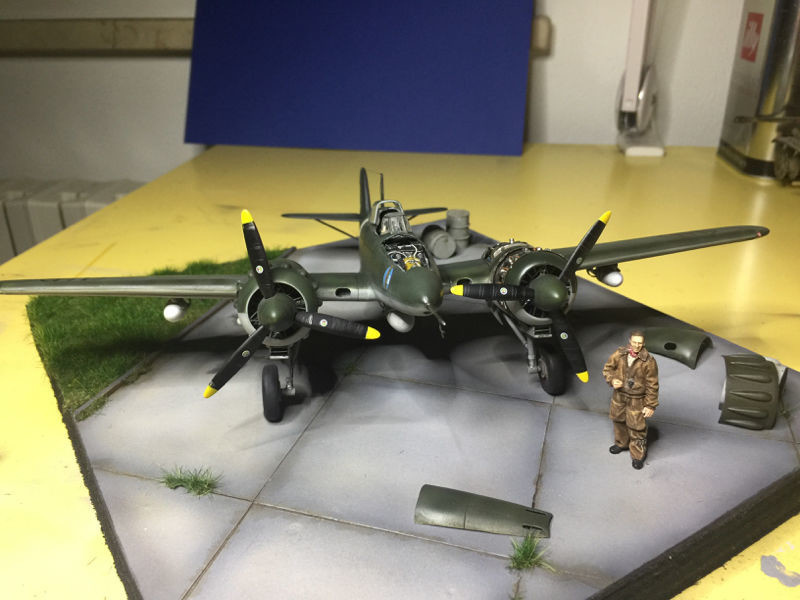
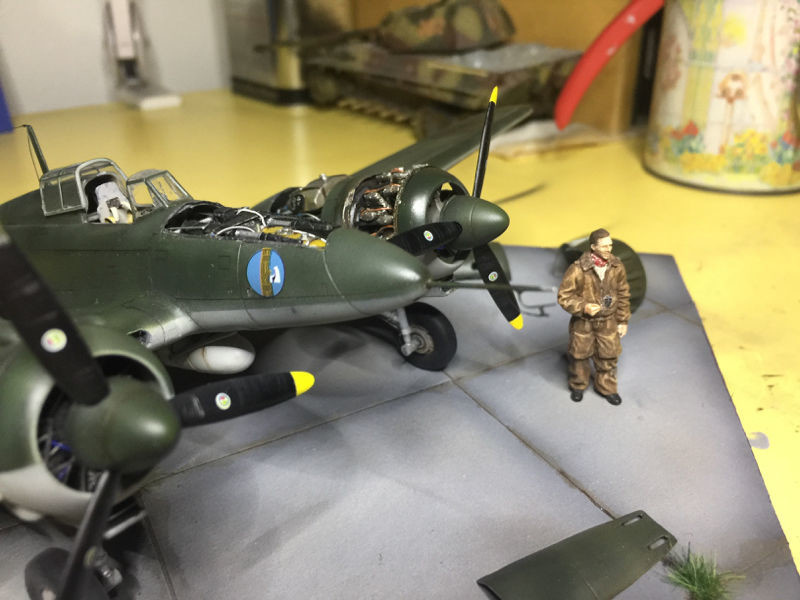
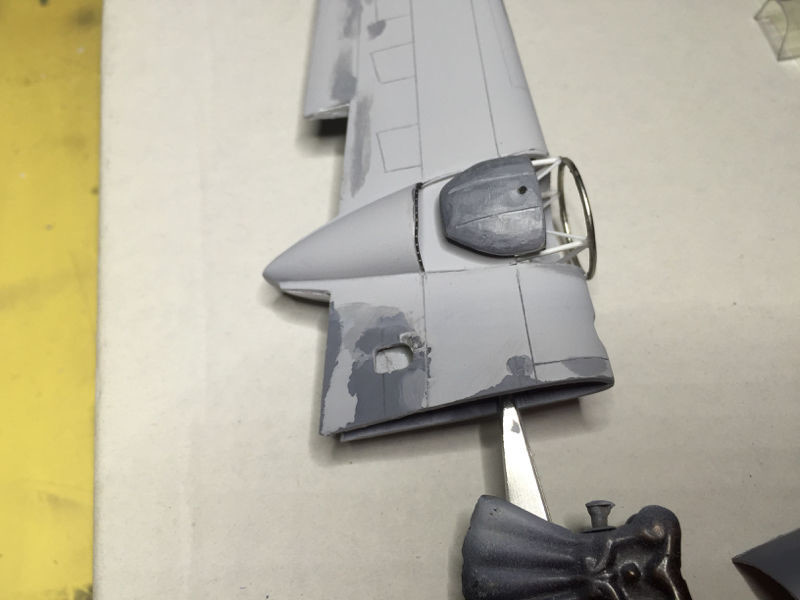
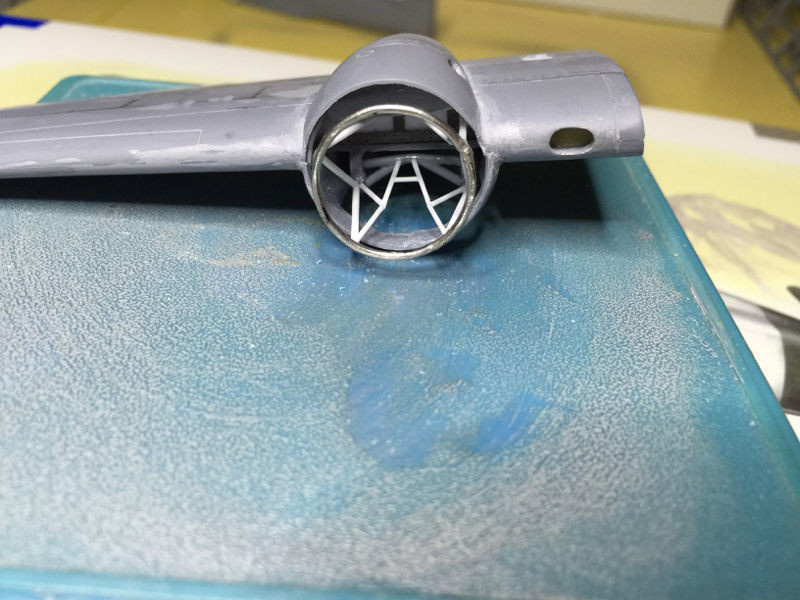
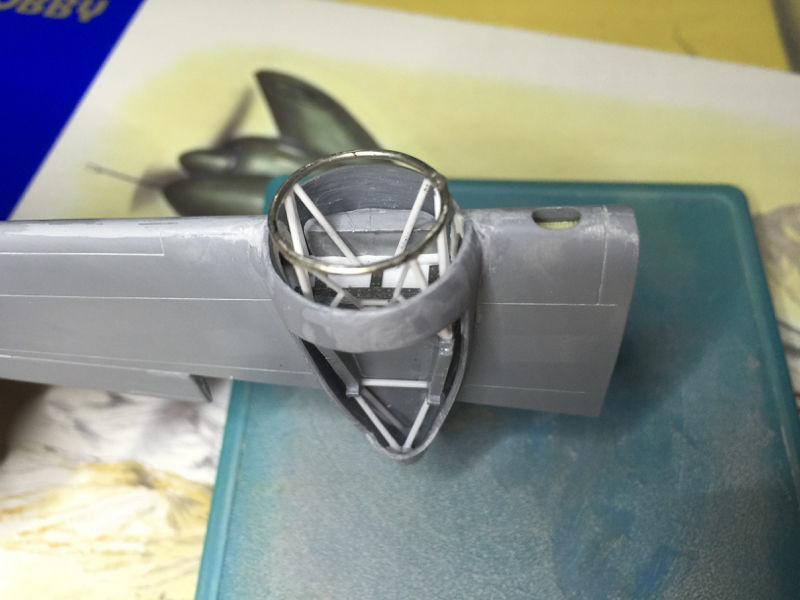
As a last step I proceeded to redo both the engine mount and the support ring which were not correct
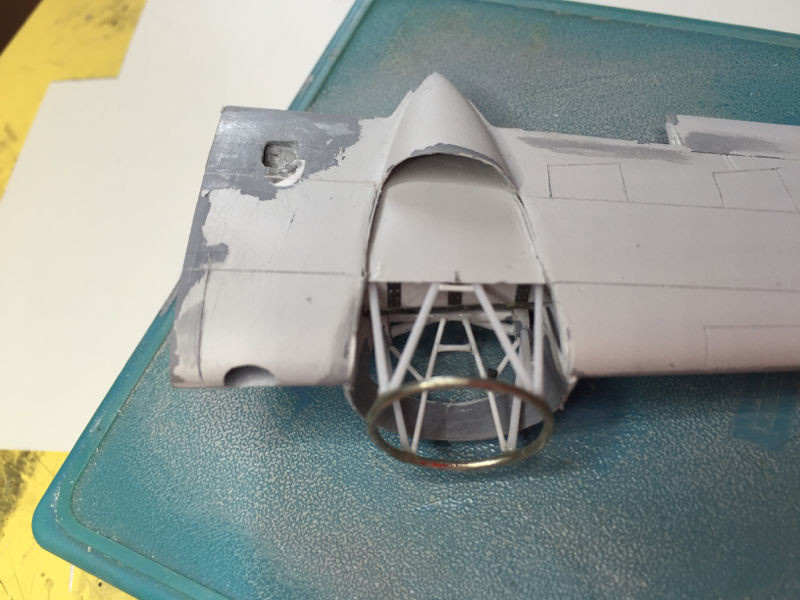
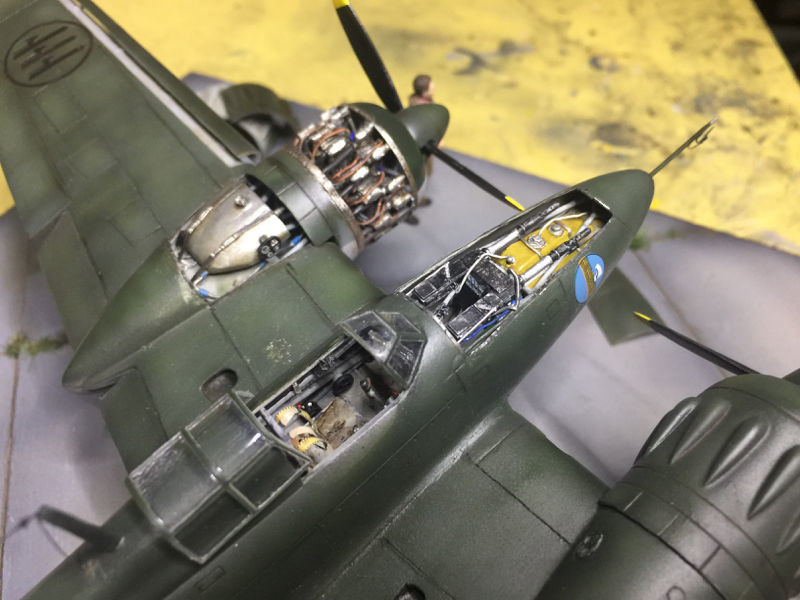
and here's what it looks like with the tank in place, clearly I still have to detail it ...
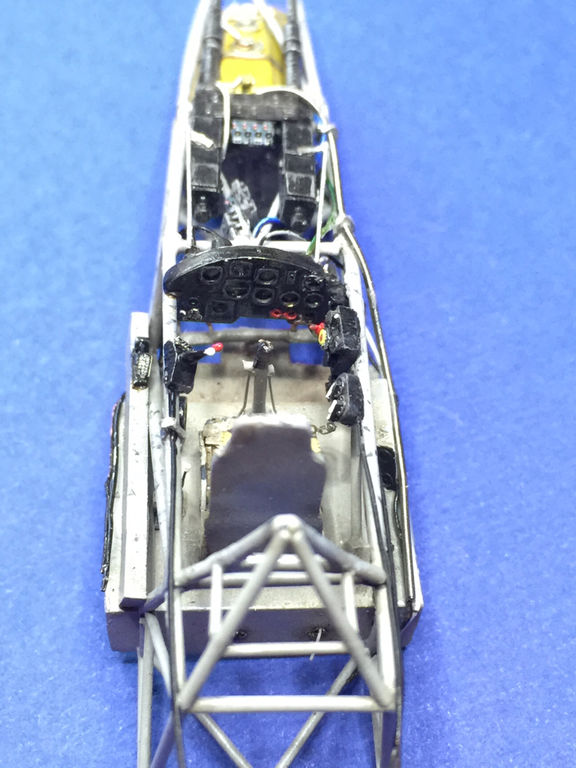
as I wrote at the beginning of the wip, unfortunately from under the trolley compartment you can see the entire front structure so I had to replicate everything including the oil tank ...

ok that's all for now ..... I hope I haven't bored anyone for being so long
bye