Fiat G.55 Sottoserie 0

Post in-progress or completed model pics here
Post Reply
User avatar
warhawk
Comandante di Stormo
Posts: 140
Joined: Sun Feb 25, 2007 6:51 am
Location: Belgrade, Serbia

Fiat G.55 Sottoserie 0

Post by warhawk » Thu Jun 14, 2007 9:24 am

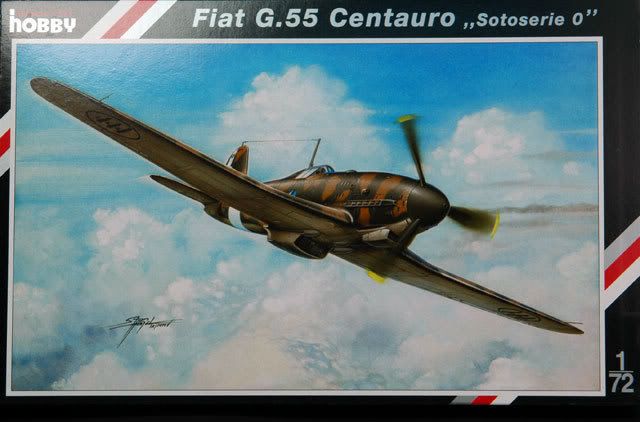
Hi, guys! I am currently working on Special Hobby's 1/72 Centauro Sottoserie 0. Here are some pics of the progress made so far. Hope you'll like 'em...
Image

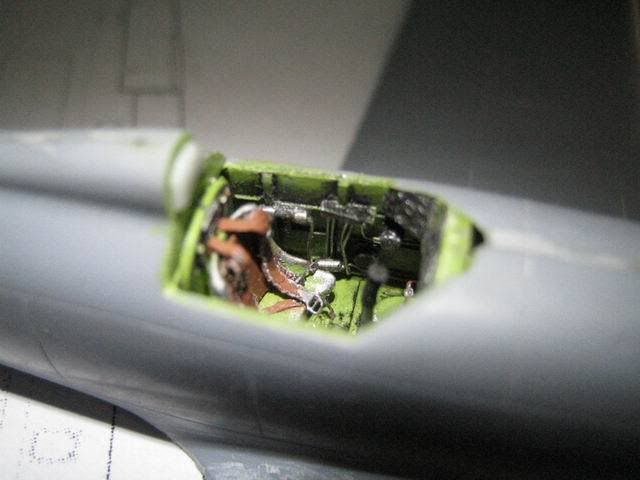
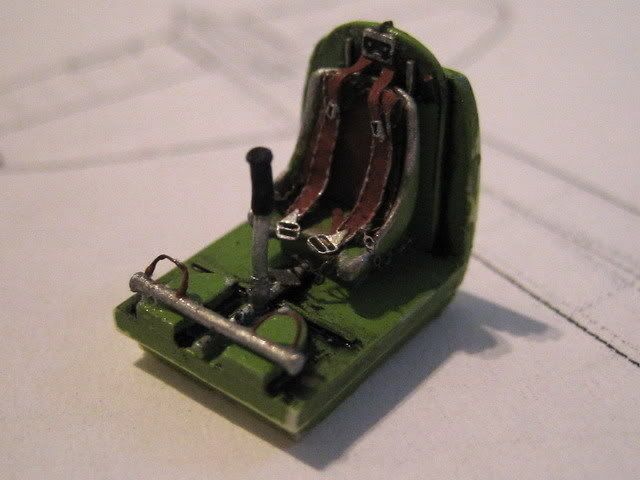
The etched harness system proved tricky to get right
Image

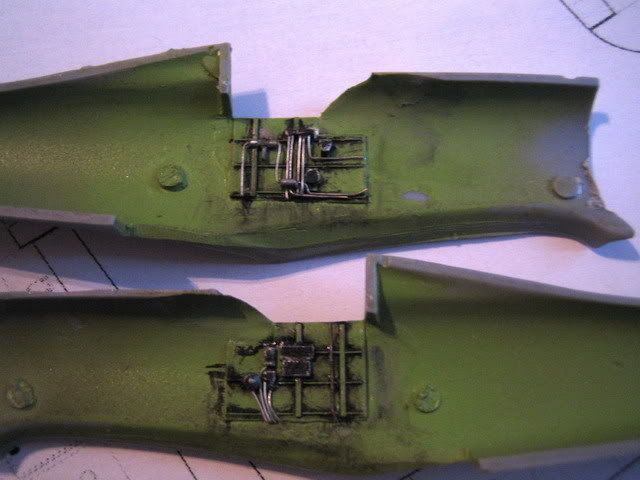
I added some wiring to the cockpit sides to give it a more realistic look
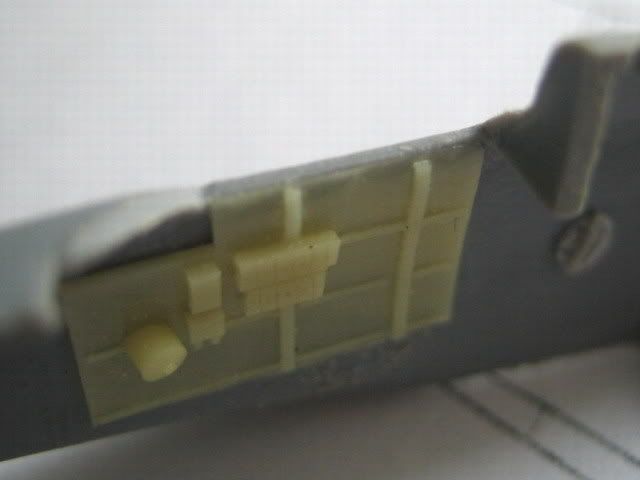
Image Image

The instrument panel is assembled following kit instructions, but you don't get a gunsight. That will have to be scratchbuilt later...
Image

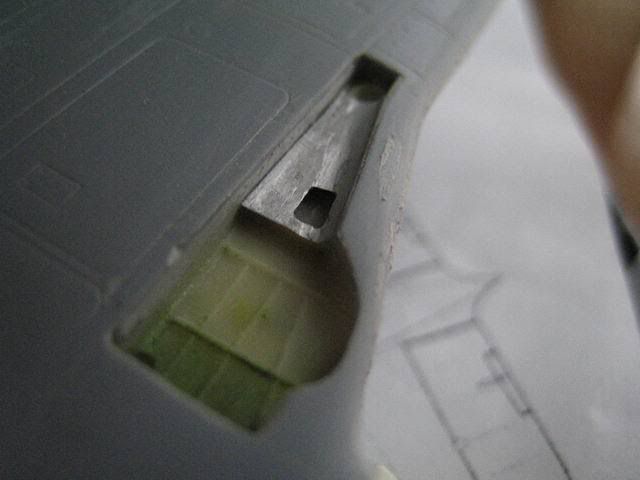
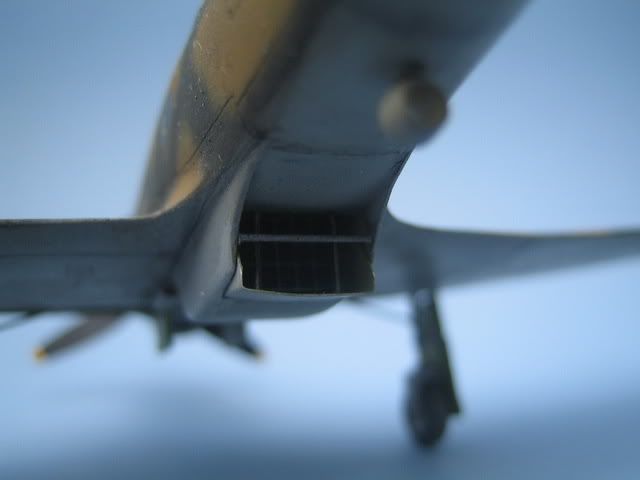
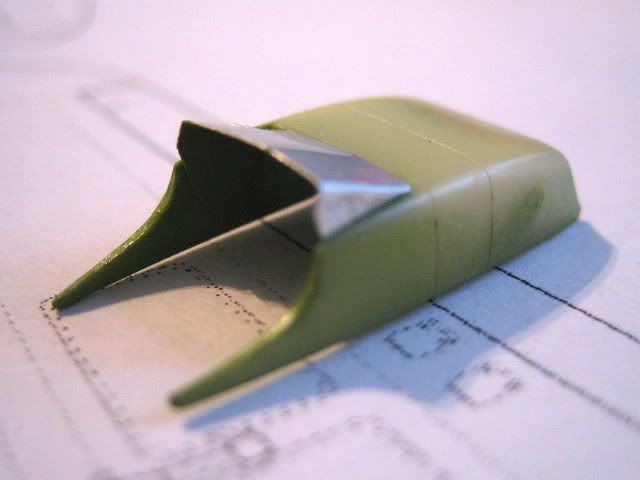
The radiator flap had to be scratchbuilt from aluminum(from soda cans), because the kit part is way too thick for the scale
Image

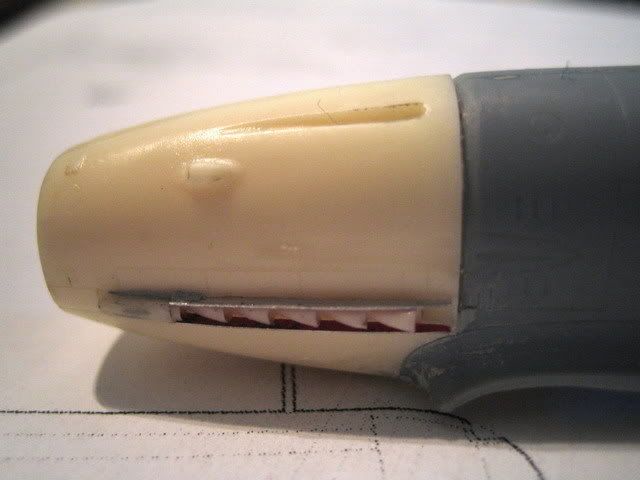
Some detail also had to be scratchbuilt from aluminum in the nose area(see the exhausts) and the fuselage/nose cowling joint was modified to give it that characteristic gap
Image

This is a very good kit, but since it is a short run kit, it needs some cleaning up and skill, but nothing serious. Patience is the key with this one.
And a lot test-fitting. I will submit a full build article when it is completed.
Last edited by warhawk on Tue Jul 29, 2008 6:10 am, edited 7 times in total.

Editor
Site Admin
Site Admin
Posts: 2362
Joined: Thu Jul 24, 2003 3:53 pm
Location: Canada
Contact:

Post by Editor » Fri Jun 15, 2007 8:24 am

Beautiful work. The detail is excellent for this scale.
Image

User avatar
Brendan
Comandante di Stormo
Posts: 126
Joined: Sat Feb 10, 2007 12:12 pm
Location: Portland, Oregon USA

Re: Fiat G.55

Post by Brendan » Tue Jun 19, 2007 7:46 pm

That is really nice work. Please keep us posted!

Best wishes,
Brendan

User avatar
warhawk
Comandante di Stormo
Posts: 140
Joined: Sun Feb 25, 2007 6:51 am
Location: Belgrade, Serbia

Fiat G.55 Sottoserie 0

Post by warhawk » Tue Jun 26, 2007 12:10 pm

Thanks, I'm really glad you like it. Here are some more pics:

The cockpit is installed into the fuselage. The headrest was scratchbuilt prom plastic.
Image

The resin wheel wells are good, but you can always throw in some more detail...
Image

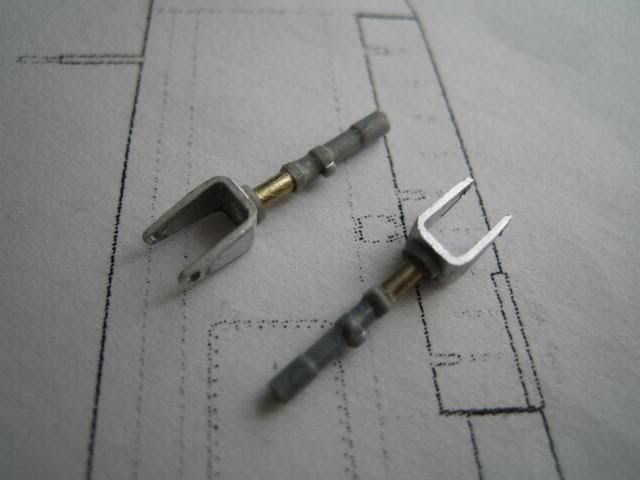
The kit undercarriage legs are inacurate. They are rounded (like on Macchi fighters), but should be more square at the top. This means some more scratchbuilding...
Image

When will the fun ever stop?... :wink:
Last edited by warhawk on Tue Jul 29, 2008 6:11 am, edited 1 time in total.

User avatar
warhawk
Comandante di Stormo
Posts: 140
Joined: Sun Feb 25, 2007 6:51 am
Location: Belgrade, Serbia

Fiat G.55 Sottoserie 0 continued...

Post by warhawk » Fri Jul 11, 2008 5:18 am

Well, I finally remembered I had an unfinished G-55 somewhere in my stash, so I decided to finish it no matter what!

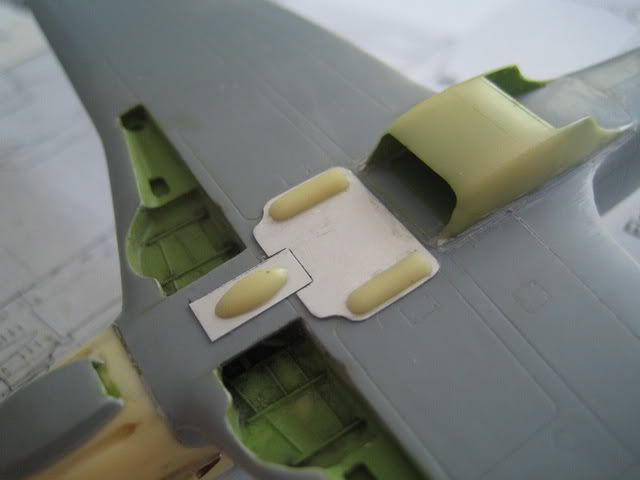
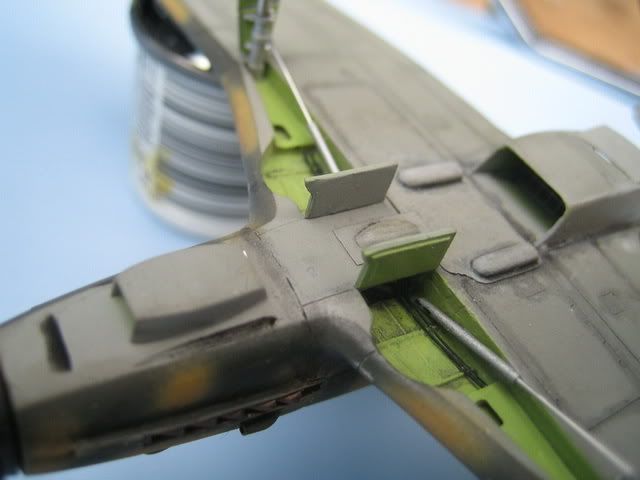
Three small fairings (which were present only on the "zero series" aircraft) are nicely done in resin, but they should be located on special panels, which partially overlap the surrounding panels. They were made out of tin from soda cans...
Image

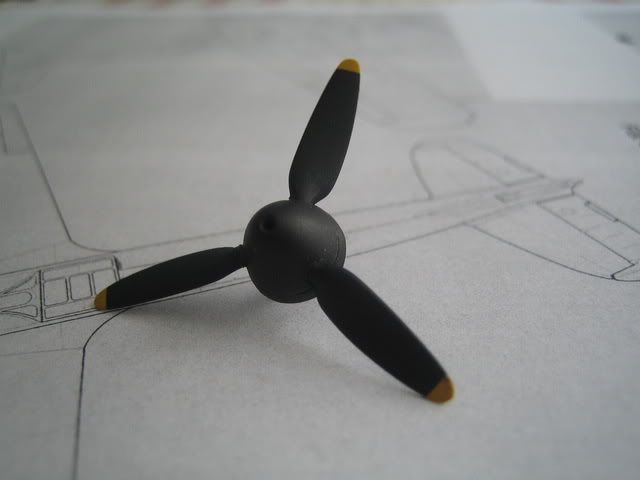
Several different propellers (Fiat spinner was retained) of various manufacturers were tested on the second prototype (which I am building): Fiat-Hamilton, Piaggio, german VDM. Since the plane on the photos has the VDM propeller installed, I replaced the kit propeller with Quickboost VDM propeller intended for Bf-109G-6
Image

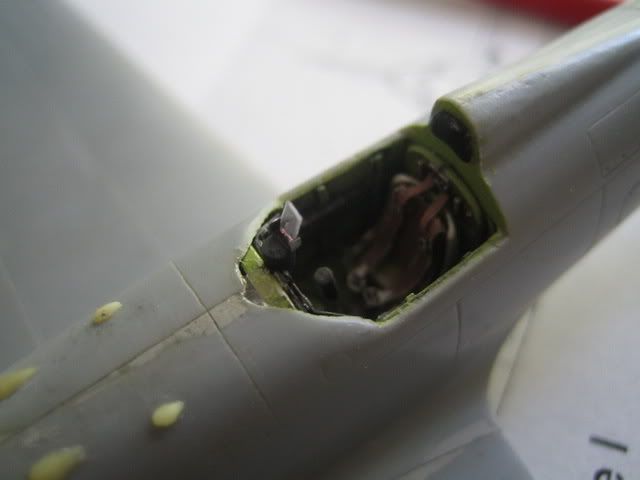
I also added a scratchbuilt gunsight...
Image

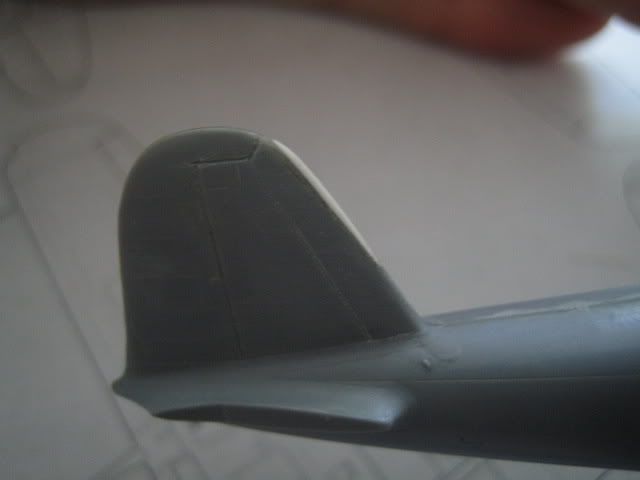
Although the vertical stabilizer should be cut off and replaced with a resin one, I chose to modify the existing part instead, because the resin one doesn't have fabric detail on the moving surfaces. There were some subtle differences in shape between Sottoserie 0 i Serie 1
Image

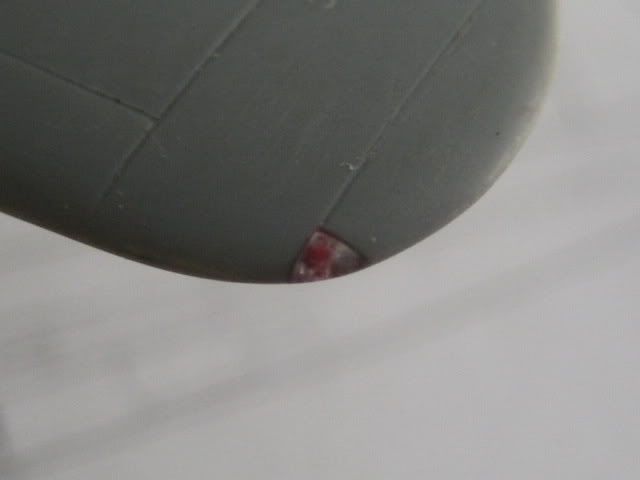
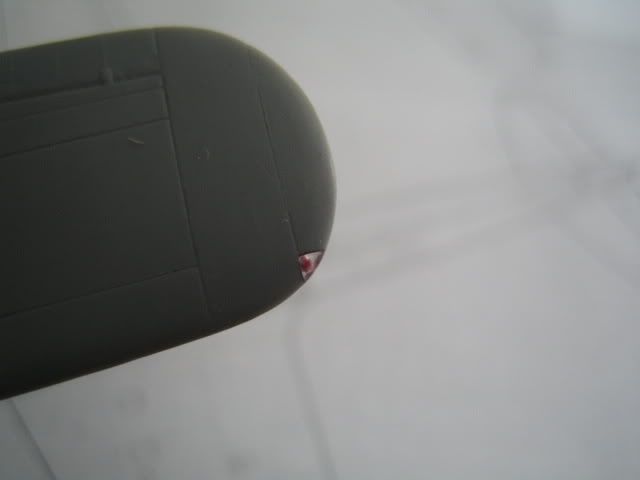
Position lights also had to be scratchbuilt (Yup, that's in 1/72! :wink: )
Image Image
Last edited by warhawk on Tue Jul 29, 2008 6:12 am, edited 1 time in total.

User avatar
Vincent Biondi
Generale di Divisone Aerea
Posts: 398
Joined: Mon Oct 30, 2006 8:48 am
Location: Niagara On The Lake, On. Canada

Post by Vincent Biondi » Fri Jul 11, 2008 10:51 am

Great job!
Will you paint it in RA or ANR colours?
Vinman.

User avatar
warhawk
Comandante di Stormo
Posts: 140
Joined: Sun Feb 25, 2007 6:51 am
Location: Belgrade, Serbia

Post by warhawk » Fri Jul 11, 2008 11:12 am

I am building the second prototype (depicted on the box-art), so RA it is.

User avatar
Brendan
Comandante di Stormo
Posts: 126
Joined: Sat Feb 10, 2007 12:12 pm
Location: Portland, Oregon USA

Post by Brendan » Fri Jul 11, 2008 11:55 am

Those are some truly impressive wingtip lights! Very well done!

Best wishes,
Brendan

Editor
Site Admin
Site Admin
Posts: 2362
Joined: Thu Jul 24, 2003 3:53 pm
Location: Canada
Contact:

Post by Editor » Fri Jul 11, 2008 12:35 pm

Good attention to detail!
Image

User avatar
warhawk
Comandante di Stormo
Posts: 140
Joined: Sun Feb 25, 2007 6:51 am
Location: Belgrade, Serbia

Post by warhawk » Tue Jul 22, 2008 2:52 am

Here are some more pics:

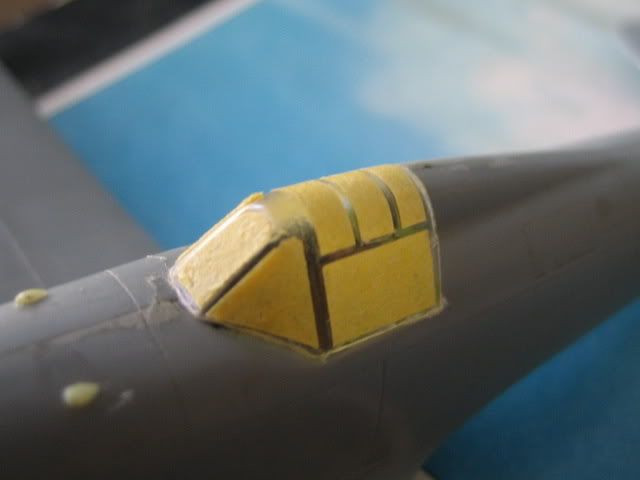
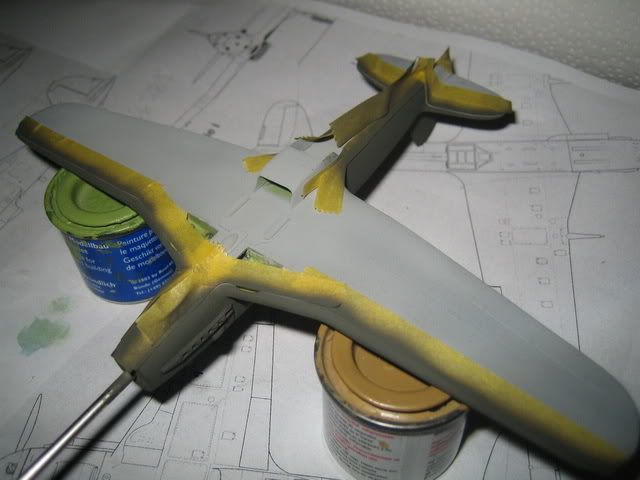
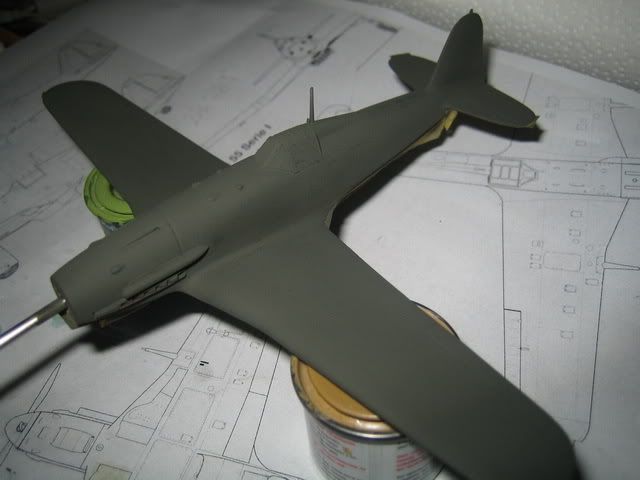
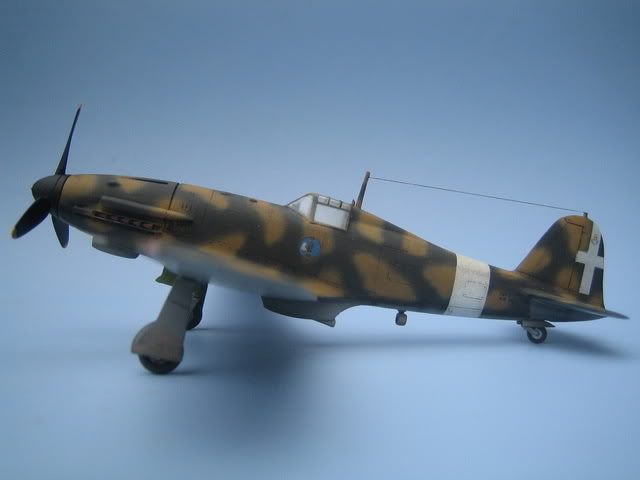
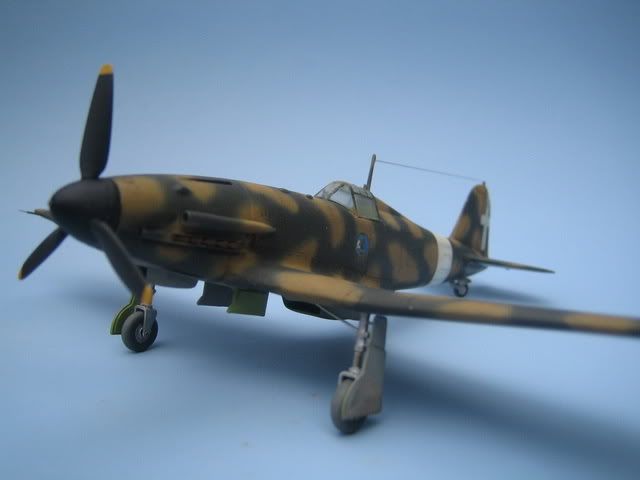
After the worst part of modeling (masking), came the best part - painting! :)
The canopy was first sprayed Verde Anticorosione and then cammo colours were added (cockpit green will show if you look inside)

Image Image Image Image
Last edited by warhawk on Tue Jul 29, 2008 6:14 am, edited 1 time in total.

User avatar
Vincent Biondi
Generale di Divisone Aerea
Posts: 398
Joined: Mon Oct 30, 2006 8:48 am
Location: Niagara On The Lake, On. Canada

Post by Vincent Biondi » Tue Jul 22, 2008 9:14 am

Looking good!
Vincent.

User avatar
GAJouette
Generale di Divisone Aerea
Posts: 333
Joined: Wed Sep 12, 2007 2:11 pm
Location: Southern U.S

Fiat G 55

Post by GAJouette » Thu Jul 24, 2008 2:16 pm

Looks excellent,I'm looking forward to seeing your build article.
Regards,
Gregory Jouette

User avatar
warhawk
Comandante di Stormo
Posts: 140
Joined: Sun Feb 25, 2007 6:51 am
Location: Belgrade, Serbia

Centauro - finally finished!

Post by warhawk » Wed Aug 06, 2008 3:24 am

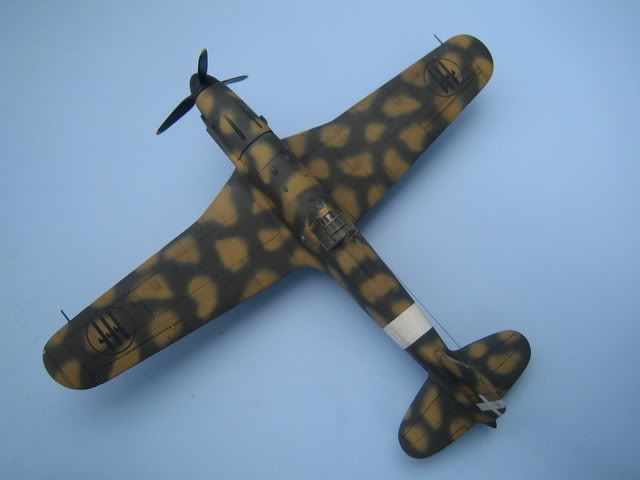
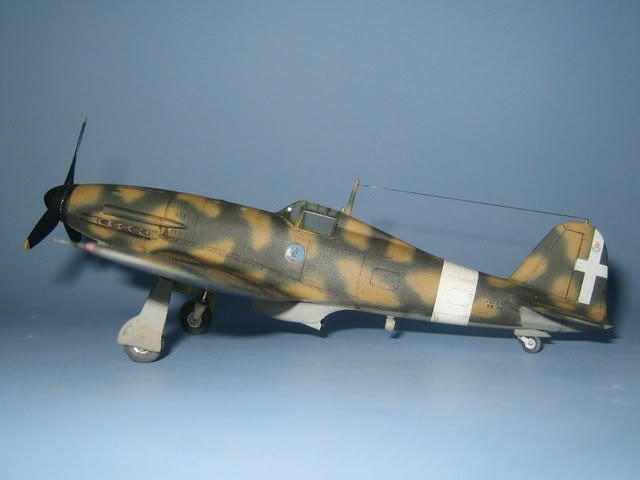
Well, after a whole year of building (mostly due to my laziness, not because of the kit :?) it is finished. Here are the pics:
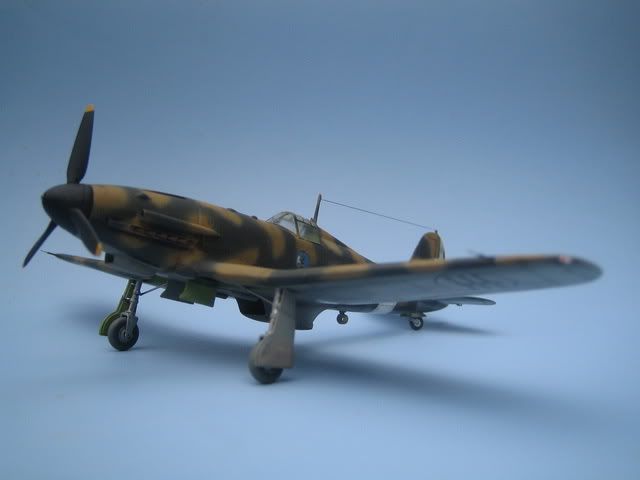
Image Image Image Image Image Image Image Image Image Image Image Image Image Image

The article is submitted and it will be included in the gallery soon.

User avatar
Brendan
Comandante di Stormo
Posts: 126
Joined: Sat Feb 10, 2007 12:12 pm
Location: Portland, Oregon USA

Post by Brendan » Sat Aug 09, 2008 12:54 pm

Wow! Fantastic job!

Best wishes,
Brendan

Post Reply